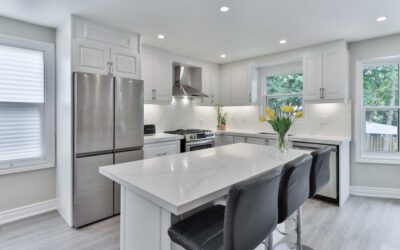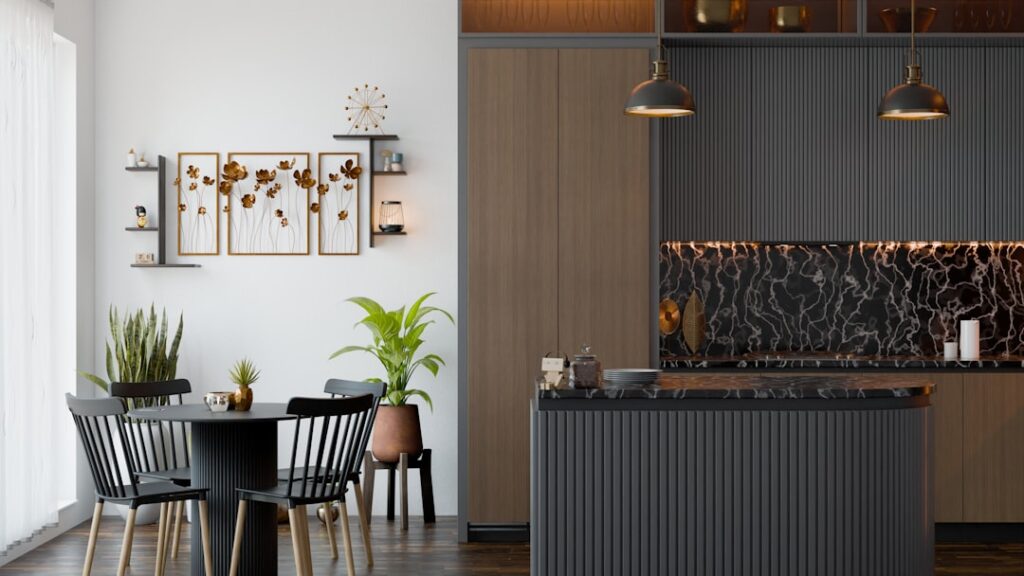
Designing your own cabinetry used to mean a fistful of graph paper and a nervous trip to a showroom. Today a kitchen cabinet builder, whether an online configurator, a local custom shop, or a design tool at a home center, lets you specify every box, door, drawer, and finish to fit your exact kitchen before a single panel is cut. Used well, it delivers a semi-custom or fully custom result at a controlled price; used carelessly, it produces an expensive order full of mistakes that cannot be returned.
Part of our Kitchen Remodeling guide — explore the full guide →
This guide explains the types of cabinet builders, the choices you will make, how box construction affects durability, and the ordering process that keeps a custom project from going off the rails.
Types of Cabinet Builders
The phrase covers several very different paths, and picking the right one shapes your cost and control. Understanding the categories keeps expectations realistic.
- Online RTA configurators: ready-to-assemble cabinets you design on a website, ship flat, and assemble at home. Cheapest, fast, limited to catalog sizes.
- Home center design tools: in-store or online planners from big retailers that build a semi-custom order from a fixed line, with a designer to check it.
- Local custom cabinet shops: a cabinetmaker builds to any dimension and finish. The most flexible and the most expensive.
- Software-driven semi-custom brands: lines like those sold through kitchen dealers, configured with a professional using design software.
Match the path to your needs. A simple galley kitchen with standard dimensions suits an RTA builder; an odd-shaped space with angled walls demands a true custom shop.
Getting Accurate Measurements First
No builder can save you from bad measurements, and measuring is where DIY orders most often fail. Sketch the room and record the length of every wall, floor to ceiling. Mark the exact location and size of windows, doors, outlets, the range, the refrigerator opening, and plumbing rough-ins. Note where walls are out of square, since older homes rarely have true 90-degree corners.
Measure at multiple heights, because walls bow. Record the smallest measurement for each wall so cabinets are guaranteed to fit. Professional designers will verify your numbers, but if you are ordering RTA cabinets yourself, double-check everything, since a half-inch error can leave a cabinet that will not fit or a counter with an ugly gap.
Choosing Box Construction
What the cabinet box is made of determines how long it lasts, and builders offer real choices here. Plywood boxes are the premium option: they resist moisture, hold screws and hinges firmly, and survive the occasional leak under a sink. Particleboard and MDF boxes cost less and are perfectly serviceable in dry areas, but they swell and crumble if they get soaked.
Look also at the joinery and back panel. Dovetailed solid-wood drawer boxes outlast stapled particleboard drawers by decades. A full 1/2-inch plywood back panel mounts more securely to the wall than a thin hardboard back. When a builder offers an “all-plywood” upgrade for a modest premium, it is usually money well spent, especially for the sink base and any lower cabinets near dishwashers.
Door Styles, Finishes, and Hardware
This is the fun part and the part that defines the kitchen’s look. Door style ranges from simple flat-panel (Shaker and slab) to detailed raised-panel and beadboard. Shaker remains the safe, timeless default that suits almost any home. Finish options span painted, stained wood, and thermofoil, each with trade-offs in durability and repairability; painted finishes look crisp but can chip, while stained wood hides wear better.
Do not overlook the interior features the builder offers, which turn ordinary cabinets into a functional kitchen. Soft-close hinges and full-extension drawer glides should be standard on anything worth buying. Consider roll-out trays, a pull-out trash cabinet, a lazy Susan for the corner, and drawer dividers. Each accessory adds cost, so prioritize the ones you will use daily.
Building the Order Step by Step
Once your measurements and style choices are set, assembling the actual order follows a logical flow. Work methodically to avoid gaps and overlaps.
- Lay out base cabinets first, working from a fixed point like a corner or the range, filling the run with standard widths.
- Use filler strips to absorb leftover inches and to give doors and drawers room to clear walls and each other.
- Add wall cabinets above, aligning them with the base layout and leaving 18 inches of backsplash between counter and upper.
- Place tall units (pantry, oven cabinet) where they will not block sightlines or crowd walkways.
- Add toe kicks, crown molding, decorative end panels, and matching hardware to finish the look.
Most builders generate a 3D preview and an itemized list. Rotate the 3D view and walk through it mentally, checking that doors do not collide, that appliances have clearance, and that no run of blank wall got left unfilled.
Reviewing Before You Buy
The single most valuable step is a careful review before submitting the order, because custom and RTA cabinets are usually non-returnable. Have a second set of eyes, ideally a professional designer, check the layout against your measurements. Confirm appliance clearances: a standard range needs about 30 inches, a dishwasher 24, and a refrigerator opening usually 36 inches or more depending on the model.
Verify the hinge side of every door swings the right way, that the sink base is wide enough for your sink, and that the total of cabinet widths plus fillers matches your wall length exactly. Small errors caught here cost nothing to fix; the same errors caught after delivery cost a return order and weeks of delay.
Planning a Functional Layout
A cabinet builder is only as good as the layout you feed it, so apply proven kitchen-design principles as you configure. The classic work triangle, the path between sink, stove, and refrigerator, should stay unobstructed and reasonably compact so you are not walking marathons while cooking. Position the dishwasher next to the sink for easy loading, and leave enough counter landing space beside the range and refrigerator for setting down hot pans and groceries.
Storage zones make a kitchen work. Group items where you use them: pots and pans near the stove, dishes near the dishwasher, and a tall pantry near the food-prep area. Use the builder’s accessory options to solve real problems, such as a deep drawer stack for pots instead of a low cabinet you have to crouch into, a pull-out for the trash, and drawer dividers for utensils. Standard ergonomic heights help too: base cabinets at 34.5 inches (36 with countertop), uppers mounted 18 inches above the counter, and a comfortable 42- to 48-inch aisle in a two-cook kitchen.
Common Mistakes to Avoid
Self-designed cabinet orders fail in predictable ways, and knowing the traps helps you dodge them. The most expensive is ordering off bad measurements, which produces cabinets that do not fit; measure at multiple heights and use the smallest number for each wall. Forgetting filler strips is another classic error, leaving doors and drawers unable to open past adjacent walls or appliances.
- Ignoring appliance clearances: confirm the exact width and depth your range, dishwasher, and fridge require before finalizing.
- Wrong door swing: verify each hinge side so doors do not collide or open into a wall.
- Skimping on the sink base: make sure the cabinet is wide enough for your chosen sink and its plumbing.
- Overloading on accessories: every roll-out and organizer adds cost, so prioritize the ones you will actually use.
- No contingency: old walls hide surprises, so budget a cushion of time and money.
Every one of these is free to fix on paper and costly to fix after a non-returnable order ships, which is why the review step is worth doing twice.
DIY Assembly and Installation
If you order ready-to-assemble cabinets, part of the savings comes from building and hanging them yourself, which is achievable with patience and basic tools. RTA boxes typically use cam locks, dowels, and screws; a rubber mallet, a drill, a square, and a level are the core tools. Assemble on a clean, flat surface, keep each box square as you fasten it, and confirm the diagonals match so drawers and doors align later.
Installation follows a set order: find and mark the high point of the floor, snap level lines on the wall, then hang the upper cabinets first (while the floor below is clear) on a temporary ledger board, screwing into studs. Set the base cabinets next, shimming them level front-to-back and side-to-side before fastening. Take your time leveling, because every countertop, door, and drawer downstream depends on square, level boxes. A careful DIYer can install a small kitchen over a weekend and save thousands in labor.
Cost Expectations and Value
Prices vary widely by path. RTA cabinets through an online builder can outfit a kitchen for $4,000 to $9,000. Semi-custom through a home center or dealer typically runs $8,000 to $20,000. Full custom from a local shop starts around $15,000 and climbs steeply with size and detail. Assembly and installation are extra unless you do them yourself, and DIY assembly of RTA boxes can save thousands in labor.
Whichever route you choose, a good kitchen cabinet builder puts real control in your hands: you decide the boxes, the doors, the storage, and the budget, and you see the result before you commit. Measure twice, choose plywood where it counts, review the order obsessively, and the cabinets that arrive will fit your kitchen and your life exactly as you planned.