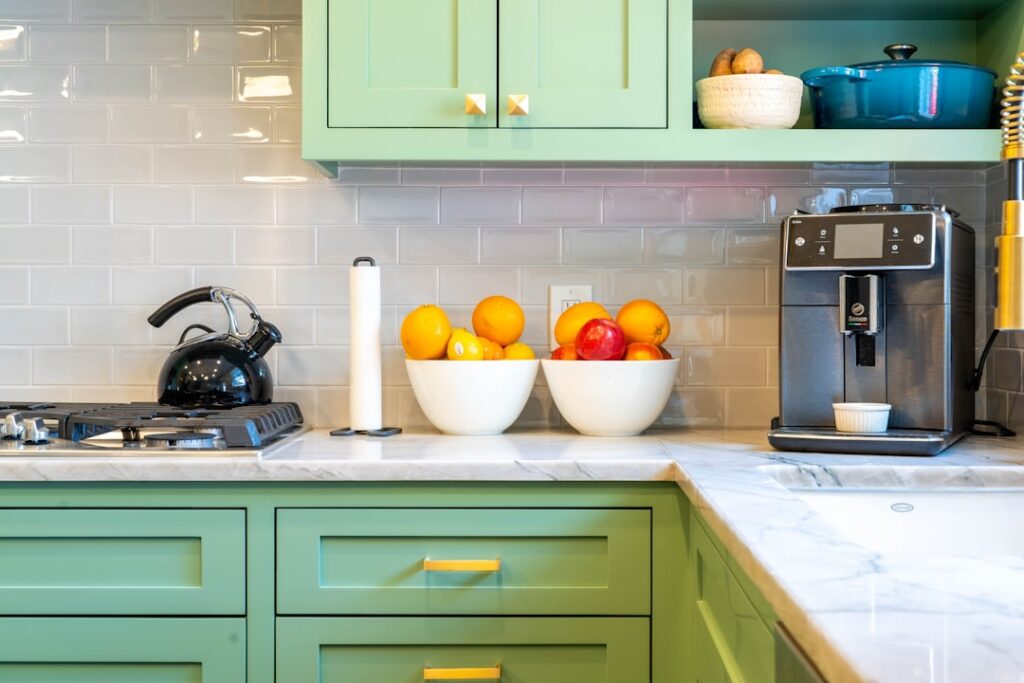
Swapping out dated hardware is the single cheapest way to make an entire kitchen look new, and most homeowners can do the whole thing in an afternoon with one drill. Kitchen cabinet handles and knobs are the jewelry of a kitchen, the details your hand touches a hundred times a day, and getting the size, finish, and placement right is what separates a kitchen that looks intentional from one that looks like it grabbed whatever was on the clearance shelf. I have installed hardware on hundreds of cabinets, and the mistakes are always the same: pulls too small, finishes that clash, and knobs drilled in the wrong spot. This guide walks you through choosing and installing hardware like a pro.
We will cover the knob-versus-pull decision, the sizes that actually work, finishes, spacing, drilling technique, and what a full hardware update costs.
Knobs vs Pulls: Where Each One Belongs
The oldest debate in cabinet hardware has a practical answer. Knobs are single round or shaped fixtures attached with one screw. Pulls, also called handles, are bars attached with two screws. Each has natural homes in a kitchen.
- Knobs traditionally go on doors, the upper cabinets and the door portions of base cabinets. They are simple, classic, and inexpensive.
- Pulls traditionally go on drawers, where you need leverage to slide a heavy drawer full of pots. Longer pulls on wide drawers look proportional and give you a comfortable grip.
That said, the modern trend leans heavily toward pulls on everything, doors included, for a clean, consistent, contemporary look. There is no rule you must follow. A common, foolproof approach is knobs on doors and pulls on drawers, but pulls throughout is equally valid and reads as more current. Pick one logic and apply it consistently across the whole kitchen; mixing randomly is what looks off.
Getting the Sizes Right
Undersized hardware is the most common mistake, and it makes a kitchen look cheap. Scale the hardware to the cabinet it sits on. For pulls, a good rule is that the pull’s length should be roughly one-third the width or height of the drawer front.
- Knobs: 1 to 1.5 inches in diameter for standard doors. Oversized knobs up to 2 inches make a statement on large doors.
- Small drawers (up to 12 inches wide): 3 to 4 inch center-to-center pulls.
- Medium drawers (12 to 24 inches): 4 to 6 inch pulls.
- Large drawers (24 to 36 inches): 8 to 12 inch pulls, or two smaller pulls spaced evenly.
The key measurement when buying pulls is the center-to-center distance, the span between the two mounting screws, not the overall length. That is what determines your drill hole spacing and what must match if you are replacing pulls and reusing existing holes. Note it before you order.
Choosing a Finish That Works
Finish ties the hardware to the rest of the kitchen, and the goal is coordination, not perfect matching. Your hardware should relate to your faucet, your lighting, and your appliances without necessarily matching all of them exactly. Popular finishes and where they land:
- Matte black: the dominant modern choice. Works on white, gray, wood, and green cabinets. Hides fingerprints reasonably well.
- Brushed nickel and satin nickel: the safe, timeless neutral. Coordinates with stainless appliances effortlessly.
- Brushed brass and champagne bronze: warm and current, adds richness to white and dark cabinets alike.
- Oil-rubbed bronze: traditional and warm, great with cherry and darker wood cabinets.
- Polished chrome: bright and clean, a more traditional look.
A common approach is to let the faucet finish lead and pick hardware that complements it. Mixing metals can work when done deliberately, for instance nickel appliances with brass hardware, but pick a dominant metal and a secondary accent rather than using three or four finishes at random.
Spacing and Placement Basics
Consistent placement is what makes a hardware job look professional. Placement follows a few conventions, though personal preference and cabinet style shift them:
- Door knobs on upper cabinets: mount on the bottom corner of the door, typically 2.5 to 3 inches from the bottom edge and the same from the side.
- Door knobs on base cabinets: mount on the top corner of the door, 2.5 to 3 inches from the top and side.
- Drawer pulls: center horizontally, and either center vertically on the drawer face or, on tall drawers, place slightly above center.
The single most important rule is consistency. Every knob at the same distance, every pull centered the same way. This is where a hardware jig earns its keep, and we will get to that. A detailed look at exactly where knobs go, with pictures, is worth its own guide if you want to see the measurements laid out visually.
How to Drill and Install Cleanly
Installing hardware is straightforward, but drilling into finished cabinet fronts is unforgiving, so precision matters. The right sequence:
- Buy or make a hardware installation jig. It is a template with adjustable holes that guarantees identical placement on every door and drawer. This one tool prevents nearly every drilling mistake.
- Mark your hole locations with the jig and an awl to keep the drill bit from wandering.
- Drill from the front face using the correct bit size for the screws, usually 3/16 inch, and put a scrap block behind the wood to prevent blowout when the bit exits the back.
- Insert the screws from the back of the door or drawer and thread the knob or pull on from the front.
- Snug the screws firmly but do not overtighten, which can strip the hardware or crack the finish.
If your screws are too long or too short for your drawer thickness, buy the correct length; hardware comes with standard screws that do not fit every situation. Measure your door and drawer thickness and match the screw length.
Matching Hardware to Your Cabinet Style
Hardware should agree with the personality of your cabinets, not fight it, and the fastest way to make a kitchen look mismatched is to bolt the wrong style onto the wrong door. A few reliable pairings guide the choice:
- Shaker cabinets: the most versatile style, they accept almost anything. Simple bar pulls and round or square knobs both look right, which is why shaker is so forgiving.
- Flat slab or modern cabinets: lean into clean, minimal hardware. Long tubular or edge pulls in matte black or brushed metal suit the contemporary look, or go handleless with integrated edge pulls.
- Raised-panel traditional cabinets: reward more detailed hardware, cup pulls on drawers, and rounded or decorative knobs in warmer finishes like oil-rubbed bronze or brass.
- Farmhouse or transitional: cup and bin pulls on drawers paired with knobs on doors deliver that classic, collected look.
When you are unsure, buy a single knob and a single pull in your top two finishes and hold them against a cabinet door before committing to 40 pieces. Living with the samples for a day under your actual kitchen lighting settles most decisions and prevents an expensive return.
Common Hardware Mistakes to Avoid
After enough kitchens you see the same missteps repeat, and all of them are easy to sidestep. The most frequent is undersizing, tiny knobs and short pulls stranded on big drawer fronts, which reads as cheap. Scale the hardware to the cabinet and err slightly large; a pull that looks a touch bold on the showroom door usually looks right once installed.
- Inconsistent placement: knobs at different heights across doors is the tell of an amateur job. Use a jig and keep every piece identical.
- Ignoring center-to-center: ordering pulls by overall length instead of the mounting-hole spacing leaves you unable to reuse existing holes or match a set.
- Finish overload: three or four competing metals with no dominant tone looks accidental. Pick a lead finish and one accent at most.
- Wrong screw length: the standard screws in the box do not fit every drawer thickness. Measure and buy the correct length so screws neither poke through nor fall short.
- No back-up block when drilling: skipping the scrap block behind the door lets the finish blow out where the bit exits, leaving a chipped, ugly hole.
Avoid those and even a first-time hardware job looks like a professional did it.
What a Hardware Update Costs
This is one of the best value upgrades in a kitchen. Individual knobs run $2 to $15 each for standard options, and designer pieces climb to $30 or more. Pulls run $3 to $25 each typically, with premium solid-brass and designer pulls reaching $40 to $60.
For an average kitchen with 30 to 40 pieces of hardware, budget $150 to $600 for mid-range hardware, or as little as $100 if you shop the value lines and as much as $1,500 for high-end pieces. The labor is free if you do it yourself, and it genuinely is a one-afternoon job with a jig and a drill. Against a full cabinet replacement costing thousands, new kitchen cabinet handles and knobs deliver an outsized visual payoff for a modest spend, which is exactly why it is the first move for anyone refreshing a tired kitchen on a budget.