
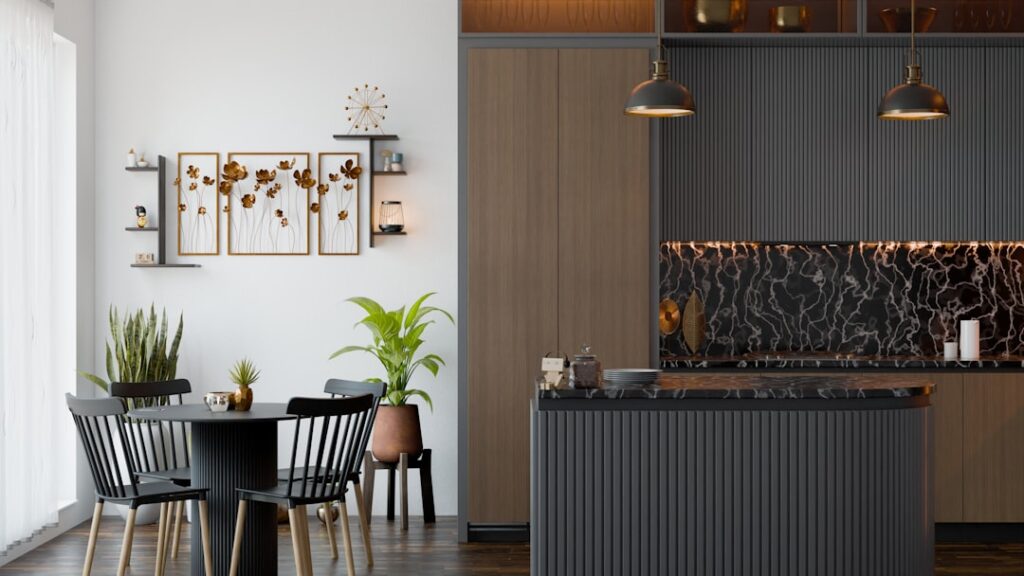
Your overhead can lights throw your own shadow right onto the cutting board. That single design flaw is why kitchen cabinet lights have become one of the most requested upgrades in remodels this decade. Whether mounted under the uppers to flood the counter with task light or tucked inside glass-front cabinets for a warm glow, kitchen cabinet lights transform how a kitchen both works and feels. This guide covers every type, the wiring options, realistic costs, and the installation details that separate a clean job from a tangle of visible cords.
Part of our Kitchen Remodeling guide — explore the full guide →
- Under-Cabinet vs. In-Cabinet vs. Over-Cabinet
- The Main Types of Fixtures
- Choosing Color Temperature and Brightness
- Wiring Options: Plug-In, Hardwired, and Battery
- Step-by-Step: Installing LED Strip Lights
- Dimming and Smart Control
- Cost Breakdown
- Common Mistakes to Avoid
- Planning the Layout Before You Buy
- Troubleshooting Common Problems
- The Bottom Line
Under-Cabinet vs. In-Cabinet vs. Over-Cabinet
Three distinct zones each serve a different purpose. Under-cabinet lighting mounts to the bottom of your upper cabinets and washes the countertop with task light, the workhorse of the group. In-cabinet lighting sits inside glass-door or open cabinets to showcase dishware and add depth. Over-cabinet lighting, placed on top of the uppers where there is a soffit gap, bounces indirect light off the ceiling for soft ambient fill.
Most homeowners start with under-cabinet fixtures because they solve the shadow problem immediately, then add the other zones for effect. You can absolutely mix all three on separate switches or dimmers.
The Main Types of Fixtures
LED Strip (Tape) Lights
Flexible adhesive strips are the most popular choice today. They come on a reel, cut to length at marked intervals, and stick to the underside of a cabinet with a peel-and-press backing. A quality strip delivers even, continuous light with no dark spots, draws very little power, and hides completely behind a 3/4-inch face frame. Expect $15 to $40 for enough strip to cover a typical kitchen run, plus a driver.
Puck Lights
Round pucks cast circular pools of light, roughly 4 to 6 inches across. They create a spotlight effect that some people love for accent and others find uneven on a long counter because of the scalloped shadows between pucks. Hardwired or battery versions run $20 to $60 for a set of three.
Linear Bar (Light Bar) Fixtures
Rigid aluminum bars combine the even output of a strip with the sturdiness of a fixture. They link end to end, plug or hardwire, and are the easiest choice for a beginner who wants a polished look without fussing with adhesive tape. A 12-inch bar runs $15 to $30; a full kitchen might use four to six of them.
Choosing Color Temperature and Brightness
Color temperature, measured in Kelvin, sets the entire mood. For most kitchens:
- 2700K to 3000K: warm white, cozy and flattering, pairs well with wood cabinets and warm countertops.
- 3500K to 4000K: neutral white, crisp and clean for task work, the practical middle ground.
- 5000K and up: daylight, very bright and clinical, usually too cold for a home kitchen.
For brightness, aim for 200 to 300 lumens per linear foot of counter for solid task lighting. Also check the CRI (color rendering index); a rating of 90 or above makes food, produce, and your countertop’s true colors look accurate rather than washed out. Tunable strips that shift from warm to cool on a remote give you the best of both worlds.
Wiring Options: Plug-In, Hardwired, and Battery
How you power the lights drives the difficulty of the project.
- Plug-in: The simplest route. Fixtures connect to a low-voltage driver that plugs into an existing outlet, often the one behind a countertop appliance. No electrician needed. The tradeoff is a visible cord unless you drill a discreet pass-through.
- Hardwired: The cleanest look. A driver ties into your electrical system and is controlled by a wall switch or dimmer, with no cords showing. This usually means running cable inside the wall and is best left to a licensed electrician unless you are experienced. Budget $150 to $400 in labor.
- Battery or rechargeable: Best for renters or a cabinet with no nearby power. Modern rechargeable bars last weeks per charge and stick up with magnets or adhesive. Motion-sensor versions are handy inside a pantry.
Step-by-Step: Installing LED Strip Lights
A plug-in strip job takes a couple of hours for a first-timer. Here is the sequence:
- Measure each cabinet run and add up total length. Buy 10 percent extra strip.
- Clean the underside of every cabinet with rubbing alcohol so the adhesive bonds. Grease is the enemy here.
- Plan your layout to keep the strip toward the front edge of the cabinet bottom, roughly 1 inch back from the face, so light hits the counter rather than the backsplash.
- Cut the strip only on the marked copper pads. Use connector clips or solder to join sections and turn corners.
- Peel and press, working slowly to avoid bubbles. Add mounting clips every 12 inches for insurance against peel.
- Wire the strip to the low-voltage driver, plug in, and test before final routing.
- Hide the driver and cord inside a cabinet, and tuck excess wire with cable clips.
Pro tip: add an aluminum channel with a frosted diffuser over the strip. It hides the individual LED dots, prevents the “dotted line” reflection in a glossy countertop, and gives a high-end custom look for a few dollars per foot.
Dimming and Smart Control
Dimmable lights are worth the small upcharge. Bright task light while you cook, then a low glow as a nightlight or for evening ambiance. Make sure both the strip and the driver are rated as dimmable, and match the dimmer type (many low-voltage LEDs need a specific ELV or TRIAC dimmer). Smart options tie into Alexa, Google Home, or a phone app, letting you set scenes and schedules. A basic smart plug on a plug-in system is the cheapest path to voice control.
Cost Breakdown
Here is what a full kitchen typically runs:
- DIY plug-in LED strip kit: $50 to $150 in materials.
- Hardwired system with professional install: $400 to $900 total.
- Premium tunable, dimmable, smart-controlled setup: $600 to $1,200.
- Aluminum diffuser channels: $3 to $8 per foot if you add them.
Most homeowners land in the $150 to $500 range depending on whether they hire out the wiring.
Common Mistakes to Avoid
Do not mount the strip too far back against the wall; it lights the backsplash and leaves the counter dim. Skipping the alcohol wipe leads to strips peeling off within months. Buying a cheap driver undersized for the total wattage causes flicker and early failure, so size the driver 20 percent above your load. Finally, mixing color temperatures between under-cabinet and in-cabinet lights looks disjointed. Pick one Kelvin range and stay with it.
Planning the Layout Before You Buy
A little planning prevents the two most common regrets: buying too little strip and ending up with dark gaps, or over-lighting the space into a glare. Start by measuring every cabinet run where you want light and add the lengths together, then buy about 10 percent extra to cover corners, connectors, and mistakes. Sketch where your outlets and switches are so you know whether a plug-in or hardwired approach fits without running new wiring. Note where the range, sink, and main prep zones are, since those task areas deserve the brightest, most even coverage.
Think about zones, too. Under-cabinet task lighting, in-cabinet display lighting, and any toe-kick or over-cabinet accent lighting should ideally be on separate switches or dimmers so you can use them independently. Full task brightness while you cook, then just the toe-kick glow as a nighttime path light, is exactly the kind of flexibility that makes a kitchen feel custom. Deciding this before you buy determines how many drivers and switches you need.
Troubleshooting Common Problems
If your LED strip flickers, the culprit is usually a driver that is undersized for the total wattage or a dimmer that is not compatible with the LEDs. Add up the wattage of every strip on a driver and make sure the driver is rated at least 20 percent above that load. For dimming issues, confirm both the strip and the driver are dimmable and that you are using the correct dimmer type, since low-voltage LEDs often require a specific ELV or TRIAC-compatible dimmer rather than a standard one.
Strips that peel away from the cabinet almost always trace back to a surface that was not cleaned before installation. Grease and dust ruin the adhesive bond, so wipe every mounting surface with rubbing alcohol and let it dry before pressing the strip down, and add mounting clips every foot as insurance. If one section of a strip has gone dark while the rest works, a connector has likely come loose or a solder joint failed; reseat the connector or resolder the pad. And if the light looks blotchy or dotted in a glossy countertop reflection, add an aluminum channel with a frosted diffuser to blend the individual LEDs into one smooth line.
The Bottom Line
Well-planned kitchen cabinet lights eliminate the shadow you have been cooking in, add resale-friendly ambiance, and cost far less than most remodel line items. Start with under-cabinet LED strips in a warm-to-neutral white, add a diffuser channel for a custom finish, and put everything on a dimmer. Whether you plug in for a weekend DIY or hardwire for a seamless look, this is one upgrade that pays you back every single time you walk into the kitchen after dark.


