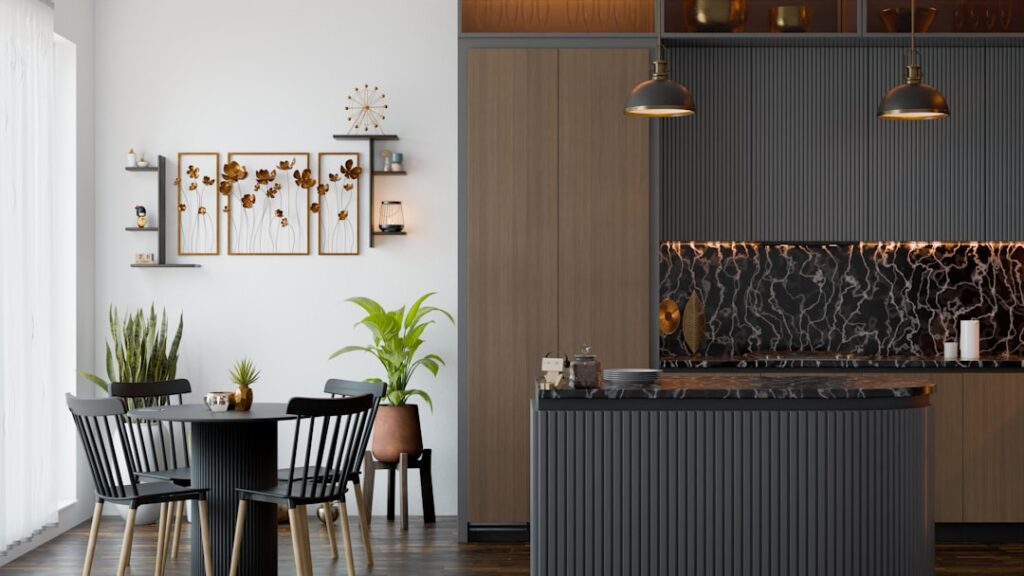
An island is the hardest-working surface in a modern kitchen, doubling as prep space, a dining spot, a homework station, and the room’s social center. Getting the kitchen island counter right means balancing three things that often compete: enough countertop for real work, comfortable seating, and the walking clearance that keeps the kitchen from feeling cramped. Rush the planning and you end up with an island that looks good but functions poorly, so it pays to understand the dimensions and materials that separate a great island from an awkward one.
Part of our Kitchen Remodeling guide — explore the full guide →
Getting the Size Right
An island needs breathing room around it more than it needs to be large. The golden rule is clearance: leave at least 36 inches of walkway on all sides, and 42 to 48 inches on the sides where you cook or open appliances. Squeeze an island into a kitchen without that clearance and traffic jams up every time two people are in the room.
For the island itself, a functional minimum is about 40 by 40 inches, but the most useful islands measure at least 3 feet deep by 6 to 7 feet long. That gives you a generous work zone plus room for a couple of stools. In very small kitchens, a rolling cart or a compact peninsula may serve better than a fixed island that eats the walkways.
Planning for Seating and Overhang
If your island will host stools, the counter needs an overhang so knees fit underneath. The overhang depth depends on the counter height:
- Standard 36-inch counter height: 12-inch overhang, 24-inch-high stools
- 42-inch bar height: 12 to 15-inch overhang, 30-inch bar stools
- Each seat: allow 24 inches of width so elbows do not collide
Overhangs longer than 12 inches usually need support from steel brackets or corbels hidden beneath the counter, especially with heavy stone tops that can crack under unsupported weight. A four-stool island therefore wants roughly 8 feet of length to seat everyone comfortably.
Choosing the Countertop Material
The island counter takes more abuse than any other surface in the kitchen, so material choice matters. Here is how the popular options stack up:
Quartz
Engineered quartz is the top seller for good reason: it is nonporous, never needs sealing, resists stains and scratches, and comes in endless colors. It costs $50 to $120 per square foot installed and handles a busy family island beautifully.
Granite
Natural granite offers unique stone patterns and excellent heat resistance, running $40 to $100 per square foot installed. It needs periodic sealing to stay stain-resistant but is nearly indestructible in daily use.
Butcher Block
Wood brings warmth and doubles as a cutting surface, at a friendly $30 to $70 per square foot. It requires regular oiling and is prone to water damage around sinks, so many homeowners use it on the island only, paired with stone on the perimeter.
Marble and Others
Marble delivers unmatched elegance but stains and etches easily, better suited to baking-focused or low-traffic islands. Concrete, stainless steel, and porcelain slabs round out the higher-design options.
Waterfall Edges and Design Details
A waterfall edge, where the countertop material runs down the sides of the island to the floor, is a popular modern look that turns the island into a sculptural centerpiece. It uses more material and adds fabrication cost, often $1,000 to $2,500 extra, but the seamless effect is striking with quartz and marble. For a more traditional feel, a thick mitered edge or a decorative eased profile keeps costs lower while still looking substantial.
Adding Function: Sinks, Cooktops, and Storage
Islands often house a prep sink, a cooktop, or the main sink, which requires plumbing or gas and ventilation to be run to the island during construction. If you add a cooktop, plan for a downdraft vent or a ceiling hood above. Below the counter, maximize the cabinetry with deep drawers for pots, a pull-out trash and recycling bin, and open shelving on the seating end for cookbooks or baskets. This is where an island earns its keep as storage, not just surface.
Lighting and Electrical
An island is a work surface first, and good lighting makes it usable after dark. Plan for pendant lights or a linear fixture centered over the island, hung so the bottom of the shades sits about 30 to 36 inches above the counter, high enough to clear sightlines but low enough to light the surface well. As a rule of thumb, space two pendants evenly over a standard island or three over a long one, keeping them proportional to the island’s length. Do not forget power at the counter itself: most kitchen electrical codes now require outlets on any island large enough to serve as a work area, so build in receptacles on the end panels or pop-up units in the counter for charging devices and running small appliances. Wiring these during construction is far cheaper than adding them later.
Budgeting Your Island Counter
Cost varies widely with size and material. A modest butcher-block top on a stock cabinet base might total $1,500, while a large quartz island with a waterfall edge, a prep sink, and custom cabinetry can exceed $8,000. The countertop alone typically represents $1,000 to $4,000 of that. Whatever your budget, prioritize the clearances and a material that suits your cooking habits over flashy extras. A well-proportioned kitchen island counter that fits the room and stands up to daily life will serve your family far better than an oversized showpiece that crowds the space.