
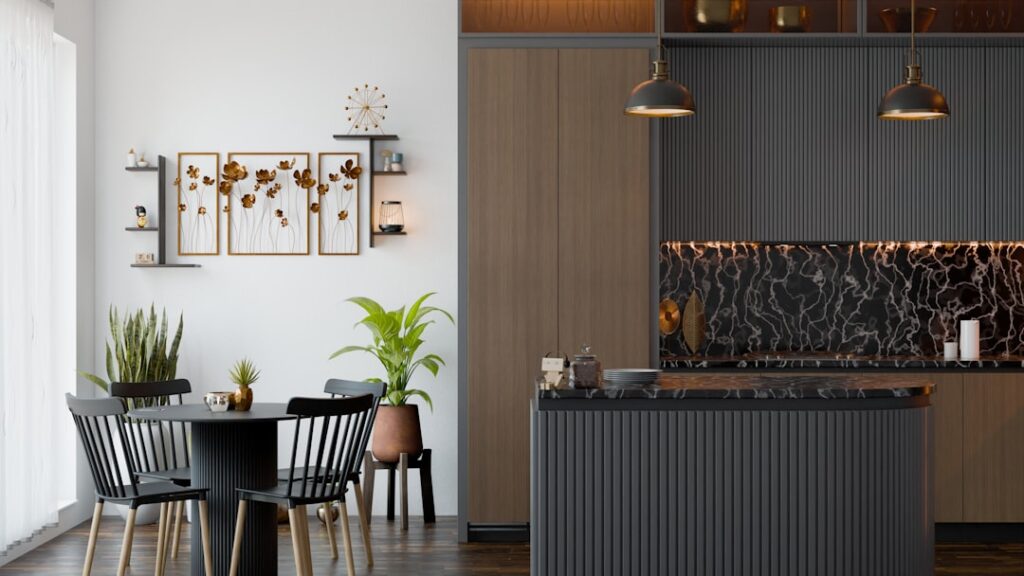
A kitchen island extension is one of the smartest mid-life upgrades you can make to a kitchen, because it adds seating and workspace without touching your cabinet layout. Whether you want a raised bar, a slide-out leaf, or simply a longer island, a well-planned kitchen island extension can be a weekend DIY project or a modest contractor job. Here is how I approach each type.
The right method depends on what you are missing. Need a spot for two stools? An overhang extension solves it. Need occasional extra surface for holidays? A drop-leaf earns its keep. Need genuinely more island? Then you are bumping out the length. Let me walk through all of them.
Adding a Seating Overhang
The most requested extension is a countertop overhang for stool seating, and it is the simplest. You extend the counter past the cabinet base so knees fit underneath. The critical number is depth:
- 12 inches — the minimum comfortable overhang for casual seating.
- 15 inches — the ideal for a relaxed, knees-fully-under experience.
- Under 10 inches — too shallow; stools end up sideways and nobody uses them.
Allow 24 inches of width per stool, so a three-stool bar needs at least 72 inches of open counter run. For standard 36-inch counter-height islands you use counter stools around 24 inches tall; for a raised 42-inch bar you need 30-inch bar stools. If you can spare the width, giving each seat 26 to 28 inches makes elbows and shoulders far more comfortable when the whole family piles in for breakfast.
Supporting the Overhang Correctly
Any overhang past a certain point needs support, and this is where DIYers get into trouble. The general rule by material:
- Granite and quartz — safely cantilever about 10 to 12 inches unsupported over a 1.25-inch slab. Beyond that, add support.
- Marble — more brittle; support anything past 10 inches.
- Butcher block — can go a bit further, but I still brace past 12 inches.
Your support options are steel angle brackets (my go-to, hidden under the counter and rated for real weight), wood corbels for a decorative Craftsman or farmhouse look, or a support panel/leg at the outer corners. Steel plates run $30 to $80 a pair and disappear from view; a good pair of corbels runs $40 to $150. Never rely on the countertop adhesive alone for a seating overhang — someone will eventually sit on that edge.
Drop-Leaf and Slide-Out Extensions
When your kitchen is too tight for a permanent bump-out, a movable extension is the answer. Two approaches work well:
- Drop-leaf — a hinged panel mounted to the end or side of the island that folds down flat when not in use and props up on a swing-out bracket or gate-leg when needed. Great for a butcher-block or painted island.
- Slide-out (pull-out) extension — a shelf or small table on heavy-duty ball-bearing slides tucked under the counter, pulled out to double as extra prep space or a two-person breakfast spot.
Both keep your walkways clear day to day. Budget $150 to $500 in materials for a DIY drop-leaf, more if you match a stone top with a hinged section, which is trickier to fabricate. For the drop-leaf hardware, use a proper drop-leaf table hinge and a swing-out wooden bracket rated for the leaf’s weight; a 24-inch butcher-block leaf can weigh 15 to 20 pounds, and a flimsy shelf bracket will sag or tear out over time. Slide-out extensions want full-extension, soft-close, ball-bearing slides rated for at least 100 pounds so the surface stays rock-steady when someone leans on it.
Bumping Out the Length
Sometimes you genuinely need a bigger island, and the cleanest way is to add a matching base cabinet to one end. If your island uses standard cabinets, order or build one more box in the same width, join it to the existing run, and extend the countertop over both.
The challenge here is almost always the countertop. Stone cannot be seamlessly lengthened after the fact — you either add a visible seam or replace the whole slab. Butcher block and laminate are far more forgiving for a length extension because you can source new material and blend it. Plan on 24 to 42 inches of added length; much more and you risk crowding your 36-to-48-inch walkway clearances.
Matching the Countertop
Nothing gives away a poorly planned extension like a mismatched top. A few honest realities:
- Stone from a different lot will rarely match exactly. If you added your original island years ago, that slab may be discontinued.
- Butcher block is the easiest to match or intentionally contrast — a walnut leaf on a maple island can look deliberate.
- A contrasting material is often the smart play. A wood breakfast bar attached to a stone island reads as a design choice, not a compromise.
Before you commit, take a sample of your existing counter to the stone yard. If they cannot match it closely, embrace a complementary material rather than fighting a near-miss that will nag you forever.
DIY Approaches and When to Call a Pro
Plenty of extensions are within reach of a confident DIYer. Adding a wood breakfast bar with steel brackets, building a drop-leaf, or installing a slide-out are all realistic weekend projects with a drill, a level, and basic tools. Material costs for a simple butcher-block seating extension typically run $200 to $600.
Call in help when stone is involved, when you are joining and refinishing cabinets, or when electrical needs to move. Fabricating and setting a new granite or quartz overhang is a job for a countertop shop, and expect $500 to $1,500 depending on material and size. If your extension puts a receptacle or a seam near the sink, a licensed trade keeps it code-compliant.
Planning Clearances and Final Tips
Whatever route you choose, protect your traffic flow. Keep at least 36 inches of walkway on all sides of the island, and 42 to 48 inches on the primary work aisle. Measure your stools before you buy so the seat height clears the counter with 9 to 12 inches of legroom.
Do a dry run before you build. Tape the new footprint on the floor, set your stools in place, and live with it for a few days. That cardboard-and-tape mockup has saved my clients from more than a few extensions that looked great on paper but choked the room in practice.
Matching the Base Cabinetry and Finish
When you bump out length by adding a cabinet, the box itself is only half the battle — the finish has to blend. If your island was painted on site, save the paint code or take a door to the store for a color match; factory-finished cabinets from a discontinued line are the tricky ones, since sheen and undertone drift over the years. In those cases I often repaint the entire island a fresh color so the new and old sections read as one, which is faster and cheaper than chasing an impossible match.
Panel treatment matters too. Wrap the new end in a finished skin panel or beadboard so it does not expose raw cabinet sides, and carry any toe-kick, trim, or base detail across the addition. Little continuity cues like a consistent reveal between doors and matching hardware spacing are what make an extension disappear into the original.
Wiring, Outlets, and Code
If your extension grows the island’s footprint, remember that most current electrical codes require a receptacle on an island, and it must be GFCI-protected. Adding a bar-height back means you may want an outlet on the seating side for phones and small appliances, which usually means fishing a new circuit — a licensed electrician typically charges $250 to $600 for the job. Pop-up and side-mount outlets keep the countertop clean and avoid drilling the face of a decorative panel.
Plan the wiring before the countertop goes on, not after; retrofitting an outlet through a finished stone waterfall is a headache nobody enjoys. Get the dimensions right, support the overhang properly, match or intentionally contrast your top, and handle the electrical up front, and the addition will feel like it was always part of the kitchen.


