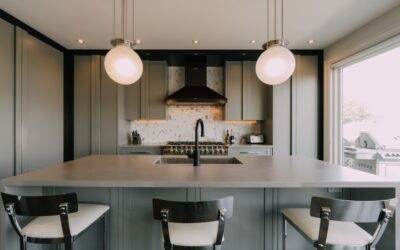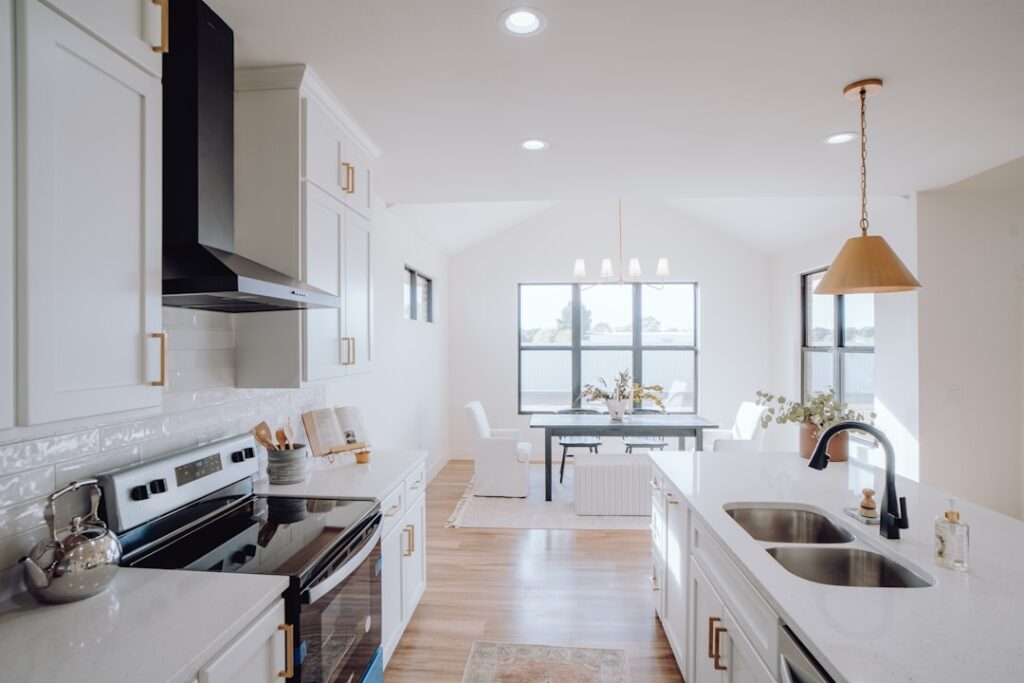
The back of a kitchen island is prime real estate that most people leave blank. Cladding it in wood is one of the highest-impact, lowest-cost upgrades in a kitchen, turning a plain painted box into a design feature that draws the eye. Kitchen island wood panels add texture, warmth, and a custom, built-in look that photographs beautifully and, done well, can be a weekend project rather than a contractor job. The trick is choosing a style and material that suit both your kitchen and the abuse an island endures from stools, feet, and mops.
Part of our Kitchen Remodeling guide — explore the full guide →
- Why Wood Panels Transform an Island
- Popular Wood Panel Styles
- Choosing the Right Material
- Tools and Materials You Will Need
- How to Install Kitchen Island Wood Panels
- Finishing for a Kitchen Environment
- Design Tips That Elevate the Result
- Matching Panels to Your Kitchen Style
- Cost and Return on Effort
Why Wood Panels Transform an Island
An island’s seating side is the part guests face while you cook, yet builders almost always finish it as a flat, painted panel. Adding dimensional wood immediately changes the room’s character. It introduces a natural material against hard countertops and appliances, breaks up large expanses of cabinetry, and can tie the kitchen to wood tones elsewhere in the home.
The upgrade also reads as custom craftsmanship even when it is a DIY job. A shiplap or board-and-batten treatment costs a fraction of new cabinetry but delivers a designer look that suggests you spent far more. For homeowners chasing impact on a budget, few projects deliver more visual return per dollar.
Popular Wood Panel Styles
The style you choose sets the tone for the whole kitchen. The most popular options each carry a distinct feel:
- Shiplap: Horizontal boards with a subtle reveal between them. Clean, coastal, and farmhouse-friendly. The most forgiving style for beginners.
- Board and batten: Flat panels with vertical battens spaced evenly across the face. Classic and architectural, great for traditional and transitional kitchens.
- Slat or fluted wood: Narrow vertical slats set close together for a modern, rhythmic texture. Currently the most contemporary look.
- Beadboard: Fine vertical grooves for a cottage feel, often the most affordable in sheet form.
- Reclaimed or planked wood: Mixed-width boards with visible grain and character for a rustic statement.
Match the direction and scale to your space. Vertical slats make a low island feel taller; horizontal shiplap widens a narrow one. In a small kitchen, a fluted or beadboard treatment with tight lines reads cleaner than wide rustic planks.
Choosing the Right Material
Not all wood belongs in a kitchen. Islands face humidity, occasional splashes, and constant contact from stools and shoes, so material choice affects both looks and durability:
- Solid wood (pine, oak, poplar): Beautiful and durable, but it moves with humidity and costs more. Poplar takes paint well; oak shows off a stained grain.
- MDF panels and trim: Inexpensive, perfectly smooth, and ideal for a painted finish. Vulnerable to water, so seal cut edges and keep it off the floor line.
- Plywood: A strong middle ground, stable and paint- or stain-friendly, with better moisture tolerance than MDF.
- Peel-and-stick or panel kits: The fastest route for renters and beginners, though less durable long term.
For a painted island, primed MDF trim is the budget favorite. For a stained, natural look, choose real wood or a quality veneered plywood so the grain shows.
Tools and Materials You Will Need
A typical panel project calls for a modest tool kit: a miter saw or a circular saw with a guide for clean crosscuts, a brad nailer or finish nailer, a level, a tape measure, and a caulk gun. On the consumables side, plan for construction adhesive, brad nails, paintable caulk, wood filler, primer, and your finish paint or stain. If you are cutting around outlets, add a jigsaw or oscillating tool.
Buy about 10 to 15 percent more material than your measurements suggest to cover mistakes and matching. Let solid wood and MDF acclimate in the kitchen for a couple of days before installing so the material adjusts to the room’s humidity and does not shift after you nail it up.
How to Install Kitchen Island Wood Panels
The process is approachable for a confident DIYer. Work methodically:
- Prep the surface. Clean the existing island face and lightly sand glossy paint so adhesive grips.
- Measure and plan the layout. Mark stud or cabinet-frame locations and dry-lay your boards to plan spacing and where cuts fall.
- Cut your pieces. Measure twice, cut once, and label pieces for their position.
- Apply and fasten. Run a bead of construction adhesive on the back of each board, press it into place against a level line, and set brad nails to hold it while the adhesive cures.
- Fill and caulk. Fill nail holes with wood filler, then caulk seams and the top edge for a seamless, built-in look.
- Prime and finish. Prime bare MDF or wood, then apply two coats of a durable finish.
Take your time with the first board and level line; everything after keys off it. A crooked starter row telegraphs across the whole panel.
Finishing for a Kitchen Environment
The finish is what lets an island panel survive real life. For painted panels, use a scrubbable, semi-gloss or satin enamel that stands up to wiping. Cabinet-grade acrylic-alkyd enamels dry hard and clean easily, which matters where scuff marks and food splatter are inevitable.
For stained wood, seal with a durable clear topcoat such as a water-based polyurethane, which resists yellowing and cleans up easily. Apply at least two coats and lightly sand between them. Pay special attention to the bottom edge near the floor, where mopping and spills attack first; a sealed edge and a small gap or base shoe keep water from wicking up into the panel.
Design Tips That Elevate the Result
A few choices separate a polished result from a DIY-looking one. Wrap the panels around any exposed island ends rather than stopping abruptly, so the treatment looks intentional. Consider a contrasting color for the island so the wood texture and hue set it apart from perimeter cabinets. Add a slim baseboard or toe-kick trim at the floor and a subtle top cap under the countertop overhang to frame the panels cleanly.
If you have counter overhang for seating, confirm the added panel thickness does not intrude on legroom for stools. Most panel treatments add only a half inch or so, but board-and-batten with thicker battens can eat into knee space on a shallow overhang.
Matching Panels to Your Kitchen Style
The right panel treatment reinforces the style you already have rather than fighting it. In a farmhouse or coastal kitchen, horizontal shiplap in a soft white or greige feels right at home. Traditional and transitional spaces suit board and batten, whose vertical rhythm echoes classic wainscoting. Modern and organic kitchens lean toward tight fluted or slat wood, often in a natural stained tone that adds warmth against flat-panel cabinets.
Color choice matters as much as profile. Painting the island panels to match the perimeter cabinets creates a seamless, built-in look, while a contrasting color, a deep navy or forest green island against white cabinets, turns the panels into a bold focal point. Stained natural wood panels bring in organic texture and pair beautifully with stone countertops. Pull a color from something already in the room, such as a backsplash accent or a pendant fixture, so the island feels intentional rather than added on. When in doubt, sample the finish on a scrap board and live with it in the kitchen’s light for a day before committing.
Cost and Return on Effort
Materials for a standard island typically run $100 to $400 depending on style and wood choice, plus a weekend of labor if you do it yourself. Hiring a carpenter and painter pushes the total into the $600 to $1,500 range. Either way, it is one of the least expensive ways to make a kitchen feel custom, and it consistently draws compliments and buyer attention out of proportion to its cost.
Well-chosen kitchen island wood panels take the most-seen surface in the room and turn it into a focal point. Pick a style that fits your kitchen’s character, use a material suited to a working kitchen, and finish it to withstand daily wear. The payoff is a warmer, more custom-looking space achieved in a weekend and on a budget most other upgrades cannot match.