After twenty-odd years of pulling up water-swollen laminate and cupped hardwood in kitchens, I steer most homeowners toward kitchen luxury vinyl plank flooring for one blunt reason: the kitchen is the wettest, busiest, hardest-working room in the house, and this product was engineered for exactly that abuse. Luxury vinyl plank, usually shortened to LVP, is a multi-layer synthetic board that clicks together over your subfloor. It handles a dropped cast-iron skillet, a dishwasher leak, and a Saturday of muddy dog traffic without complaint, and it does it at a price that undercuts real wood by a wide margin.
Part of our Kitchen Remodeling guide — explore the full guide →
What Luxury Vinyl Plank Actually Is
An LVP board is built in four or five layers. Up top sits a clear urethane wear layer measured in mils, then a printed film that mimics oak, hickory, or stone, then the rigid core, and finally an attached backing pad. Two core types dominate the market. SPC (stone plastic composite) uses limestone powder for a dense, dead-solid feel that resists dents and hides subfloor imperfections. WPC (wood plastic composite) is a bit softer and warmer underfoot but slightly less impact-resistant. For a kitchen, I almost always spec SPC because the density stands up to bar stools, appliance dollies, and heavy foot traffic.
Planks typically run 6 to 9 inches wide and 48 to 60 inches long, with total thickness between 4mm and 8mm. The number that matters most is the wear layer. Builder-grade product carries a 6-mil layer, which I consider too thin for a kitchen. Aim for 20-mil (sometimes printed as 0.5mm) in a busy household, and 12-mil at the absolute minimum. That single spec is the difference between flooring that looks tired in five years and flooring that still shines at fifteen.
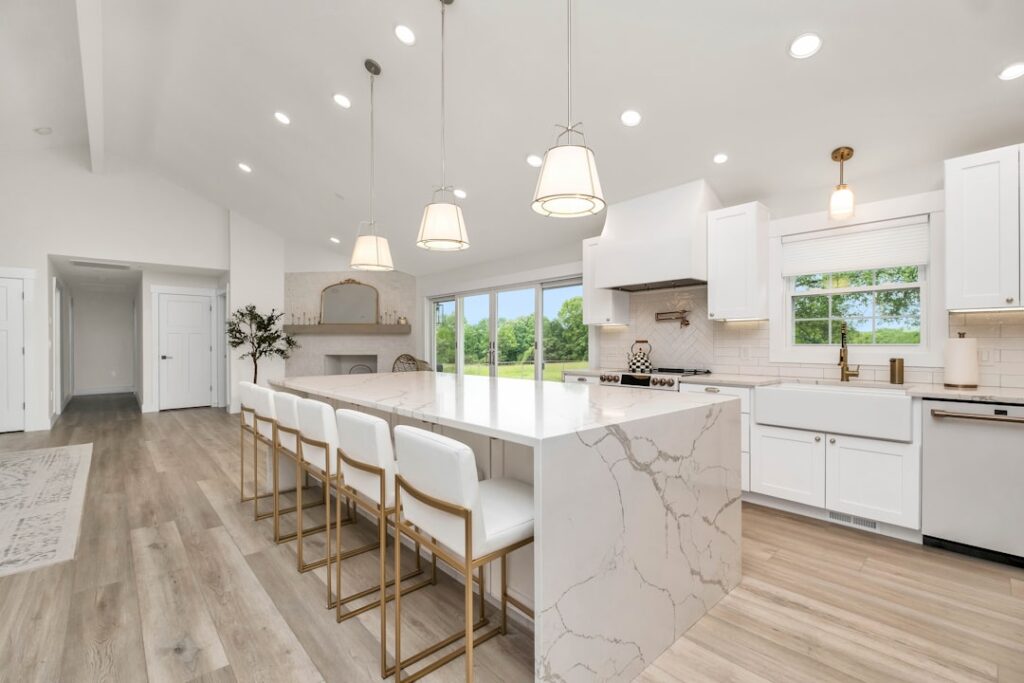
While you’re upgrading the kitchen floor, it might be a good time to rethink the seating too. Swapping out old bar stools is one of those small changes that makes the whole room feel more pulled together.
We may earn a commission when you purchase through our links.
Why It Wins in the Kitchen
Waterproof performance is the headline. A true SPC plank has a plastic-and-stone core that will not swell, buckle, or delaminate when liquid sits on top of it. Spill a full pot of pasta water, let the ice maker drip for a week, or park a leaky dishwasher on it, and the surface wipes clean with no lasting damage. That is a claim no real hardwood and almost no laminate can honestly make. Just remember waterproof refers to the plank itself; standing water can still migrate through the seams to the subfloor over long periods, so you mop up big spills, you do not ignore them.
Comfort and quiet are underrated. LVP has a little give compared to tile, so standing at the sink for an hour prepping dinner is easier on your knees and lower back. It runs warmer than ceramic too, which matters on a January morning when bare feet hit the floor. Drop a wine glass and it usually bounces instead of shattering, and dishes that would explode on porcelain sometimes survive on vinyl.
Real Costs You Should Budget
Material for a solid kitchen-grade LVP runs $2.50 to $5.00 per square foot for the mid-tier products I recommend, with premium designer lines climbing to $6 or $7. Professional installation adds $2 to $4 per square foot depending on your region and how much subfloor prep the job needs. For a typical 200-square-foot kitchen, that lands you around $900 to $1,800 installed. Compare that to $8 to $15 per square foot installed for site-finished oak, and the value gap is obvious.
Budget a little extra for the details that make or break a job. A quality underlayment (if your planks don’t have one attached) runs $0.30 to $0.60 per square foot. Transition strips, quarter-round or shoe molding, and a fresh bead of silicone around the dishwasher and cabinet toe-kicks are cheap insurance. Always order 10 percent overage for cuts, waste, and future repairs, because dye lots change and you want spare planks in the garage.
The Downsides Nobody Mentions at the Store
It is still plastic, and it can look like plastic if you buy cheap. Low-end LVP repeats the same three or four printed grain patterns every few boards, and a trained eye catches it fast. Spend up for a product with embossed-in-register texture, where the surface grooves line up with the printed grain, and 20 or more unique plank faces. That is what fools people into thinking it’s real wood.
Heavy appliances and heat are the two real enemies. A refrigerator or range parked in one spot can leave permanent indentations in softer WPC cores, so use wide-footed appliance sliders and check the manufacturer’s static load rating. Direct sunlight through a big kitchen window can fade the print over years, and some floating floors expand and contract with temperature, which is why you leave a 1/4-inch gap at every wall. Dark planks also show every crumb, dog hair, and dried mop streak, so lean toward mid-tone finishes if you hate constant sweeping.
Floating Click vs. Glue-Down
Most kitchen LVP today is floating click-lock: the planks snap together at the edges and rest on the subfloor without adhesive, held in place by their own weight and the perimeter. It installs fast, comes up easily for repairs, and forgives minor subfloor unevenness. The tradeoff is that a floating floor can feel slightly hollow and needs those expansion gaps respected.
Glue-down LVP bonds directly to the subfloor with adhesive. It feels more solid, handles very large open-plan spaces without movement, and stands up better to rolling loads. The catch is that it demands a flatter, cleaner subfloor and is a genuine pain to remove later. For most residential kitchens under 400 square feet, floating click is the right call. Reserve glue-down for big commercial-style layouts or homes where you’re running one continuous floor across several rooms.
Installation and Subfloor Prep
The floor is only as good as what’s under it. Your subfloor needs to be flat within 3/16 inch over a 10-foot span; anything more and you’ll feel dips or hear clicking as planks flex. Over concrete, check for moisture with a calcium chloride or relative humidity test, because a wet slab can trap vapor under the vinyl. Let the planks acclimate in the room for 48 hours before installing so they reach the home’s temperature and humidity.
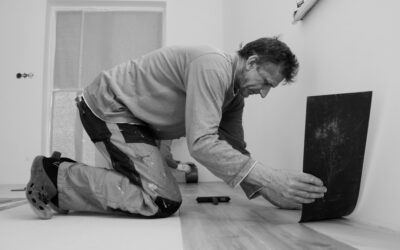
A confident DIYer can lay a floating LVP kitchen in a weekend with a tapping block, a pull bar, a utility knife, and a square. Cutting around cabinet bases, the island, and the dishwasher opening is the fussy part, so measure twice. If your subfloor needs leveling compound or you’re doing glue-down, hire a pro; that’s where amateur jobs go sideways. Undercut door casings with a jamb saw so planks slide underneath for a clean look rather than being caulked awkwardly against the trim.
Care, Maintenance, and Lifespan
Daily upkeep is genuinely easy. Sweep or run a vacuum on the hard-floor setting, and damp-mop with a pH-neutral vinyl cleaner. Skip steam mops, wax, and anything abrasive; steam can work moisture into the seams and wax builds a dull film that voids many warranties. Put felt pads under chair and stool legs and a hard-floor mat under rolling office chairs if your kitchen doubles as a homework zone.
Treated well, a 20-mil kitchen floor lasts 15 to 25 years and carries a residential wear warranty in that range. The beauty of a click-lock system is spot repair: if one plank gets gouged, you unclick back to it, swap in a spare, and click everything back. Try doing that with tile or a glued-down sheet. That repairability, combined with genuine waterproofing and a friendly price, is why kitchen luxury vinyl plank flooring has become my default recommendation for the hardest-working room in the house.
Is It Right for Your Kitchen?
If you want the warmth and look of wood without the terror of water damage, LVP is the practical answer. If you have pets, kids, or a habit of over-filling the sink, it is close to bulletproof when you buy a decent wear layer. The homeowners who regret it are the ones who bought the $1.79 clearance product with a 6-mil top layer and expected miracles. Buy quality core, buy a thick wear layer, prep the subfloor honestly, and this floor will outlast three kitchen appliances and still look sharp when you finally decide to remodel.
Prefer to explore on your own?
See how new flooring looks in your actual room in seconds — free, no signup.
Try the free Floor Studio →