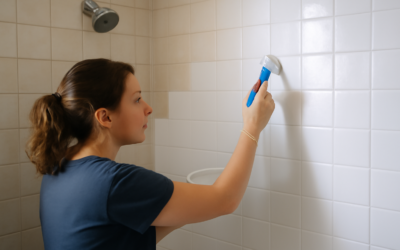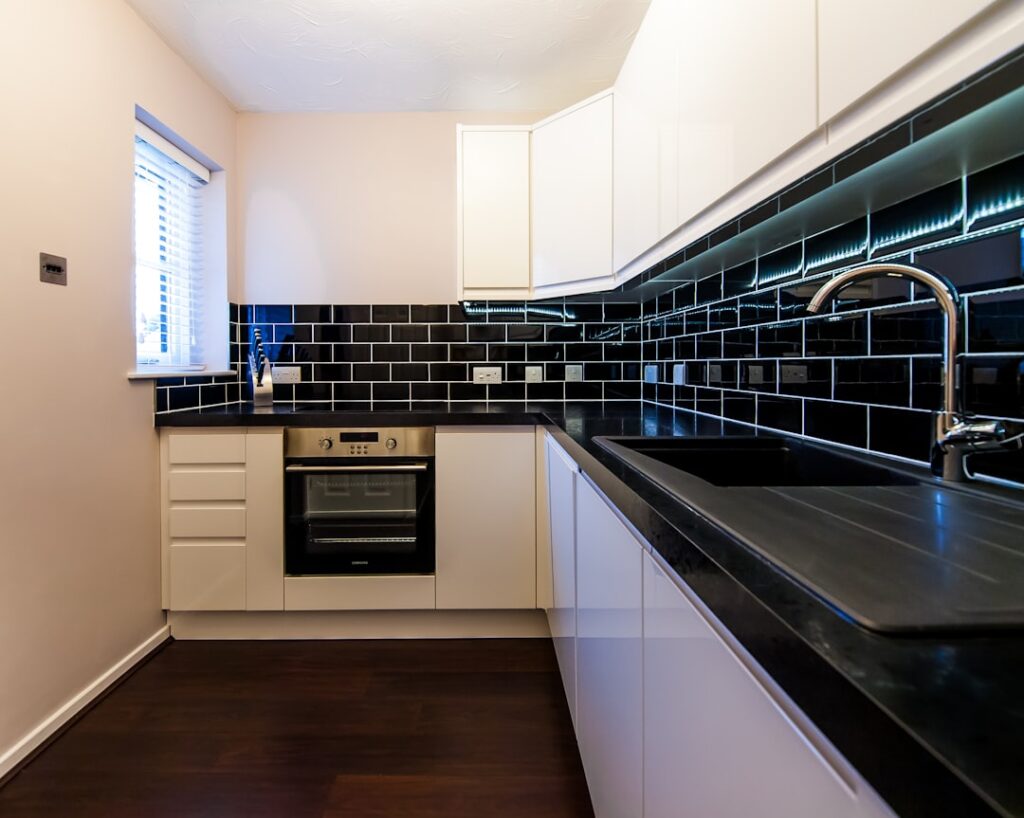
Ripping out a dated kitchen backsplash or floor is expensive, messy, and often overkill when the tile itself is perfectly sound and only the color is stuck in another decade. Kitchen tile paint offers a genuinely transformative shortcut: for a fraction of the cost of new tile, you can turn a muddy 1990s beige backsplash or a tired floor into a clean white, bold navy, or soft sage in a weekend. The catch is that painting tile is far less forgiving than painting a wall, and the difference between a finish that lasts for years and one that peels in months comes down almost entirely to preparation and product choice.
Part of our Kitchen Remodeling guide — explore the full guide →
Can You Really Paint Kitchen Tile?
Yes, and done correctly it holds up remarkably well, but you have to respect what you are asking the paint to do. Kitchen tile lives in a harsh environment of grease, steam, water splashes, and constant wiping, and the glazed surface of tile is deliberately slick and nonporous, which is the opposite of what paint wants to grip. That means you cannot simply roll on wall paint and hope. Success depends on thorough cleaning, deglossing the surface so paint can bond, the right primer, and a durable topcoat rated for the abuse a kitchen dishes out. Backsplashes and walls are the easiest and most reliable candidates. Floor tile can be painted too, but it takes tougher products and sees far more wear, so it is a more demanding project with a shorter lifespan.
While you’re upgrading the kitchen floor, it might be a good time to rethink the seating too. Swapping out old bar stools is one of those small changes that makes the whole room feel more pulled together.
We may earn a commission when you purchase through our links.
Best Paints for Kitchen Tile
Choosing the right coating is half the battle. A few options rise to the top.
- Epoxy tile paint / tile refinishing kits: The most durable choice, like Rust-Oleum Tub & Tile or Homax kits. Two-part epoxy bonds hard and resists moisture and scrubbing. Best for high-splash and wet areas.
- Urethane or acrylic-urethane enamel: Tough, self-leveling cabinet and trim paints that also work well on tile with proper primer.
- Bonding primer plus durable topcoat: A dedicated tile or bonding primer such as an adhesion primer, followed by a scrubbable semi-gloss enamel.
- Tile-specific paint systems: Products marketed specifically for tile that include primer and paint engineered to work together.
Whatever system you choose, a semi-gloss or gloss sheen is the practical pick for kitchens because it wipes clean and resists moisture far better than a flat finish. Matte tile paint may look trendy, but it holds grease and stains in a kitchen.
Preparation Is Everything
If you take away one lesson, make it this: the finish only lasts if the prep is thorough. Painted tile fails almost exclusively because of skipped or rushed prep. The process starts with a deep degreasing clean, because kitchen tile is coated in invisible cooking oils that will reject paint. Scrub with a strong degreaser or a TSP substitute, rinse completely, and let it dry. Next, scuff the glossy glaze with 220-grit sandpaper so the surface has a tooth for the primer to bite into, then wipe away all the dust. Any cracked or missing grout should be repaired and allowed to cure, and any silicone caulk must be removed since paint will not stick to it. Only after all that do you prime.
Ventilation and patience matter here. Deglossing and priming create fumes and dust, so open windows and wear a respirator, and never rush the drying and curing times between coats. Skipping the sanding step or painting over greasy tile is the single most common reason a beautiful new finish starts peeling at the edges within weeks.
Step-by-Step Painting Process
Once the tile is clean, sanded, and dry, the actual painting follows a clear sequence.
- Apply a high-adhesion bonding primer in thin, even coats and let it cure fully per the label, often 24 hours.
- Paint the first topcoat thinly; two or three thin coats always outperform one thick coat that runs and stays soft.
- Lightly sand between coats with fine grit if the product recommends it, and wipe clean.
- Apply the final coat and, for extra durability in wet zones, add a clear urethane or epoxy topcoat.
- Allow the full cure time, which for epoxy systems can be several days, before exposing the surface to water or heavy use.
Cutting in the grout lines with a small brush and rolling the tile faces with a dense foam roller gives the smoothest, most even result. If you want to keep the look of grout lines, paint the whole surface one color and re-scribe the grout afterward, or simply paint over everything for a modern, seamless look.
What It Costs
The savings versus retiling are dramatic. A tile painting project typically runs $50 to $200 in materials, covering primer, paint, a topcoat, sandpaper, and rollers, enough for an average backsplash or a small floor. Compare that to $1,000 or more to demolish and retile even a modest backsplash. Even if a painted finish only lasts five to eight years, the low cost makes it easy to justify, and you can simply repaint when it eventually wears.
Durability and Realistic Expectations
Painted tile is a real solution, not a gimmick, but set your expectations honestly. A well-prepped backsplash with an epoxy or urethane finish can look great for many years with gentle care. Floors take more abuse and wear faster, especially in traffic lanes, and may need touch-ups sooner. The finish is harder than wall paint but not as bulletproof as the original ceramic glaze, so avoid abrasive scrubbing pads and harsh chemicals, and wipe up standing water rather than letting it sit on seams. Treat a painted tile surface a little more gently than you would raw tile and it will reward you with a long, attractive life.
Is Painting Your Kitchen Tile Worth It?
For anyone staring at sound but dated tile, kitchen tile paint is one of the highest-impact, lowest-cost updates available. It transforms a backsplash or floor in a weekend for a couple hundred dollars, sidesteps a messy demolition, and lets you test bold colors with little financial risk. The whole outcome hinges on preparation: degrease, sand, prime, and use a durable moisture-rated topcoat, and do not rush the cure. Respect those steps and a painted kitchen tile surface will look fresh and hold up for years, buying you the updated kitchen you want at a tiny fraction of a full remodel.
Prefer to explore on your own?
See how new flooring looks in your actual room in seconds — free, no signup.
Try the free Floor Studio →