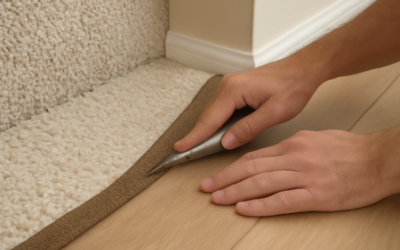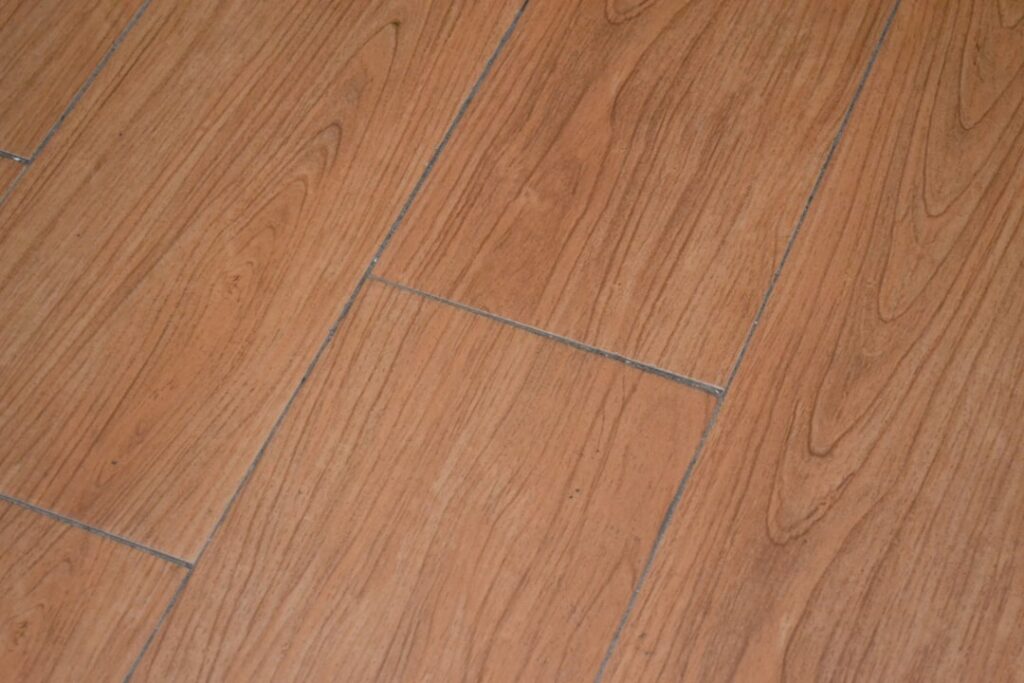
A beautifully installed laminate floor can still look like an amateur job if the laminate flooring edge trim is wrong, missing, or nailed down where it should float. Trim is the finishing detail that covers the expansion gap around every wall, bridges the height difference to the next room, and hides the raw cut edges at doorways. Get it right and the floor reads as professional; get it wrong and every transition becomes a tripping point or a place where the floor buckles.
There are five common trim profiles, each solving a specific problem, and the biggest mistake homeowners make is using the wrong one for the situation. This guide walks through what each piece does, how to install it, and the details that separate a clean finish from a callback.
Why Laminate Needs Edge Trim at All
Laminate is a floating floor that expands and contracts with temperature and humidity. That is why you leave a 1/4-inch to 3/8-inch expansion gap around the entire perimeter and at every fixed obstacle. Trim exists to cover that gap and those cut edges without pinning the floor down. The cardinal rule of all laminate trim: it fastens to the wall or subfloor, never to the flooring itself. Nail trim through the planks and you lock the floor in place, which forces it to buckle or gap when it tries to move.
Beyond hiding gaps, trim protects vulnerable edges from chipping, creates safe transitions between different floor heights, and gives the whole installation a finished, intentional look.
The Five Essential Trim Types
Each profile handles a different junction. Learn to tell them apart and you will always grab the right one.
T-Molding
Shaped like a capital T, this bridges two floors of the same height, most often laminate meeting laminate in a doorway or across a large open span where an expansion break is needed. The stem sits down in a track or gap between the two floors while the top covers both edges. Use it laminate-to-laminate or laminate-to-tile of equal height.
Reducer
A reducer transitions from laminate down to a thinner floor, like vinyl, low-pile carpet, or a bare concrete slab. It slopes gently from the laminate’s height down to the lower surface, eliminating a hard step and the tripping hazard that comes with it.
End Cap (Square Nose)
End caps, also called square-nose or universal edge, finish the floor where it meets a vertical surface or a much lower one, such as a sliding door track, a fireplace hearth, or the top of a stair landing. It gives a clean, squared-off edge where the floor simply stops.
Threshold
A threshold, or T-bar variant, sits in a doorway to transition laminate to an adjoining room’s flooring, commonly at exterior doors and between rooms. It covers the gap and provides a defined boundary underfoot.
Quarter Round and Baseboard
Along the walls, quarter round or base shoe covers the perimeter expansion gap where the flooring meets the baseboard. It is the most-used trim in any laminate job, running the full perimeter of every room, and it nails into the baseboard, never into the floor.
Matching Trim to Your Floor
Trim is sold in three ways, and the choice affects both looks and cost. Color-matched trim from the flooring manufacturer blends best because it is printed to match the planks exactly, though it costs more, often $15 to $30 per piece. Coordinating trim in a close but not exact tone is cheaper and fine for less visible transitions. Paintable or stainable wood trim lets you customize the finish but takes more work.
For a seamless look, buy the manufacturer’s matching trim in the same batch as your flooring. Mismatched trim is one of the fastest ways to make a good floor look cheap, and once the flooring line is discontinued, matching it later becomes nearly impossible.
How to Install Laminate Edge Trim
Most trim installs the same basic way, with attention to that one non-negotiable rule about not fastening to the floor.
- Measure the opening or wall length and cut the trim to fit, using a miter saw for clean, square ends.
- For T-molding and transitions, many systems use a metal track. Screw the track to the subfloor within the expansion gap, then snap the visible trim onto it.
- For quarter round, run a bead of construction adhesive or nail it into the baseboard with 18-gauge brads, keeping fasteners out of the flooring entirely.
- At outside corners, miter the ends at 45 degrees for a clean joint; at inside corners, cope or miter as needed.
- Leave the expansion gap intact underneath; the trim covers it but must never compress or pin the planks.
Dry-fit every piece before fastening. Cutting trim a hair long and then trimming down beats cutting short and having to buy another length.
Common Mistakes to Avoid
- Nailing through the flooring: The number one error. It locks the floating floor and causes buckling. Fasten only to the wall or subfloor.
- Using the wrong profile: A T-molding where a reducer belongs leaves a lip that catches toes and looks wrong.
- Closing the expansion gap: Pushing trim tight enough to fill the gap defeats its purpose. The gap must stay open under the trim.
- Skipping transitions in long runs: Very large open areas need a T-molding break so the floor can move; skipping it invites peaking.
- Mismatched color: Buying trim later or from a different line leaves visible tonal differences at every doorway.
Tools and Materials Checklist
Trimming out a laminate job is a short list of tools. You need a miter saw or a fine-tooth handsaw with a miter box for clean angle cuts, a tape measure, a pencil, and either an 18-gauge brad nailer or a hammer and finish nails. Construction adhesive helps hold quarter round and metal tracks, and a caulk gun dispenses it. Keep a nail set on hand to sink brads below the surface, and matching putty to fill the holes.
Buy trim quantities with a little extra, since miter cuts produce waste and a bad cut happens to everyone. Around 10 percent overage on linear footage covers mistakes and leaves spare pieces for future repairs.
Final Detailing Tips
The last details make the finish look intentional. Sink every nail head below the surface and fill it with color-matched putty so no metal shows. Where trim meets on a long wall, cut the joint at a 45-degree scarf rather than a butt joint, which hides any gap that opens as the wood moves. Wipe transitions clean and check that no piece rocks or lifts underfoot.
Handled with care, laminate flooring edge trim turns a competent installation into one that looks like it came from a professional crew. It is the least expensive part of the whole floor and the part people notice first at every doorway, so give it the same attention you gave the planks.
Prefer to explore on your own?
See how new flooring looks in your actual room in seconds — free, no signup.
Try the free Floor Studio →