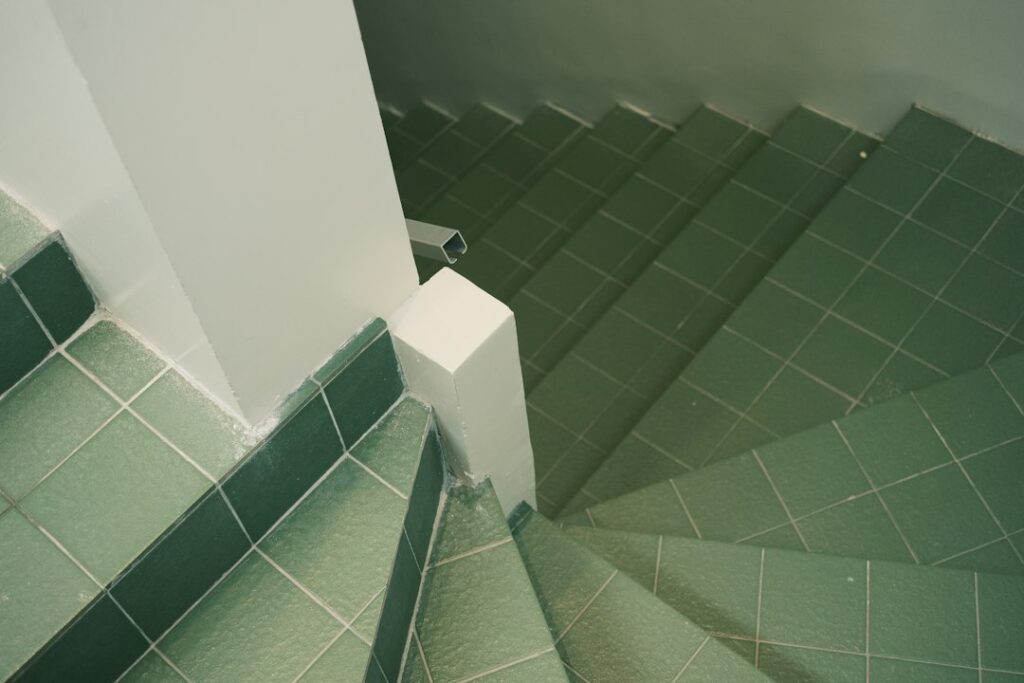
The most fragile part of any tiled staircase is the eighth of an inch right at the front lip of each step. That exposed edge takes every scuffed shoe, dropped box, and dragged suitcase in the house, and bare tile chips there fast. Tile stairs edge trim is the piece that solves this, wrapping the vulnerable nosing in a durable, finished profile that protects the tile, improves traction, and gives the whole staircase a crisp, intentional look. Choosing the right trim is as important as choosing the tile itself.
Part of our Stairs & Stair Flooring guide — explore the full guide →
Why Stair Edges Need Trim
Flat floor tile has support under its entire surface. A stair nosing does not; the front edge cantilevers slightly over the riser with nothing beneath it, so any impact concentrates at that unsupported lip. Add the fact that stairs concentrate foot traffic on exactly that spot, and you have the perfect recipe for chipped corners and cracked glaze. Trim transfers those forces into a tough metal or molded profile, adds a defined step edge that helps people judge depth, and often includes a textured surface that reduces slips on an otherwise slick tile.
The Main Types of Stair Edge Trim
There is no single right product; the best choice depends on your tile, your budget, and the look you want.
- Metal stair-nose profiles: aluminum, stainless, or brass channels that cap the edge with a rounded or squared front. The most durable option and available in many finishes.
- Bullnose tile: matching tile with a factory-rounded front edge, giving a seamless all-tile look with no visible metal.
- Tile stair-nose planks: purpose-made nosing pieces sized to overhang the riser, common in porcelain wood-look lines.
- Anti-slip insert strips: trims with a rubber or grit insert set into the nosing for maximum traction, popular in high-traffic and commercial settings.
Choosing the Right Profile
Match the trim to how the staircase is used. For a busy family home with kids and pets, a metal profile with an anti-slip insert delivers the most protection and safety. For a formal, showpiece staircase, a bullnose tile edge keeps the look clean and monolithic. In a wood-look porcelain installation, a coordinating stair-nose plank blends seamlessly with the plank field. Consider finish too; a satin nickel or oil-rubbed bronze metal trim should complement your railings and hardware rather than clash with them.
Getting the Overhang and Reveal Right
A proper stair nosing overhangs the riser below by roughly 3/4 to 1-1/4 inch. This overhang, called the nosing projection, gives the foot more landing area and creates the shadow line that makes each step visually distinct. Building codes in many areas regulate this dimension for safety, so check local requirements before you commit to a layout. When you set the trim, the front face of the nosing should align cleanly with the face of the riser tile below, leaving a consistent reveal. Sloppy overhangs are the tell-tale sign of a rushed install.
Safety and Code Considerations
Stairs are the number-one location for home falls, so slip resistance is not optional. Choose tile and trim with a documented slip rating; look for a Dynamic Coefficient of Friction of 0.42 or higher for the walking surface. Anti-slip insert trims are the surest way to hit that number on glossy tile. Consistency also matters: every step in a run should have the same rise and the same nosing projection, because even a quarter-inch variation between steps causes trips. If your local code specifies contrasting color strips on public or rental stairs, factor that into your trim color.
Installation Overview
Setting stair trim demands more care than flat floor tile. Install the riser tile first, then the tread, so the tread and its nosing overlap the top edge of the riser for a clean joint. Bed metal profiles in thinset with the anchoring flange fully embedded under the tread tile, which locks the trim in place mechanically rather than relying on adhesive alone. Keep the front lip supported and check that it does not rock; a nosing that flexes will crack the grout line behind it. Maintain even grout joints where the trim meets the field tile, and tape the trim in position while the thinset cures if it wants to drift.
Common Mistakes to Avoid
Several errors show up again and again on DIY stair projects. Skipping the anchoring flange and gluing trim to the tile face leaves a lip that peels off within a year. Choosing a high-gloss tile with no anti-slip provision creates a genuine hazard. Inconsistent overhangs between steps look amateurish and trip people. And forgetting to order enough trim is common, since nosing is sold by the linear foot per step, so measure every tread width and add 10 percent for cuts and waste before you buy.
Maintenance and Longevity
Once installed correctly, tile stair trim needs little attention. Sweep grit off the treads regularly, because sand is abrasive and grinds down anti-slip textures over time. Wipe metal profiles with a mild cleaner and avoid abrasive pads that scratch the finish. Inspect the front nosing joints once a year and touch up any cracked grout promptly before water works its way underneath. Anti-slip inserts eventually wear smooth in the busiest lanes and can usually be replaced without disturbing the surrounding tile, which is a quiet advantage of the insert-strip designs.
Matching Trim to Different Tile Types
The tile you set on the treads influences which trim performs best. With a glossy porcelain or a polished stone, slip resistance is the priority, so an anti-slip insert profile or a textured metal nosing earns its keep. With a matte, textured, or wood-look porcelain plank, a coordinating stair-nose plank keeps the visual flow of the wood grain unbroken from tread to nosing. With natural stone like travertine or slate, a metal profile in an aged bronze or brushed finish complements the organic look, while a stone bullnose keeps everything monolithic if your supplier offers a matching piece.
Color coordination is the finishing touch people forget. A metal nosing should either disappear by matching the tile tone or intentionally contrast to define the step edge for safety, which is actually a code requirement in many public and rental settings. On a residential staircase, most homeowners want the trim to blend, so choose a finish that reads as a quiet accent rather than a bright metal stripe. Order one length of your chosen trim and hold it against the actual tile before buying the full run, since finishes that look neutral in a catalog can clash once they are next to your specific tile color and the lighting on your stairs.
The Bottom Line
Tile stairs edge trim is a small line item with an outsized impact. It protects your most vulnerable tile edge, keeps the staircase safe underfoot, and gives the finished stairs a professional, deliberate appearance. Whether you choose a rugged metal profile, a seamless bullnose, or an anti-slip insert, pick the trim before you buy the tile, verify the overhang against local code, and install it with a fully embedded flange. Get those details right and your tiled staircase will look sharp and stay chip-free for decades. Measure every tread, account for the overhang and reveal, and coordinate the finish with your railings before you order, because the trim is far easier to get right during installation than to fix after the tile has cured. Treat it as an integral part of the design rather than a last-minute afterthought, and the finished stairs will read as professional work from top to bottom.
Prefer to explore on your own?
See how new flooring looks in your actual room in seconds — free, no signup.
Try the free Floor Studio →