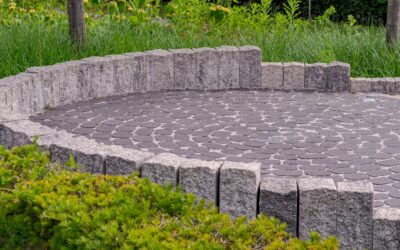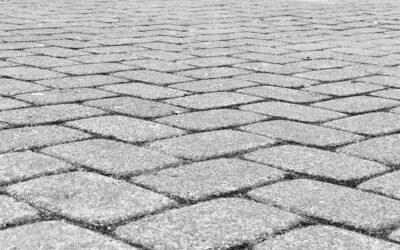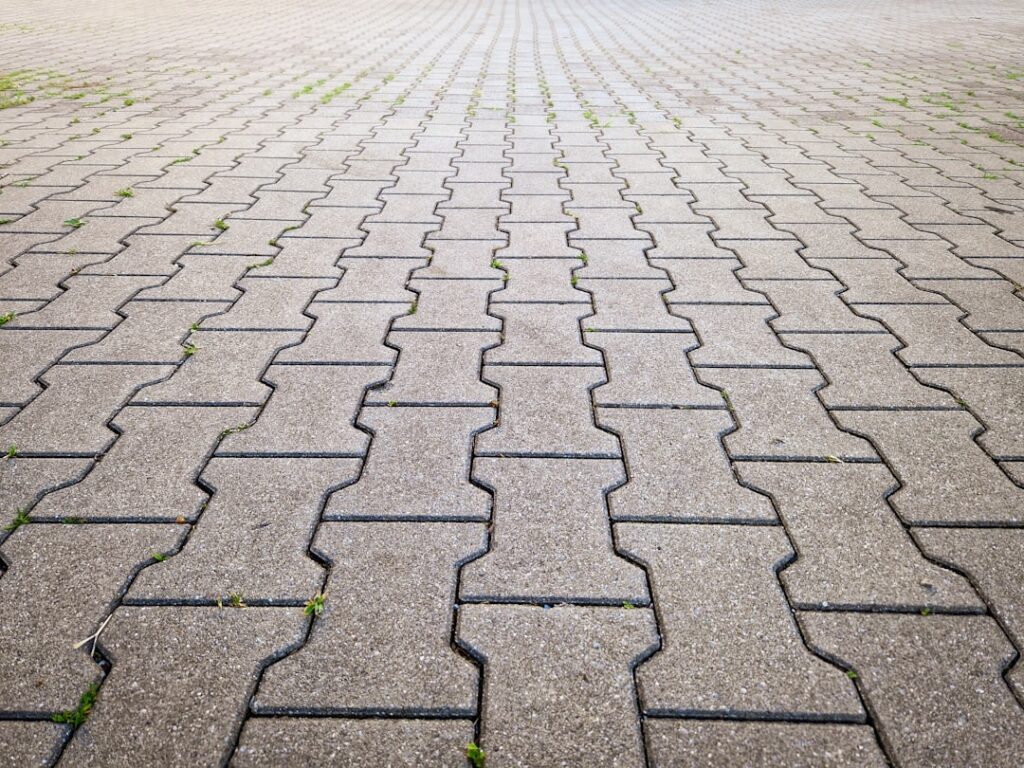
The single fastest way to make a backyard read as modern is to swap busy 6-inch cobble patterns for a few dozen oversized slabs with crisp, wide joints. Large concrete pavers — 24×24 inches and up — have gone from architect’s trick to garden-center staple, and they change more than the look: fewer joints mean faster laying and less weed surface, but each stone weighs 60 to 200 pounds and punishes sloppy base prep in ways small pavers forgive. This guide covers the formats and prices, the handling problem nobody warns you about, and the installation details specific to big-format stones. For paver basics beyond the large format — general concrete pavers or full patio pavers planning — those topics get their own deep dives; here we stay on the big stuff.
Sizes and Formats
“Large format” starts where standard pavers stop, at roughly 16 inches, and the common commercial sizes are:
- 24×24 in: the workhorse square — about 4 sq ft and 90–130 lb per stone at 2-inch thickness
- 24×36 and 18×36 in: rectangles that lay in staggered plank patterns
- 36×36 in: statement squares, 200+ lb — two-person or machine territory
- Plank formats (12×36, 12×48): the linear, wood-adjacent modern look
- Stepping slabs (24×30 irregular or rounded): single stones set into gravel or lawn
Thickness matters more as stones grow: 2-inch (nominal 50mm) slabs are pedestrian-only, while vehicular use demands smaller-format 3 1/8-inch pavers instead — large thin slabs crack under wheel loads, and almost no oversized product is driveway-rated. Manufacturers to look for include Belgard (Mirage, Moderna lines), Unilock (Umbriano, Beacon Hill Smooth), Techo-Bloc (Para, Industria), plus big-box basics — a plain 24×24 gray square runs $15–$25 at Home Depot or Lowe’s, while premium architectural slabs run $8–$18 per sq ft at landscape yards. Budget $10–$20 per sq ft installed DIY all-in, $20–$40 professionally.
The Modern Styles That Drive the Trend
Large-format style is mostly about surface and joints. Smooth-face and lightly textured slabs in gray, greige, and charcoal dominate the modern palette; Unilock’s Umbriano granite-look mottling and Techo-Bloc’s raw “Industria” polished finish are category benchmarks. The joint is a design element: 2- to 4-inch gaps filled with turf, creeping thyme, black Mexican beach pebble, or crushed granite turn a patio into a grid composition, while tight 3/16-inch joints with polymeric sand read sleek and monolithic. Layout patterns stay deliberately simple — stacked grid, single-direction stagger, or plank runs — because the whole aesthetic depends on restraint. A floating-walkway effect of 24×24 stones spaced across gravel delivers the most look per dollar of any hardscape project going.
Base Prep: Less Forgiving at Scale
Small pavers bridge tiny base imperfections; a 24×36 slab spans them and rocks. The base recipe is standard — excavate 7 to 9 inches, lay geotextile fabric on the subgrade, compact 4 to 6 inches of 3/4-minus crushed base in 2-inch lifts with a plate compactor, then screed a 1-inch bedding layer — but the tolerances tighten. Many installers switch the bedding from concrete sand to 1/4-inch clear chip stone for big slabs because it stays put while you adjust heavy stones, and pros increasingly bed the largest formats in a wet mortar or a stabilized bedding layer on commercial jobs. Screed the bedding dead flat with a 1 percent slope for drainage, and never compact the slabs themselves with a bare plate compactor — big stones crack; if you must run a compactor, use a urethane protection pad, and better yet, set each stone with a rubber mallet only.
Handling 100-Pound Stones Without Regret
Weight is the hidden line item. A 300 sq ft patio in 24×24 slabs means 75 stones at around 100 pounds each — nearly four tons placed by hand. Work smart: have the pallets fork-dropped as close to the dig as possible, rent or buy a paver slab lifter (scissor-clamp carriers, $60–$150, or vacuum lifters at rental yards for the biggest formats), and always lift with two people, tilting stones on edge and rolling corners rather than dead-lifting flat. Set each slab down at its final position edge-first and lower it — sliding a set stone plows the screeded bedding and creates the rocking you then can’t fix without lifting again. Check each stone with a level across both diagonals; a big slab that rocks now will rock forever, so lift it and correct the bedding immediately rather than “letting it settle.”
Joints, Edging, and Finishing
Tight-joint installs get polymeric sand swept in and misted per the bag (choose a wide-joint formula if gaps exceed 1/2 inch); wide designed joints get their gravel, groundcover, or sod after edging is in. Rigid edge restraint — concrete-troweled curb, spiked aluminum or PVC edging — is mandatory anywhere slabs aren’t captured by structures, since large stones migrate on unrestrained bedding just like small ones. Slabs headed for pool surrounds or light-colored patios deserve a penetrating sealer against staining; smooth-faced premium products often come factory-sealed, so check before adding more. Plan cuts around a rented 14-inch demo saw or a bridge saw at the yard — a $40 angle-grinder diamond blade will technically cut a 2-inch slab, but each cut is slow, dusty, and hard to keep square across 24 inches.
Pedestal Systems: The Rooftop and Deck Variant
Large-format slabs unlock one installation method small pavers can’t touch: pedestal setting. Adjustable plastic pedestals ($4–$12 each) support each slab at its corners over a waterproofed roof deck, old concrete patio, or drainage layer — no bedding at all, perfect drainage underneath, and every slab lifts out for access to what’s below. It’s the standard system for rooftop terraces and increasingly common over failed ground-level patios, where pedestals plus 24×24 slabs re-deck the space without demolition. Requirements are specific: slabs must be dead-flat and at least 2 inches thick for stability, the structure below must handle roughly 25 to 30 pounds per sq ft of dead load, and perimeter slabs need restraint or adhesive so nothing walks. Budget $8–$15 per sq ft over the cost of the slabs themselves for pedestals and setup on a DIY rooftop job — and check the roof membrane warranty before starting, since some manufacturers require their own protection mat under pedestals.
Living With a Large-Format Patio
Maintenance runs lighter than small-paver hardscape simply because there’s less joint to maintain. Polymeric sand joints need topping up every 3 to 5 years; gravel joints want an occasional rake and weed pass; planted joints need trimming like any groundcover. Watch two things over the years. First, settlement at slab edges — a corner that drops 1/4 inch creates a trip edge exactly where feet land, so re-level individual stones as they appear (lift, add bedding, reset — a 20-minute job per stone with a slab lifter). Second, staining: leaf tannins, rust from furniture feet, and grill grease all show more on a big uniform gray face than on busy small-format patterns. A fall wash and prompt attention to spills handle most of it, and a stained slab can always be flipped or swapped from attic stock — which is the closing argument for buying 5 percent extra and storing the spares flat where you’ll remember them.
Are Large Pavers Right for Your Project?
Choose the large format when the design is modern, the traffic is foot-only, and the site allows machine delivery near the work area. Think twice when the path to the backyard is a 32-inch gate up a slope (four tons through a wheelbarrow detour), when the surface must carry vehicles, or when the ground is fresh fill that will settle unevenly under stones too big to bridge it. Cost lands mid-pack — above poured broom-finish concrete, below natural stone slabs — and repairability is a genuine advantage over any monolithic slab: one stained or cracked unit lifts out and swaps in minutes. Get the base flat, respect your spine, and large concrete pavers deliver the cleanest-looking patio a weekend crew can build.