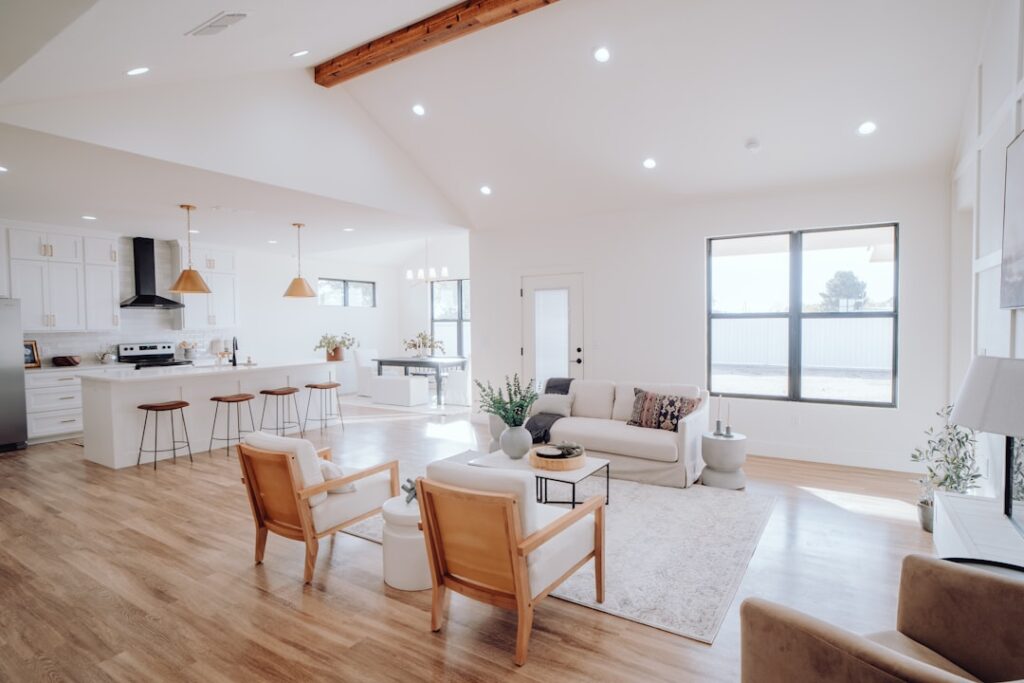
Tile slabs at 24×48 inches, luxury vinyl planks at 9×60, and engineered hardwood at 9-inch widths have shifted the flooring market dramatically in the past decade. Large format flooring creates fewer visual interruptions, makes small rooms read larger, and reduces grout-line maintenance, but it also demands tighter subfloor flatness, more careful handling, and higher labor costs to install correctly. After laying everything from 8×32 porcelain to 12×24 LVT in custom kitchens, I can tell you the substrate prep is what separates a stunning install from one that telegraphs every dip and high spot.
What Counts as Large Format
Industry definitions vary, but practical thresholds are clear.
- Tile: Any tile with a side longer than 15 inches qualifies as large format under TCNA guidelines. Common modern sizes include 12×24, 18×36, 24×24, 24×48, and slab tile up to 60×120 inches.
- Luxury vinyl plank: Standard LVP runs 6×36 to 7×48 inches. Large format LVP starts at 9×60 and includes 12×48, 9×72, and oversized 12×72.
- Engineered hardwood: Standard widths are 3-5 inches. Large format starts at 7 inches and extends to 12-inch wide planks. Lengths run 4-12 feet.
- Laminate: Wide-format laminate from Pergo, Mannington, and Mohawk RevWood comes in 7-9 inch widths and lengths to 60 inches.
For comparison, a 1990s “builder’s tile” was typically 12×12; a 1990s “wide plank” hardwood was 4 inches. The shift to large format is one of the most visible design changes in residential flooring since the 1980s.
Why Large Format Looks Better
Three visual benefits drive the trend.
First, fewer grout lines or seams. A 200-square-foot kitchen tiled in 12×12 needs 200 tile pieces and roughly 280 linear feet of grout joints. The same room in 24×48 takes 25 pieces and 100 linear feet of grout. The visual quietness is dramatic.
Second, perceived room size. Large-format tile or plank tricks the eye into reading the floor as a continuous surface, which makes small rooms feel 15-25 percent larger. This is why open-concept new construction defaults to 9-inch or wider plank.
Third, fewer seams to fail. Every grout joint and plank seam is a potential failure point over time. Reducing seam count by 70-80 percent extends the visual freshness of the floor.
The Subfloor Flatness Problem
Here is the catch: large-format flooring requires significantly flatter subfloors than standard sizes.
TCNA requires subfloor flatness of 1/8 inch over 10 feet for tiles 15 inches and larger, compared with 1/4 inch over 10 feet for smaller tiles. Most plywood and concrete subfloors do not meet this spec without preparation.
For large-format LVP, the spec is 3/16 inch over 10 feet, again tighter than standard LVP. Failure to hit this flatness causes hollow spots, edge curl, and clicking when walked across.
Subfloor prep typically requires self-leveling compound (LevelLite, Mapei Ultraplan, Custom Building Products LevelQuik) at $1.50-$4 per square foot installed. On a 1,000-square-foot project, that adds $1,500-$4,000 to the budget but is non-optional for a clean install.
Pros of Large Format Flooring
Beyond aesthetics, three practical advantages reward the higher upfront cost.
First, faster install in terms of pieces per hour. A two-person tile crew sets 75-100 pieces per day regardless of size. Switching from 12×12 to 24×48 quadruples the coverage in the same time.
Second, easier cleaning. Less grout means less mildew, fewer cracked grout repairs, and faster mopping. For homes with allergies, this is a real benefit.
Third, modern resale value. Buyers in 2026 expect large-format tile in kitchens, baths, and entries. Small format reads as dated and can drag listings.
Cons and Risks
The downsides are real and worth budgeting for.
Higher labor cost. Large-format installs typically run $2-$4 per square foot more in labor than standard sizes due to the flatness requirements, heavier materials, and careful handling. A 24×48 porcelain tile weighs 25-35 pounds.
Lippage risk. Lippage is the height difference between adjacent tile edges. Large tiles amplify any lippage because the tile cannot flex to compensate. TCNA recommends maximum 1/32 inch lippage for tiles 15 inches and larger. Achieving this requires leveling clips (Raimondi Tile Level System, Perfect Level Master) at $50-$120 per project.
Difficult repairs. Replacing a damaged 24×48 tile in the middle of a room is brutal: cutting it out without damaging neighbors takes 1-2 hours, and color-matching to the original lot is often impossible.
Less forgiving of out-of-square rooms. Long planks and large tiles visually amplify any wall misalignment. In old homes with walls 1-2 inches out of square over 12 feet, the install requires creative starting lines or transition strips.
Pricing Tiers
Expect these price ranges installed in 2026.
- 12×24 porcelain tile: $9-$15 per sq ft installed for mid-range; $14-$22 for premium imports.
- 24×48 porcelain tile: $14-$22 per sq ft installed mid-range; $20-$32 for premium.
- Slab tile (60×120 or larger): $25-$50+ per sq ft installed including specialty handling.
- 9-inch wide engineered hardwood: $11-$18 per sq ft installed.
- 9×60 LVP: $6-$10 per sq ft installed.
- 12×72 LVP: $8-$13 per sq ft installed.
Material breakage during install runs 5-10 percent for large format versus 2-5 percent for smaller sizes. Order 10-12 percent extra material.
Installation Techniques That Matter
Three install practices separate professional results from amateur failures.
Use a 1/2-inch by 1/2-inch notched trowel minimum for large-format tile (some specs call for 3/4-inch notch on tiles 24 inches or larger). This ensures full mortar coverage. Verify by pulling a freshly-set tile and checking that 85-95 percent of the back is covered with thinset.
Back-butter every tile 15 inches or larger. Skim a thin layer of thinset directly onto the back of the tile in addition to the troweled mortar on the substrate. This guarantees full bond.
Stagger LVP seams by at least 8 inches between adjacent rows (some manufacturers require 12 inches on wide planks). H-joints (two seams aligned in adjacent rows) look amateurish and create stress points.
Design Considerations
Direction matters. Run long planks parallel to the longest wall in the room for the most expansive look. Run perpendicular to the longest wall if you want to visually widen a narrow room.
For tile, consider a 33 percent offset pattern rather than a 50 percent brick layout. With large-format tile, a 50 percent offset can produce visible bowing because the center of a long tile sits naturally lower than the edges. TCNA explicitly recommends 33 percent offset (or smaller) for tiles longer than 18 inches.
Grout color choice carries more weight on large format. Matching grout to tile makes the floor read as continuous; contrasting grout (charcoal grout on white tile) creates a graphic pattern that may or may not age well.
When to Skip Large Format
Three scenarios call for standard-size flooring instead.
Small bathrooms under 40 square feet. The visual benefit shrinks in small spaces, and cutting around toilets and vanities creates more waste with large tile.
Curved or angled rooms. Large planks and tiles cannot follow non-rectangular layouts cleanly. Switch to smaller modules where waste and seam alignment matter.
Old homes with badly out-of-level floors. The cost of self-leveling underlayment can exceed the cost of the flooring itself in extreme cases.
Bottom Line
Large format flooring delivers a modern, expansive look that small-format products cannot match, but only when the subfloor is properly leveled, the installer is experienced with the specific spec, and the project budget accommodates the higher labor and prep costs. Add $2-$5 per square foot to typical flooring quotes for large format and expect the upgrade to read instantly in any listing photos or showroom comparison. For most kitchens, bathrooms, and entries built or remodeled in the next decade, large format is the safe long-term aesthetic choice.
Prefer to explore on your own?
See how new flooring looks in your actual room in seconds — free, no signup.
Try the free Floor Studio →