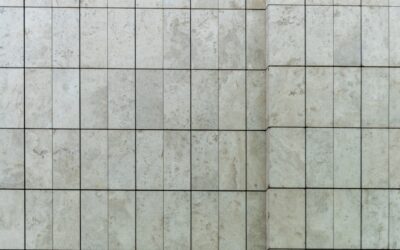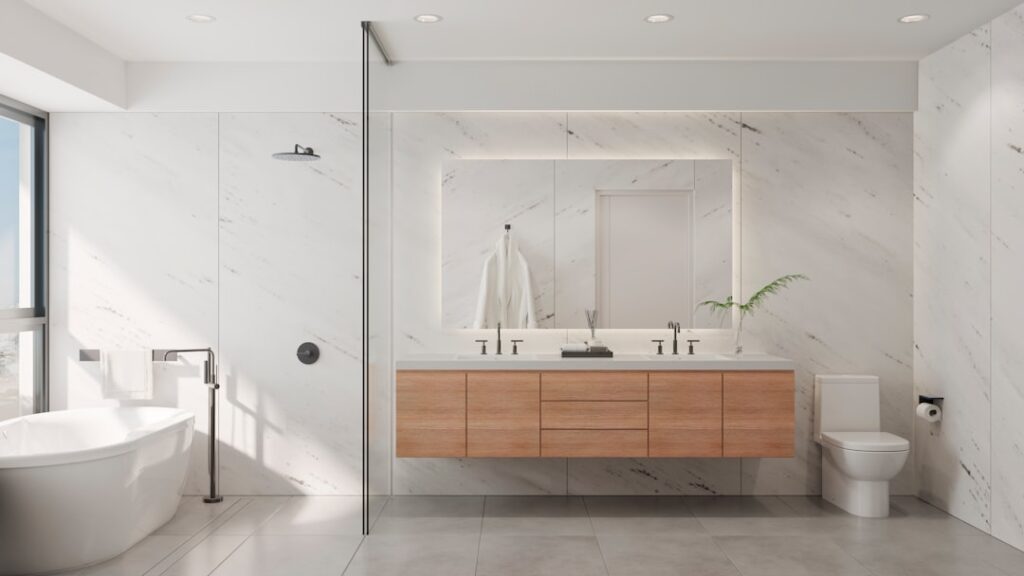
A large format tile bathroom delivers the clean, seamless, high-end look that dominates modern design, and the appeal is easy to understand: fewer grout lines mean less visual clutter and less grout to scrub. Tiles measured 15 inches or larger on one side count as large format, and the market has pushed all the way up to enormous slab-style panels several feet across.
I’ve installed a lot of these, and while the payoff is stunning, large tiles are genuinely harder to set than standard sizes. Here’s what separates a flawless result from a wavy, lippage-ridden disappointment.
Why Large Format Tile Looks So Good
The magic is in the grout lines, or the near-absence of them. A standard 12 by 12 floor breaks a small bathroom into a busy grid, while a 24 by 48 tile can cover most of that floor in a few pieces. Fewer joints make a small room feel larger and calmer.
On walls and shower surrounds, large tiles create an almost slab-like appearance, especially in marble-look porcelain. That continuous surface reads as luxury, and it’s a big reason the look commands a premium in remodels.
Common Sizes and Materials
Large format spans a wide range, so match the size to the space. Oversized tiles in a tiny powder room can look forced.
- 15 by 30 and 18 by 36, a versatile step up for floors and walls
- 24 by 24, popular for contemporary floors
- 24 by 48, dramatic on floors and shower walls
- Gauged porcelain panels, 4 to 5 feet or larger, for near-seamless walls
Porcelain is the workhorse material because it’s dense, waterproof once installed correctly, and available in convincing marble, concrete, and stone looks. Natural stone large-format is beautiful but heavier, more fragile, and needs sealing.
The Flatness Problem
Here’s the detail nobody warns first-timers about: large tiles are unforgiving of uneven substrates. A small tile bridges minor dips in a floor; a big tile does not. Any hump or hollow in the substrate shows up as lippage, where one tile edge sits higher than its neighbor.
Industry standards call for a substrate flat within 1/8 inch over 10 feet for large tile, tighter than for small tile. That often means self-leveling the floor or floating the wall before you ever open a box of tile. Skipping this step is the single biggest cause of bad large-format installs.
Setting Materials and Technique
Large tile needs the right mortar and method. Use a large-and-heavy-tile mortar, sometimes labeled LHT or medium-bed mortar, which resists slumping and supports the weight without the tile sinking unevenly.
- Confirm the substrate is flat and, in wet areas, properly waterproofed.
- Use a large-notch trowel, typically 1/2 inch, and comb the mortar in one direction.
- Back-butter each tile to guarantee full coverage; wet areas require near-100 percent coverage.
- Use a tile leveling system with clips and wedges to eliminate lippage.
- Beat the tile in with a rubber mallet and beating block to seat it fully.
Grout Line and Layout Decisions
Large tiles are rarely perfectly flat across their whole face; they have a slight bow. To manage this, keep grout joints at least 1/16 to 1/8 inch and avoid grout lines tighter than the tile manufacturer allows, or lippage becomes impossible to hide.
Offset or brick-pattern layouts should be limited. Industry guidance caps the offset at roughly one-third of the tile length for large format, because a 50 percent offset amplifies the bow at the center of each tile and creates lippage at the joints. A straight-stack or minimal offset lays flattest.
Cost Expectations
Large format costs more than standard tile, both in material and labor. The tile itself often runs $5 to $15 per sq ft for quality porcelain, with premium looks and panels higher. Labor is where it really adds up, since the prep, handling, and leveling take more time and skill.
Expect professional installation to run $12 to $25 per sq ft or more, depending on your region and complexity. Gauged panels require specialized tools and two-person handling, which pushes labor higher still. Budget accordingly, and don’t cut corners on the installer’s experience with large tile specifically.
Is It Right for Your Bathroom?
A large format tile bathroom is worth the effort when you want a sleek, low-maintenance, high-end result and you’re willing to invest in proper substrate prep and skilled installation. The reduced grout means easier cleaning and a more expansive feel in a small room. Just go in clear-eyed: this is not a beginner DIY project. Get the floor or wall dead flat, use the right mortar and a leveling system, and hire an installer who has done large format before. Nail those, and you’ll have a bathroom that looks like it belongs in a design magazine.
Substrate and Flatness Requirements
Large-format tile is unforgiving of an uneven substrate, so flatness is the make-or-break factor. Industry guidelines call for a surface flat to within 1/8 inch over 10 feet for big tiles, tighter than what smaller tiles tolerate. Any hump or dip telegraphs into lippage, where one tile edge sits higher than its neighbor. Plan to flatten walls and floors with a leveling compound before you set a single tile.
A lippage-control clip system is nearly essential on tiles 15 inches and larger, holding adjacent edges flush while the mortar cures.
Setting Materials and Grout Joints
Large tiles demand the right mortar and technique. Use a large-and-heavy-tile mortar (formerly called medium-bed) rather than standard thinset, since it resists slumping under the weight and supports the tile without sagging. Back-butter each tile and comb the mortar in one direction, then collapse the ridges by setting the tile with a slight perpendicular slide to reach the high coverage these tiles need, especially in a wet bathroom. Keep grout joints appropriate to the tile; a 1/8 to 3/16 inch joint is common. Remember that even rectified large tiles need a small joint to absorb size variation, so avoid trying to butt them tight, which leaves no room for the inevitable minor differences between pieces.
Prefer to explore on your own?
See how new flooring looks in your actual room in seconds — free, no signup.
Try the free Floor Studio →