
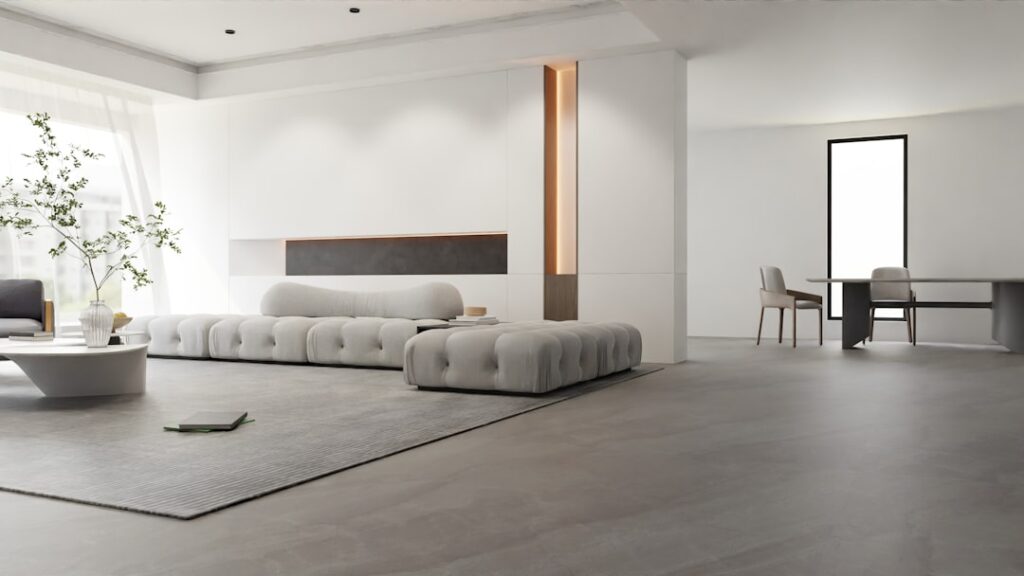
The fastest way to make a $3-per-square-foot floor look like a $9 floor is the layout, not the product. Your lvp pattern — the direction you run the planks, how you stagger the seams, and where you start the first row — has more impact on the finished look than the wood-grain print itself. I have seen homeowners spend weeks agonizing over color, then ruin the install with a stair-step seam pattern that screams “amateur.” This guide walks you through the layout decisions that matter before you snap a single plank together.
- Why the Plank Direction Sets the Whole Room
- The Stagger Rule That Prevents the “Pyramid” Look
- Popular LVP Pattern Layouts Beyond Straight Lay
- Where to Start Your First Row
- Matching the Pattern to Your Room Size
- Transitions, Borders, and Room-to-Room Flow
- Matching the Stagger to Plank Length
- Pro Tips Before You Commit
Why the Plank Direction Sets the Whole Room
Run your planks parallel to the longest wall, or in line with the main light source from your largest window. This stretches the room visually and hides seams in the glare. In a 12-by-18-foot living room, running the 48-inch planks down the 18-foot length makes the space feel longer and avoids a choppy series of short rows.
There is one big exception: hallways and entries. Always run planks down the length of a corridor, even if it fights the rest of the home. A hallway floored crossways looks like a stack of dominoes and emphasizes every joint. If you want one continuous direction throughout an open floor plan, pick the orientation that suits the largest, most-used room and carry it through.
The Stagger Rule That Prevents the “Pyramid” Look
The single most common mistake is the H-joint or stair-step, where end seams line up across rows and create an obvious repeating pattern. To avoid it, follow a random stagger and keep end joints at least 6 to 8 inches apart from row to row. Most manufacturers, including Shaw and COREtec, specify a minimum 6-inch offset; some require 8 inches for planks over 7 inches wide.
- One-third stagger: Offset each row by roughly a third of the plank length. Clean and uniform, but can look too regular over large areas.
- Random stagger: Vary offsets between 8 and 16 inches with no repeating sequence. This reads most like real hardwood.
- 50/50 stagger: Alternate full and half planks. Fast, but creates a brick-like grid that some find dated.
Pull planks from three or four open boxes at once and mix them as you go. Vinyl is printed in a limited number of patterns — often 6 to 12 unique faces — and pulling from one box at a time guarantees the same grain will repeat side by side.
Popular LVP Pattern Layouts Beyond Straight Lay
Straight lay covers about 90 percent of installs, but a few decorative patterns are worth knowing if you want a custom result.
Herringbone
Planks meet at 90 degrees in a zigzag. It is elegant and timeless, but expect 15 to 20 percent more waste and a noticeably longer install. Many brands now sell shorter “herringbone-ready” planks (often 6 by 36 inches) sold in left- and right-cut pairs.
Chevron
Similar to herringbone but the plank ends are cut at an angle so they form continuous V-shaped rows. It is the more formal cousin and usually requires a specialty product rather than standard planks.
Diagonal
Running straight planks at 45 degrees across a room can make a small space feel wider, but it generates substantial waste and demands precise angle cuts on every perimeter plank.
Where to Start Your First Row
Never start tight against a wall and work in one direction — walls are rarely square, and you will end up with a sliver-thin final row. Instead, dry-lay the room first. Measure the width, divide by your plank width, and check the leftover. If the last row would be less than 2 inches wide, rip the first row down so both edges end up balanced. Aim to start with a plank at least half its full width.
Leave a 1/4- to 3/8-inch expansion gap around the entire perimeter and at every vertical obstacle. Floating LVP moves with temperature, and a missing gap is the number-one cause of buckling and peaked seams.
Matching the Pattern to Your Room Size
Wide planks (7 to 9 inches) with a long-board look read best in open, well-lit spaces. In a small bathroom or galley kitchen, oversized planks leave you with awkward cuts and few visible seams, so the pattern reads flat. There, a narrower 5- to 6-inch plank or a tile-look LVT laid in a grid often looks more intentional.
For texture, an embossed-in-register (EIR) surface — where the texture follows the printed grain — sells the realism far better than a smooth wear layer. Pair an EIR plank with a beveled micro-edge and even a budget floor reads as convincing wood.
Transitions, Borders, and Room-to-Room Flow
How your pattern carries from one room to the next shapes whether the whole floor feels custom or disjointed. In an open-concept home, run the planks in one continuous direction across the kitchen, dining, and living areas without a transition strip — a single unbroken field reads larger and more expensive. Where you must change direction, such as from a main room into a perpendicular hallway, a T-molding gives a clean break. Some installers frame a foyer or fireplace hearth with a perimeter “picture frame” border of planks set at 90 degrees to the main field; done sparingly, it elevates an entry, but overuse looks busy.
Doorways deserve special attention. A grout-style seam or transition under a closed door lets each room read as its own space, while running planks straight through a wide cased opening ties two rooms together. Decide this during your dry layout, because the plank cuts at thresholds depend on it.
Matching the Stagger to Plank Length
Plank length quietly dictates how convincing your stagger looks. Long planks (48 to 60 inches) give you more room to randomize offsets and read most like real hardwood, but they punish layout mistakes — a misjudged offset repeats obviously across a long board. Shorter planks (24 to 36 inches) are more forgiving and faster to install in cut-up rooms, but they create more end seams, so a sloppy stagger shows the H-joint pattern faster. With shorter planks, be especially disciplined about that 8-to-16-inch random offset rule. Whatever the length, save your cut-off end pieces and use them to start subsequent rows, both to control the stagger and to cut waste.
Pro Tips Before You Commit
- Order 10 percent extra for straight lay and 15 to 20 percent extra for herringbone or diagonal.
- Acclimate boxes flat in the room for 48 hours at 65 to 85 degrees F before installing.
- Snap a few rows together loose and view them from the doorway before locking anything down.
- Photograph your dry layout in daylight and again at night — artificial light shifts how the grain and seams read.
Get the direction, stagger, and starting row right, and almost any luxury vinyl plank will look like a deliberate, high-end installation. The print on the plank is the easy part; the layout is where the craftsmanship shows.
Prefer to explore on your own?
See how new flooring looks in your actual room in seconds — free, no signup.
Try the free Floor Studio →

