
Mini split HVAC installation has become one of the most popular home comfort upgrades in the country, and for good reason: a ductless system heats and cools individual rooms efficiently without the expense of extending central ductwork. The process joins an outdoor condenser to one or more indoor air-handling units through a slim bundle of refrigerant lines, wiring, and a condensate drain. While the concept is simple, the execution demands precision, especially the refrigerant handling, and understanding each step helps you decide whether to DIY or bring in a licensed contractor.
This walkthrough covers the full installation sequence, the tools involved, and the costs you can expect.
How a Mini Split System Is Configured
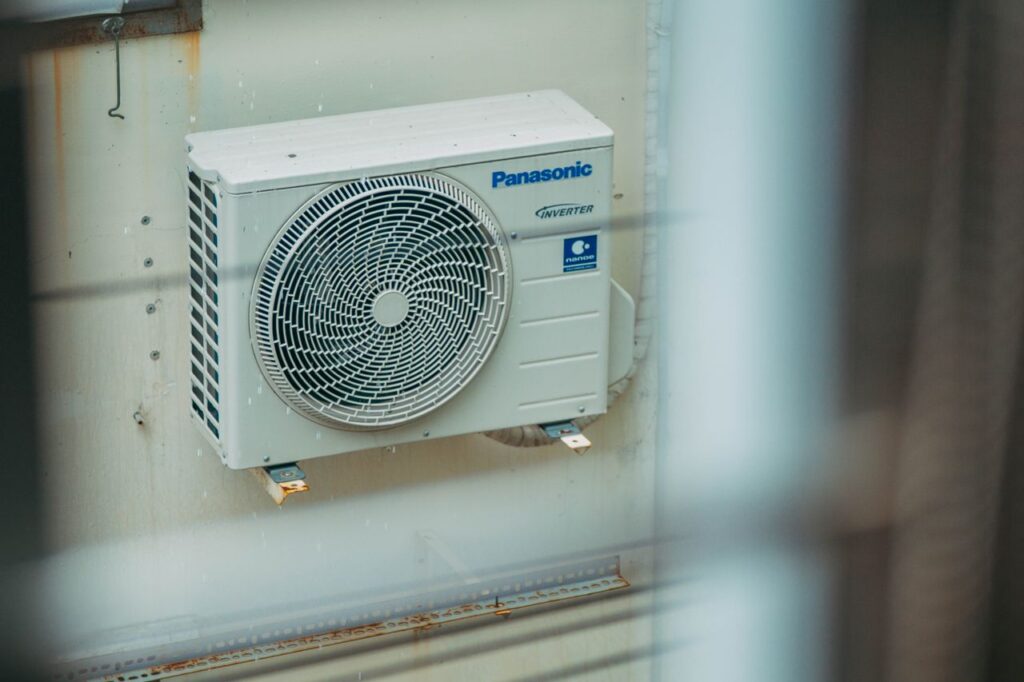
Every ductless system has two main components joined by a line set. The outdoor unit houses the compressor and condenser coil. The indoor head, most commonly a wall-mounted unit, delivers conditioned air directly into the room. A single-zone system pairs one indoor head with one outdoor unit; a multi-zone system runs several indoor heads off one larger condenser.
Connecting them is the line set: a pair of insulated copper refrigerant lines, a communication and power cable, and a condensate drain hose, all bundled and routed through a 3-inch hole in the exterior wall. Getting this bundle sealed, sloped, and charged correctly is what separates a quiet, efficient system from one that leaks or fails early.
Planning and Sizing First
Installation success starts before any tool comes out. Size the system to the space with a load calculation rather than guesswork. The rule of thumb is roughly 20 BTU per square foot, so a 500-square-foot room needs about 12,000 BTU, but insulation, window area, ceiling height, and sun exposure all shift that number.
Then plan the physical layout:
- Choose an interior wall for the head that has clear airflow and sits within the line-set length limit, usually 25 to 50 feet.
- Locate the outdoor unit on a spot with airflow clearance, level ground, and minimal noise impact on neighbors.
- Keep the line-set run as short and straight as practical; every bend and foot of length reduces efficiency slightly.
- Confirm you have or can add a dedicated 208/240-volt circuit for the condenser.
Mounting the Indoor Head
The indoor unit hangs on a metal mounting plate screwed to the wall. Level is critical; a plate even slightly out of level causes the condensate to pool and drip instead of draining. Fasten the plate into studs or use heavy anchors in masonry, then mark and drill the roughly 3-inch pass-through hole angled slightly downward toward the outside so the drain flows by gravity.
Feed the line set, drain hose, and cable through the hole and hang the head on the plate. Work carefully; kinking the copper refrigerant lines during this step is a common rookie mistake that restricts flow and can doom the whole install.
Setting the Outdoor Condenser
The outdoor unit needs a stable, level base that lifts it off the ground. Options include a poured concrete pad, molded plastic equipment pads, or wall-mount brackets. In snowy climates, raise the unit 12 to 18 inches on a stand so drifts and ice do not bury the coil.
Leave the manufacturer’s specified clearances around the unit, typically at least 12 inches at the back and sides and several feet in front, so it can breathe. Then connect the flared ends of the refrigerant lines to the service valves, tightening the flare nuts to the exact torque spec. Over-tightening cracks the flare; under-tightening leaks refrigerant.
Electrical and Drainage
Wiring a mini split involves both a communication cable between the indoor and outdoor units and line-voltage power to the condenser. Most systems require a dedicated circuit with a disconnect box mounted within sight of the outdoor unit. This portion often legally requires a licensed electrician and a permit, depending on your jurisdiction.
The condensate drain must slope continuously downhill from the indoor head to a suitable discharge point. Any dip or upward run causes water to back up and drip from the head, a frequent callback for sloppy installs. In basements or interior locations without a gravity path, add a small condensate pump.
The Critical Step: Vacuuming and Charging
Here is where DIY installs most often go wrong. Before releasing the factory refrigerant charge, you must evacuate all air and moisture from the line set and indoor coil with a vacuum pump. Moisture left in the lines turns to acid and destroys the compressor over time.
The proper procedure:
- Connect a vacuum pump and manifold gauge set to the service port.
- Pull the system down to about 500 microns and hold it, confirming the vacuum holds steady with no leak.
- Once verified, open the service valves to release the refrigerant pre-charged in the outdoor unit into the whole system.
- For long line runs beyond the pre-charge length, add refrigerant to the manufacturer’s per-foot spec.
This step requires a vacuum pump, gauges, and a torque wrench, tools that cost $200 to $400 to buy. Pre-charged DIY kits with quick-connect couplings exist to skip the vacuum step, but they generally deliver lower efficiency and can void the manufacturer’s warranty.
Startup, Testing, and Commissioning
Opening the refrigerant valves is not the finish line. A proper install includes a commissioning step where you verify the system actually works to spec. Power up the unit, run it in cooling mode, and confirm cold air comes from the indoor head within a few minutes. Then switch to heating and confirm the reverse. Check that the condensate drains freely and does not drip inside.
Experienced installers go further, measuring the temperature split between the return and supply air, typically an 18 to 22°F drop in cooling mode, to confirm the charge is correct. They also check the operating pressures on the gauges against the manufacturer’s chart for the outdoor temperature. Skipping this verification is how homeowners end up with a system that runs but underperforms, cooling weakly or short-cycling because the charge or airflow is off.
Maintaining a Mini Split After Install
A ductless system rewards light, regular maintenance with 15 to 20 years of service. The single most important task falls to you: clean the washable indoor filters every two to four weeks during heavy use. Clogged filters choke airflow, drop efficiency, and can cause the coil to ice up. Slide them out, rinse under lukewarm water, let them dry fully, and reinstall.
Beyond the filters, keep up with these tasks:
- Rinse the outdoor condenser coil each spring to clear pollen, dust, and grass clippings.
- Keep at least two feet of clearance around the outdoor unit so it can breathe.
- Flush the condensate drain line annually to prevent clogs and backups.
- Have a technician check the refrigerant charge and deep-clean the indoor coil every couple of years.
Neglecting maintenance is the fastest way to shorten a mini split’s life and inflate your energy bills, so build these tasks into your seasonal home routine.
Cost and the DIY Question
A professionally installed single-zone mini split typically runs $3,000 to $5,000, with multi-zone systems reaching $8,000 to $15,000. The equipment alone is $1,000 to $2,500 for a single zone, meaning labor and materials make up a large share of the bill.
DIY kits tempt homeowners with savings, and a handy person can mount the units and run the line set. But the refrigerant handling, the vacuum procedure, the flare connections, and the electrical work are where mistakes get expensive. Improper vacuuming ruins compressors; bad flares leak refrigerant; and manufacturers void warranties on units not installed by licensed pros. Many jurisdictions also require EPA certification to handle refrigerant legally.
For most people, the smart move is to hire a licensed HVAC contractor for the full mini split HVAC installation, or at most to handle the mounting and site prep yourself and pay a pro for the connection, evacuation, and startup. Done right, a ductless system delivers 15 to 20 years of quiet, efficient comfort, and the modest premium for professional installation buys you a valid warranty and a system that actually performs to its rated efficiency.


