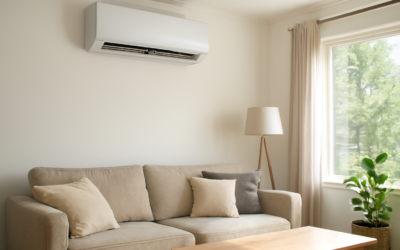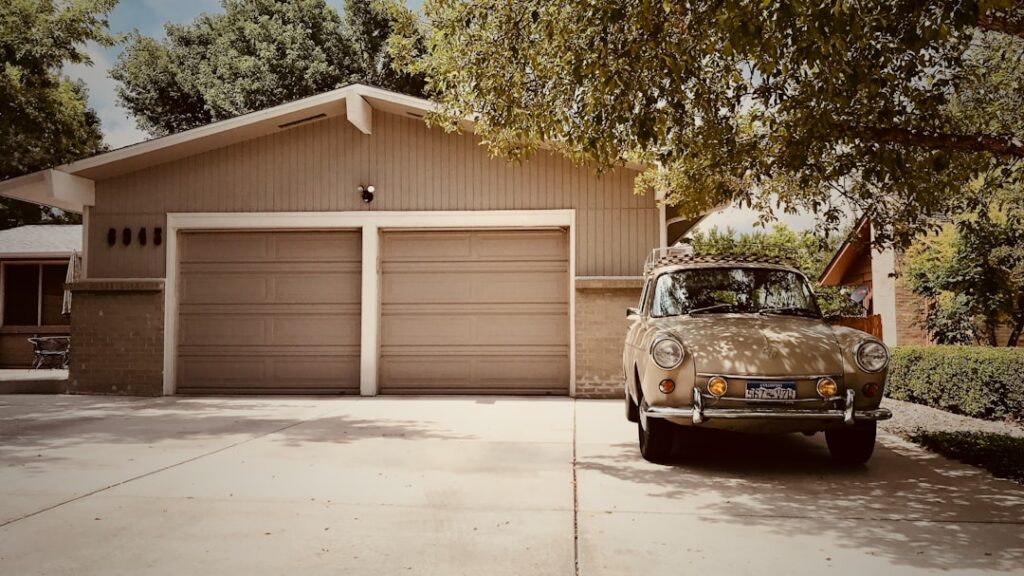
A garage is the single most common place I get asked to add climate control, and a mini split for garage use is almost always the right answer. Garages have no ducts, leak air like a screen door, and swing 40°F hotter or colder than the house. A ductless heat pump handles that abuse with a single wall head and a small outdoor unit, no ductwork required. The catch is that a garage is not a bedroom, and sizing it like one guarantees a system that runs flat out and never catches up.
This guide covers how to size a garage unit for the real thermal load, the electrical you will need, the install sequence, and the cold-climate details that separate a garage that stays workable at 10°F from one that stays cold no matter how hard the unit runs.
- Why Garages Need More Capacity Than the Square Footage Suggests
- How to Size a Mini-Split for a Garage
- Single-Zone Is Almost Always the Right Choice
- Electrical Requirements You Cannot Skip
- The Install Sequence, Start to Finish
- Where to Mount the Head and Condenser
- Common Garage Mini-Split Mistakes to Avoid
- Cold-Climate and Detached-Garage Tips
Why Garages Need More Capacity Than the Square Footage Suggests
A conditioned living space might need 20 to 25 BTU per square foot. A garage frequently needs 40 to 50 BTU per square foot or more, and the reason is simple: garages are poorly insulated, often have no insulation in the ceiling or the big overhead door, and that door is a giant uninsulated panel facing the weather. Add a concrete slab that soaks up cold and an air-sealing job that basically does not exist, and the heat loss multiplies.
The single biggest upgrade you can make before or alongside a mini-split is insulating and air-sealing the space, especially the overhead door. An insulated door with a good bottom seal, batts or foam in the walls, and blown insulation in the ceiling can cut the required capacity nearly in half. Spend a weekend and a few hundred dollars there and the mini-split you buy will be smaller, cheaper, and far more effective.
How to Size a Mini-Split for a Garage
Start with the floor area and adjust for insulation and climate. Here are realistic targets for a typical attached garage in a moderate climate with some insulation:
- 1-car garage, ~250 sq ft: 9,000 to 12,000 BTU.
- 2-car garage, ~400 to 500 sq ft: 12,000 to 18,000 BTU.
- 3-car garage, ~700 to 800 sq ft: 18,000 to 24,000 BTU.
Bump those numbers up if the garage is uninsulated, in a cold or very hot climate, or has a lot of west-facing glass. A detached, uninsulated two-car garage in the north can genuinely need 24,000 BTU where an insulated one needs 12,000. If you plan to work out there in single-digit weather, prioritize a cold-climate unit and size on its 5°F output, not its nameplate rating, because heat pump capacity drops as the temperature falls.
Single-Zone Is Almost Always the Right Choice
For a garage, a single-zone system, meaning one outdoor condenser feeding one indoor head, is the efficient and economical pick. Multi-zone only makes sense if you are conditioning a garage plus an attached shop or a room above it off the same outdoor unit. A single 12,000 or 18,000 BTU wall head mounted high on an interior wall throws air across the whole bay just fine.
Mount the head where the airflow will not blow straight into a car lift or a work zone and where the condensate can drain by gravity to the outside. In a garage, a floor-mounted low-wall unit is also worth considering because it puts heat down at the slab where you feel the cold, though the standard high-wall head is cheaper and more common.
Electrical Requirements You Cannot Skip
Almost every garage mini-split needs a dedicated 208/240V circuit, and this is where a lot of DIY dreams meet reality. A typical 12,000 to 18,000 BTU unit calls for a dedicated circuit with a 15 or 20 amp double-pole breaker, sized to the manufacturer’s minimum circuit ampacity and maximum overcurrent protection printed on the nameplate. The condenser needs a disconnect box within sight, and the wire gauge follows the amp draw, commonly 12 or 14 AWG for these sizes.
If your garage panel or subpanel does not have a free double-pole slot and capacity, you are looking at electrician work. Do not undersize the wire or share the circuit. Unless you are genuinely qualified, hire a licensed electrician for the circuit and disconnect even if you plan to do the rest of the install yourself. Getting this wrong is a fire and warranty problem, not a comfort problem.
The Install Sequence, Start to Finish
The physical install of a garage mini-split follows a predictable path:
- Mount the indoor head’s wall bracket, level, high on an interior wall.
- Core a 3-inch hole through the wall, angled slightly down toward the outside for drainage.
- Set the outdoor condenser on a pad or wall bracket, 12 or more inches off the ground in snow country, with clearance for airflow.
- Run the line set, control wire, and condensate drain through the hole and connect both ends.
- Pull a deep vacuum on the lines to below 500 microns, hold it to confirm no leaks, then release the factory refrigerant charge.
- Energize the dedicated circuit, commission the system, and verify heating and cooling operation.
The vacuum and charge step is the make-or-break part and the reason many people hire out at least the final connection. Moisture left in the lines wrecks the compressor over time. Precharged DIY systems with quick-connect line sets exist specifically to let a homeowner skip the vacuum pump, and they are a legitimate option for a garage, covered in a separate guide.
Where to Mount the Head and Condenser
Placement makes a real difference in a garage, more than in a tidy living room. Mount the indoor head high on an interior or gable-end wall where the airflow sweeps across the open floor rather than blowing straight into a parked car, a lift, or a workbench. Keep it away from the overhead door track and any spot where the air will short-cycle back to the unit. If you spend most of your time at a bench or work zone, aim the head so the throw covers that area.
For the condenser, choose a spot with clear airflow on all sides, out of the path of the overhead door and away from where you back the car in. In snow country, set it on a stand 12 to 24 inches off the ground so drifts and defrost meltwater do not bury the coil. Keep the line-set run as short and direct as you reasonably can, because every extra foot of line adds cost and, on longer runs, requires additional refrigerant. A wall-mounted bracket keeps the condenser off the ground entirely and is a clean solution where floor space or snow is a concern.
Common Garage Mini-Split Mistakes to Avoid
A few predictable errors trip up garage installs, and all of them are avoidable. The biggest is sizing off square footage alone and ignoring the uninsulated overhead door and ceiling, which leaves you with a unit that runs nonstop and never catches up in extreme weather. Insulate first, then size.
- Skipping air sealing: a garage with gaps around the door and penetrations bleeds conditioned air as fast as the unit makes it. Weatherstrip and seal before you blame the equipment.
- Undersizing the electrical: sharing a circuit or using undersized wire is a fire and warranty problem. Run a proper dedicated circuit sized to the nameplate.
- Ignoring condensate in freezing weather: a drain line that freezes backs water into the head. Route it to drain freely and add a heat cable if needed.
- Buying a non-cold-climate unit for a cold garage: a standard heat pump loses capacity fast in the cold, so a cheap unit disappoints exactly when you need heat most.
Avoid those five and a garage mini-split will serve you reliably for years.
Cold-Climate and Detached-Garage Tips
If you actually want to work in the garage during winter, a couple of details matter. Choose a cold-climate rated unit that holds capacity at 5°F, and add a base pan heater on the outdoor unit if you are in heavy freeze-thaw country, so defrost meltwater does not build into an ice block under the coil. Keep the outdoor unit elevated above expected snow depth.
For a detached garage, factor in the extra line-set length and the cost of running a subpanel or a dedicated feed out to the building, which can add meaningfully to the total. A detached garage also loses heat on all four walls plus the ceiling and slab, so lean toward the higher end of the sizing range. Get the insulation, the electrical, and the sizing right, and a mini-split turns a garage from a seasonal storage box into a year-round workshop.