A modern floating vanity is the fastest way to make a bathroom feel bigger, cleaner, and more expensive. By mounting the cabinet to the wall with open floor beneath it, you get a light, airy look that reads high-end and makes the room easier to clean. It’s a design-forward choice, but it comes with real requirements around wall framing, plumbing, and height. Here’s everything you need to get it right.
What Makes It “Floating”
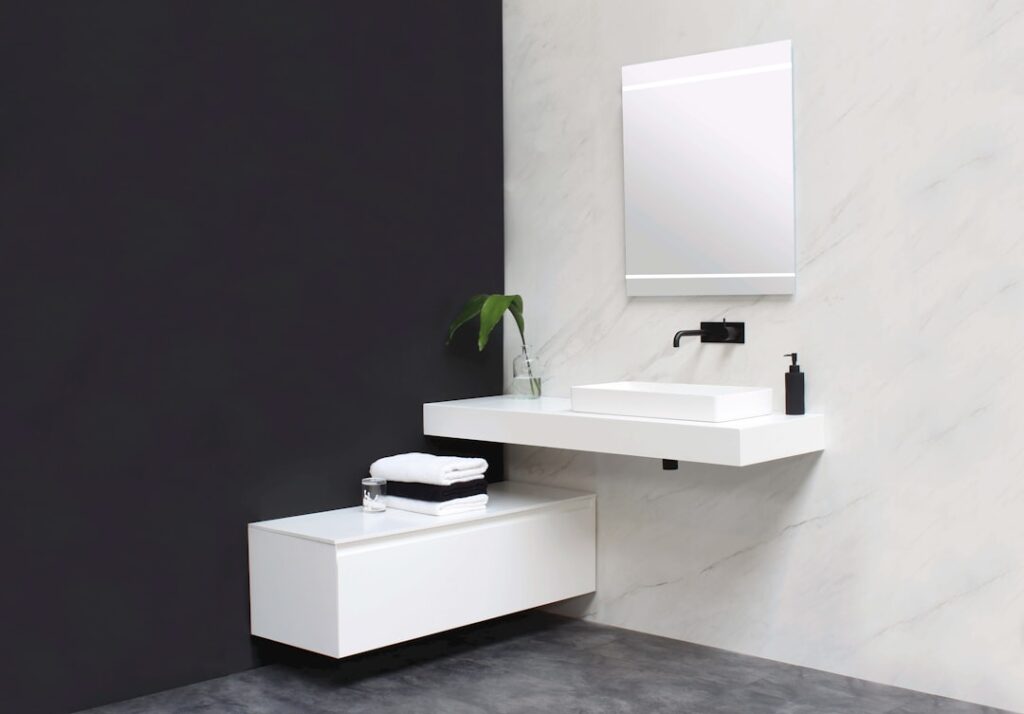
A floating (or wall-hung) vanity has no legs or toe kick touching the floor. The entire cabinet cantilevers off the wall, so you see finished floor running underneath. That gap is the whole point: it opens sightlines, exposes more flooring, and eliminates the grimy toe-kick zone where dust and hair collect on a traditional vanity.
Because the wall carries all the weight, the framing behind it has to be up to the job — this isn’t a cabinet you just screw into drywall.
Why Choose a Floating Vanity
- Makes small bathrooms feel larger: visible floor beneath tricks the eye into reading more space.
- Easier to clean: mop straight under it; no toe kick trapping dust.
- Adjustable height: you set the mounting height, so you can go taller than a standard vanity for comfort.
- Modern, spa-like aesthetic: clean horizontal lines that suit contemporary and minimalist bathrooms.
- Storage below: the open space can hold baskets, a stool, or a scale.
The main trade-offs are slightly less internal storage (the plumbing eats cabinet space) and the need for solid wall support, which can mean opening the wall during a remodel.
Getting the Height Right
One of the best perks is choosing your own counter height. Standard vanities sit at 32 to 34 inches, but “comfort height” of 34 to 36 inches suits taller users and reduces bending. For a floating vanity, plan the mounting height so the finished counter lands where you want it. If you’re using a vessel sink that sits on top of the counter, mount the cabinet lower so the bowl’s rim ends up at a comfortable 34 to 38 inches.
For a double vanity or a shared bathroom, aim for a middle-ground height around 34 inches so it works for everyone.
Wall Support and Weight Limits
This is the make-or-break detail. A loaded floating vanity — cabinet, stone top, sink, and water — can weigh 150 to 400 pounds, all hanging off the wall. That load must transfer into studs or, ideally, into solid blocking installed between the studs.
- Install horizontal blocking (2×8 or 2×10 lumber) between the studs at the mounting height before you close up the wall.
- Use the manufacturer’s mounting bracket or a French cleat lag-bolted into that blocking.
- Never rely on drywall anchors alone — they will pull out under a stone top.
If your wall is already finished and you can’t add blocking, at minimum hit every stud with heavy lag screws and choose a lighter cabinet and top. During a remodel, adding blocking is cheap insurance and the right way to do it.
Handling the Plumbing
Floating vanities expose more of the under-cabinet area, and the plumbing has to be planned around the open space. You have two approaches:
- In-wall plumbing: the cleanest look — supply lines and drain enter through the back wall behind the cabinet, hidden entirely. This usually requires opening the wall and relocating the drain, best done during a remodel.
- Standard floor/wall plumbing concealed inside the cabinet: keep the existing rough-in and hide it inside the cabinet body, choosing a design that boxes in the P-trap.
If you’re moving from a traditional vanity, check where your drain exits. A floor-mounted drain may show beneath a floating cabinet, so relocating it into the wall is often part of the job. Budget for a plumber if the drain has to move — rerouting a drain into the wall and setting it at the correct height and slope is code-sensitive work, and a botched slope means slow drainage or a trap that gurgles. If your existing rough-in already comes through the wall, you’re in luck and the install is far simpler.
Sizing for Your Bathroom
Floating vanities span the full range of widths, so match the size to the room and your storage needs. A 24-to-30-inch single-sink unit fits powder rooms and small baths; 36 to 48 inches suits a standard primary bath; 60 to 72 inches gives you a double-sink layout for a shared bathroom. Depth typically runs 18 to 21 inches, with shallow 15-inch models available for tight spaces.
- 24-30 inch: powder rooms, guest baths, and compact layouts.
- 36-48 inch: the workhorse size for a single-sink primary bath.
- 60-72 inch: double-sink setups for shared bathrooms.
Leave at least 21 inches of clear floor in front for comfortable use, and check that the bathroom door and toilet don’t collide with the cabinet. Because the floor shows beneath a floating unit, the visible flooring becomes part of the design — one more reason the look reads so open.
Storage Trade-offs and Solutions
The honest downside of floating vanities is storage. The wall-mount design and the plumbing eat into cabinet volume, and there’s no tall lower cabinet reaching the floor. You can claw much of it back with smart layout. Drawers that notch around the P-trap store far more usably than a single open cabinet, and U-shaped drawer cutouts let you keep drawer space right where the plumbing runs.
The open area beneath the cabinet is usable too — slide in a stool, a basket of towels, or a scale. For a small bathroom short on storage, pair the floating vanity with a wall-mounted mirror cabinet above the sink to recover the space you lose below. Between drawer notching and vertical storage, most homeowners find the floating look doesn’t actually cost them much practical capacity.
Styles and Materials
Floating vanities come in every modern look. Popular directions:
- Wood-grain (walnut, oak, teak): warm and organic, the defining spa-modern look.
- High-gloss lacquer (white, gray, navy): sleek and reflective for a crisp contemporary bath.
- Matte and textured finishes: understated and fingerprint-friendly.
- Concrete or stone-look tops: pair with a wood cabinet for contrast.
Pair the cabinet with an integrated or undermount sink and a quartz top for a seamless, easy-clean surface that matches the modern intent.
Installation Overview
Once blocking is in place, installation is straightforward but calls for care and a second set of hands:
- Mark a dead-level line at your chosen height — a floating cabinet shows any tilt instantly.
- Lag-bolt the mounting bracket into the blocking or studs.
- Hang the cabinet, level it, and secure it to the bracket.
- Connect the plumbing, set the top and sink, and seal the back edge to the wall.
- Load-test gently before trusting it with weight.
Adding Under-Cabinet Lighting
One upgrade turns a nice floating vanity into a showpiece: LED strip lighting mounted to the underside of the cabinet. The light washes down onto the floor and fills the open gap with a soft glow, exaggerating the floating effect and doubling as a gentle nightlight. It’s a favorite in hotel and spa bathrooms for exactly this reason.
Use a warm-white or adjustable LED strip on a dimmer, and hardwire it to a switch for a clean look, or use a plug-in strip if wiring isn’t practical. The effect is dramatic at night and costs very little — a strip kit runs $20 to $60 — making it one of the highest-impact, lowest-cost touches you can add to the install.
Cost and Bottom Line
A modern floating vanity cabinet runs $300 to $1,500 depending on size and finish, plus $150 to $900 for the top and sink. Add-ons like in-wall plumbing relocation and blocking add labor if you hire out. All in, expect $600 to $2,500 for a stylish, well-mounted setup. Spend where it counts — solid blocking and a durable quartz top — and a floating vanity delivers a bathroom that looks custom, cleans in seconds, and feels noticeably more open than it did before.