
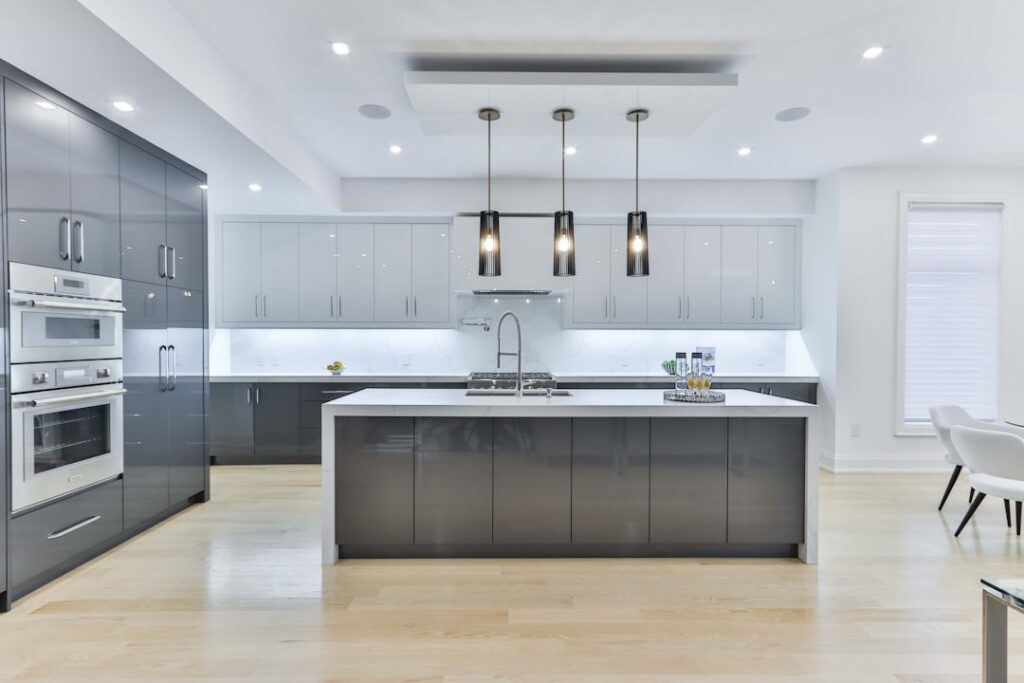
Motion sensor under cabinet lighting solves the small daily annoyance nobody talks about: fumbling for a switch with your hands full of groceries or padding into a dark kitchen at 2 a.m. and blasting yourself with the overhead lights. These fixtures snap on the instant you approach the counter and shut off a minute or two after you leave, giving you crisp task lighting exactly when you need it and zero wasted electricity when you don’t. The technology has gotten cheap and genuinely good, but the options — battery versus hardwired, warm versus cool, PIR versus hand-wave — trip a lot of buyers up. Here is how to choose well.
Part of our Kitchen Remodeling guide — explore the full guide →
Why Motion Activation Matters Here
Under-cabinet lighting is task lighting; you want it when you are actually working at the counter and off otherwise. A motion sensor automates that perfectly. You get bright, shadow-free light on the cutting board without reaching around behind the toaster for a switch, and the lights turn themselves off, which matters because people forget under-cabinet strips are even on for hours.
The convenience is real at night. A hallway pantry or kitchen with motion lighting gives you enough glow to grab a glass of water without the jarring, sleep-wrecking flood of ceiling cans. For anyone who cooks a lot or gets up in the night, that alone justifies the upgrade.
Battery Versus Hardwired Versus Plug-In
The power source is your first and most consequential decision, because it dictates installation effort and long-term hassle.
Battery-Powered
The easiest by far — peel-and-stick pucks or bars that mount with adhesive or magnets and need no wiring. Perfect for renters and quick upgrades. The tradeoff is recharging or swapping batteries every few weeks to a few months depending on use. Rechargeable USB models have made this far less annoying than it used to be.
Hardwired
Cleanest look and never needs batteries, wired into your electrical system and often controlled by a wall switch plus the sensor. This is the premium route, ideal during a kitchen remodel when the walls are open, but it typically means an electrician and $150 to $400 in labor per run.
Plug-In
A middle ground — LED strips or bars with a cord to a nearby outlet. No battery maintenance and no electrician, but you have to hide the cord, which works well when an outlet sits inside or beneath a cabinet.
Getting the Light Color Right
Color temperature, measured in Kelvin, changes the entire feel of your kitchen, and it is the detail people most often get wrong. Warmer light feels cozy; cooler light feels crisp and clinical.
- 2700K-3000K (warm white): Cozy, matches most kitchen ceiling lights, flattering on wood and warm tones
- 3500K-4000K (neutral/cool white): Crisp and clean, excellent task visibility, pairs with white and gray kitchens
- 5000K+ (daylight): Very bright and blue-tinted; great for detail work but can feel harsh in a home kitchen
For task lighting on a counter, many people prefer 3000K to 4000K — bright enough to see clearly while chopping, warm enough not to feel like an operating room. Look for a color rendering index (CRI) of 90 or higher so food and finishes look true. Tunable models that let you dial the temperature are worth the small premium if you cannot decide.
Sensor Types and Range
Not all motion sensors work the same way, and the type affects how reliably the lights trigger. Most under-cabinet fixtures use passive infrared (PIR), which detects your body heat moving into range — reliable and low-power. Others use hand-wave or IR proximity sensors that trigger when you pass a hand within a few inches, giving you deliberate control but requiring an intentional gesture.
Check the sensing range and angle before you buy. A PIR sensor rated for a few feet is perfect under a cabinet where you stand close, but a very sensitive one might trip every time the dog walks by. Better fixtures let you set a timeout — 15, 30, 60, or 90 seconds — and some include a light-level sensor so they only activate in the dark, saving battery during daylight.
Installation Tips That Save Headaches
Whatever type you pick, a few placement habits separate a clean install from a disappointing one.
- Mount toward the front edge of the cabinet bottom, not the back, so light falls on the counter instead of the backsplash.
- Clean the surface with alcohol before applying adhesive strips; grease from cooking is why pucks fall off in a month.
- Use a diffused bar, not bare LEDs, to avoid the “dotted” reflection you see in glossy countertops and stone.
- Leave the sensor unobstructed — a spice jar parked in front of a PIR sensor will keep the light either stuck on or refusing to trigger.
- Link multiple fixtures where possible so the whole run lights together instead of section by section as you move.
What to Budget
Prices have dropped dramatically. A pack of battery-powered motion pucks runs $15 to $40. Rechargeable magnetic bars are $25 to $60 for a set. Quality plug-in LED strip kits with a motion sensor land around $30 to $80. Hardwired systems cost more in fixtures and labor but disappear into the cabinetry and never need a recharge.
For most homeowners, a set of rechargeable magnetic bars is the sweet spot — cheap, cordless, no electrician, and a USB recharge every month or two. If you are already renovating, spend the money on hardwired fixtures while the access is easy.
Brightness and Beam Spread
Beyond color, pay attention to lumens and how the light spreads. For under-cabinet task lighting on a standard counter, aim for roughly 200 to 300 lumens per linear foot of counter — enough to work by without glare. Puck lights throw focused pools of light with dark gaps between them, which looks dramatic but leaves shadowed spots on the counter. Continuous LED bars or strips wash the whole surface evenly and are the better choice for actual food prep.
If you go with pucks, space them roughly 12 inches apart to minimize the gaps. For strips and bars, measure the underside of each cabinet run and buy lengths that cover most of it, since a strip that stops short leaves a dark zone right where you chop. Linkable systems that connect multiple bars end to end give the most seamless result.
Battery Life and Recharging Realities
If you choose battery power, set realistic expectations. A rechargeable motion bar used a dozen times a day typically runs three to eight weeks per charge, while lights in a heavily used kitchen may need topping up every couple of weeks. Models with a light-sensing feature that keeps them off during daylight stretch battery life considerably, since the motion sensor only fires the LEDs when the room is actually dark.
USB-C rechargeable models are the most convenient — pop the magnetic bar off its bracket, charge it at any outlet, and snap it back. Disposable-battery pucks avoid the recharge cycle but mean buying AAA or AA cells regularly, which adds up. For most kitchens, rechargeable magnetic bars strike the best balance of convenience and running cost.
Smart and Dimmable Options
Higher-end motion under-cabinet lights add features worth knowing about. Some offer adjustable brightness so you can dial the light down for ambiance and up for detailed work. Others integrate with smart-home systems or come with a remote, letting you override the motion sensor and keep the lights on continuously when you are cooking a long meal and do not want them timing out mid-task. A few include a dim “night-light” mode that provides a low glow full time and jumps to full brightness on motion — ideal for a kitchen that doubles as a midnight snack route.
Is It Worth It?
Motion sensor under cabinet lighting is one of the highest-satisfaction, lowest-cost upgrades you can make to a kitchen. It improves safety, makes food prep genuinely easier, adds a warm architectural glow that makes the whole room look more finished, and it does all of that automatically. Match the color temperature to your existing lighting, pick a power source that fits your tolerance for battery upkeep, and mount the fixtures toward the front edge of the cabinets — get those three right and you will wonder how you cooked without it.


