Most security deposit deductions come from small, fixable things: nail holes, scuffed walls, a gouge in the floor, burned-out bulbs and a filter nobody changed. A property-focused moving out checklist helps you catch those issues while you still have time and tools on hand, instead of paying a landlord’s hourly rate to fix them after you leave. Cleaning matters too, but repairs and documentation are what usually decide whether the full deposit comes back.
The short version: start two weeks out, walk every room with your move-in inspection report, patch and touch up walls, fix floor scuffs, replace consumables like bulbs and filters, then photograph everything on the last day and request a final walkthrough. Most of the work needs only a drywall patch kit, a little matching paint and an afternoon.
- Your Moving Out Checklist: Two Weeks Before
- Wall Repairs: Nail Holes, Anchors and Scuffs
- Floors: Scuffs, Scratches and Carpet Spots
- Fixtures, Bulbs, Filters and Small Items
- Apartment Move Out Checklist: Room-by-Room Quick Pass
- Moving Out Essentials: Supplies to Keep Unpacked
- Final Walkthrough and Photo Documentation
- Common Deductions and Rough Costs
- When to Call a Pro or Ask the Landlord
- Frequently Asked Questions
Your Moving Out Checklist: Two Weeks Before
Timing matters because paint needs to dry and some repairs take a second coat. Two weeks out, do the following:
- Find your lease and move-in inspection list. These documents show what condition the unit was in when you arrived. Pre-existing damage noted there is not your responsibility.
- Read the lease for move-out rules. Look for notice deadlines, required professional carpet cleaning, paint rules and key return instructions.
- Give written notice if you have not already, and ask the landlord to schedule a move out inspection with you present.
- Walk every room with a notebook. Note holes, scuffs, stains, loose fixtures, dead bulbs, missing smoke alarm batteries and anything broken.
- Ask about paint. Many landlords will give you the paint color name or a leftover can. Using the exact match avoids blotchy touch-ups.
Treat this as your move out inspection checklist in reverse: you are seeing the unit the way the landlord will, before they do.
Wall Repairs: Nail Holes, Anchors and Scuffs
Walls get the closest look at inspection. Small holes are usually considered normal wear in many areas, but large anchor holes, dents and marker stains often are not. Repairing them yourself is easy.
Tools and materials
- Drywall patch kit (spackle, putty knife, sanding sponge, self-adhesive mesh patches)
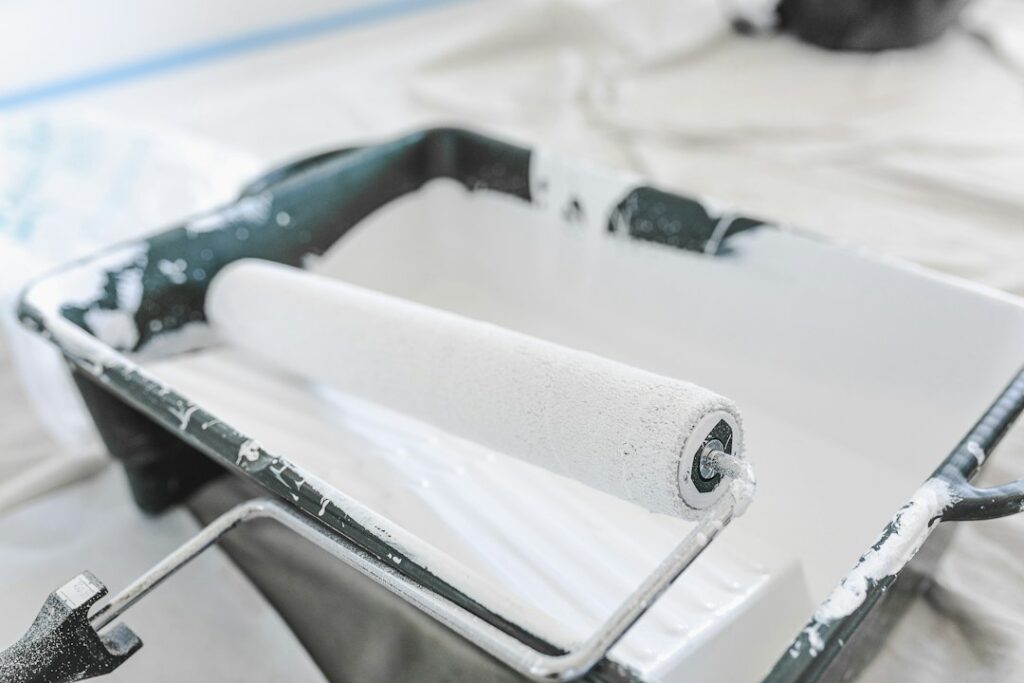
- Matching paint, a small roller and an angled brush
- Pliers or a screwdriver for removing anchors
- Melamine sponge for scuffs
- Drop cloth and painter’s tape
Steps
- Remove nails, screws and anchors. Pull plastic anchors with pliers, or push them slightly into the wall with a screwdriver so they sit just under the surface.
- Fill small holes with lightweight spackle, pressing it in with the putty knife and scraping flush.
- Patch larger holes (up to about 4 inches) with a self-adhesive mesh patch, then feather two thin coats of spackle past the edges.
- Let it dry, usually 1 to 2 hours for thin coats, longer for deep fills.
- Sand lightly until smooth and flush. Wipe off the dust.
- Prime large patches if the spackle looks chalky, then paint.
- Feather touch-up paint outward with a nearly dry roller so it blends. On flat paint this blends well; on eggshell or satin, you may need to repaint the wall corner to corner.
Try a damp melamine sponge on scuffs before painting. Rub gently, since aggressive scrubbing can burnish flat paint and leave a shiny spot. If the home was built before 1978, avoid sanding original painted trim or walls that may contain lead paint; stick to filling and painting over, and ask the landlord before disturbing old surfaces.
Floors: Scuffs, Scratches and Carpet Spots
Flooring damage is one of the most expensive deductions, so it deserves attention.
- Hardwood and laminate scuffs: rub black heel marks with a tennis ball or a soft cloth and a little floor cleaner. Light scratches on hardwood can often be hidden with a color-matched wax stick or stain marker. Do not use wax products on laminate or luxury vinyl.
- Vinyl plank: use a manufacturer-approved cleaner. For small gouges, a color-matched seam filler can help. Leave full plank replacement to the landlord unless the lease allows it.
- Carpet spots: blot with a carpet-safe spot cleaner and plain water, working from the outside in. Avoid over-wetting. Check the lease for required professional cleaning and keep the receipt if you hire one.
- Furniture dents in carpet: place an ice cube on the dent, let it melt, then fluff the fibers with a fork.
- Tile and grout: scrub grout lines with a soft brush and a mild cleaner. Report cracked tiles rather than trying to replace them.
Add felt pads to furniture legs as you pack and move so you do not create new scratches on the way out. Rolling appliances out can tear vinyl; lay down plywood or hardboard as a runway.
Fixtures, Bulbs, Filters and Small Items
Landlords often charge a flat fee for each missing or dead item, so replacing consumables is cheap insurance.
- Light bulbs: replace every burned-out bulb with the same type and color temperature.
- HVAC filter: install a new filter of the correct size, printed on the frame of the old one.
- Smoke and CO alarms: replace batteries where applicable and press the test button.
- Range hood filter: soak metal mesh filters in hot, soapy water or run them through the dishwasher.
- Loose hardware: tighten cabinet pulls, towel bars, door hinges and closet rods.
- Window blinds: replace any you broke with the same size, or report them.
- Remove your installs: take down shelves, curtain rods, peel-and-stick hooks and anything you added, unless the landlord agrees in writing to leave them.
If you installed a light fixture, smart thermostat or anything hardwired, ask whether the landlord wants the original reinstalled. That job requires turning off the breaker and confirming the power is off with a non-contact voltage tester, and if you are not comfortable with wiring, hire a licensed electrician or leave it for the landlord to handle.
Apartment Move Out Checklist: Room-by-Room Quick Pass
Once repairs are done, a quick room-by-room pass catches the small things people forget. Use this short moving out checklist on the final morning:
- Kitchen: empty fridge and freezer, wipe shelves, clean the oven and range, check under the sink for drips, run the disposal with water.
- Bathrooms: clear the vanity and medicine cabinet, check caulk for mildew, test the exhaust fan, confirm the toilet does not run.
- Bedrooms and closets: check shelves, rods and closet floors for forgotten items.
- Living areas: look behind doors for doorstop damage and at baseboards for scuffs.
- Balcony, patio or garage: remove planters, grills and storage bins, and sweep.
If you rent an apartment, this checklist when moving out of an apartment also covers shared items like mailbox keys, parking permits and storage unit locks. A thorough moving out checklist keeps those small misses from turning into deductions.
Moving Out Essentials: Supplies to Keep Unpacked
Things you need when you move out are easy to pack too early. Keep a “last day” box with:
- Drywall patch kit, putty knife and touch-up paint
- Screwdriver, pliers and a utility knife
- Spare bulbs and an HVAC filter
- Trash bags, paper towels and all-purpose cleaner
- Melamine sponges and a small vacuum or broom
- Phone charger for photos and video
- Painter’s tape and a marker for labeling keys
Final Walkthrough and Photo Documentation
Documentation is your strongest protection. On the last day, after everything is out and cleaned:
- Take a slow video walkthrough of each room, saying the room name out loud. Open closets, cabinets, the oven, fridge and bathroom vanity.
- Photograph close-ups of any areas you repaired and any damage noted at move-in.
- Record meter readings and confirm utilities are scheduled for transfer.
- Walk through with the landlord if possible. Take notes on anything they point out and ask if you can fix it on the spot.
- Return all keys, fobs and garage remotes and get a signed receipt or email confirmation.
- Give a forwarding address in writing so the deposit and any itemized deductions reach you.
Most states set a deadline for landlords to return deposits or provide an itemized list of deductions. Check your state’s tenant rules so you know when to follow up.
Common Deductions and Rough Costs
Landlords and property managers often charge more than a DIY fix would cost. General ranges you may see:
- Wall patching and painting: from under $100 for a few holes to several hundred for a full room
- Carpet cleaning: roughly $100 to $300 depending on size
- Bulb and filter replacement: small fees per item plus labor
- Floor repair: from minor touch-ups to hundreds for plank or board replacement
- Trash or item removal: often a flat fee plus disposal
Spending an afternoon and $30 to $60 on supplies usually costs far less than those charges.
When to Call a Pro or Ask the Landlord
Leave repairs that involve plumbing leaks, electrical work, broken windows, water damage or structural issues to the landlord and their licensed contractors, and report them in writing. Attempting those repairs without permission can void your lease protections or create liability. If mold appears beyond a small surface spot, report it rather than scrubbing it yourself. For carpet the lease says must be professionally cleaned, hire a cleaning service and keep the receipt.
Frequently Asked Questions
Do I have to fill nail holes when moving out?
It depends on your lease and local rules. A few small holes are often treated as normal wear, but filling them is quick and removes any argument.
Can I use touch-up paint instead of repainting?
Yes, if you have the exact color and sheen. Mismatched paint often looks worse than the original hole, so ask the landlord for the paint details first.
What counts as normal wear and tear?
Normal wear usually includes light scuffs, minor carpet traffic wear and small nail holes. Large holes, stains, pet damage and broken fixtures are usually chargeable.
Should I be present for the move-out inspection?
Yes, when possible. Being there lets you see concerns firsthand, fix small items on the spot and compare notes against your photos.
How long does a landlord have to return my deposit?
Each state sets its own deadline, commonly between two and six weeks. Check your state’s tenant laws and your lease for the exact timeframe.