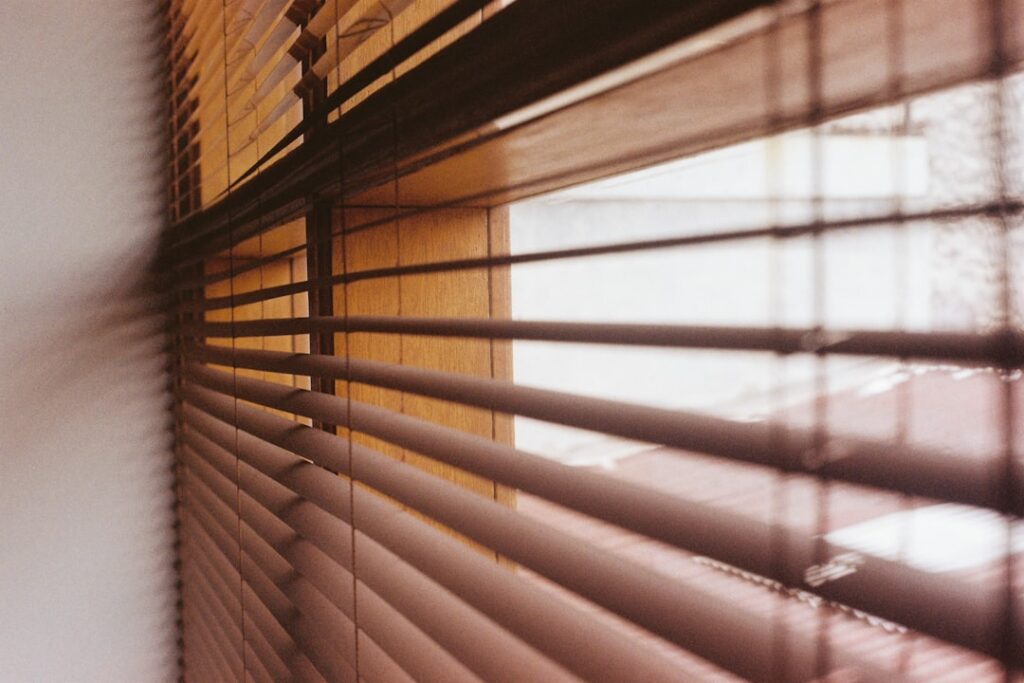
No drill window blinds mount without a single screw hole, which makes them the go-to choice for renters, dorm rooms, metal or tile frames, and anyone who doesn’t want to patch walls later. Modern no drill window blinds use tension fittings, adhesive brackets, or frame clamps to hold securely — and when installed correctly, they’re just as functional as screwed-in blinds. Here’s how the systems work and how to pick the right one.
- Why Go No-Drill?
- The Three No-Drill Mounting Methods
- Best Blind Types for No-Drill
- Understanding Weight and Size Limits
- Measuring for No-Drill Blinds
- Installing Tension No-Drill Blinds
- Installing Adhesive No-Drill Blinds
- Renter Tips
- Surfaces Where Adhesive Fails
- Removing No-Drill Blinds Without Damage
- Cellular Shades: The Best No-Drill Match
- No-Drill Options for Different Window Types
- Pros and Cons at a Glance
- What They Cost
- Bottom Line
Why Go No-Drill?
- Renters avoid violating a lease and losing a deposit over drill holes.
- Metal, uPVC, and tiled frames are hard or risky to drill; no-drill fittings sidestep the problem.
- Fast, reversible installs — put them up in minutes, take them down without a trace.
- No tools beyond maybe a level — no stud finder, no anchors, no dust.
The Three No-Drill Mounting Methods
There are three main ways no-drill blinds attach, and each suits a different window.
- Tension / spring fit: the blind’s head rail is held by spring-loaded ends or a tension rod that wedges inside the window recess. Requires a fairly snug, square recess. No adhesive residue at all.
- Adhesive brackets: small brackets with strong double-sided mounting tape (often 3M VHB) stick to the frame or wall; the blind clips into them. Works where there’s no recess to grip, but relies on a clean, smooth surface.
- Frame clamps / hangers: brackets that hook or clamp onto the top of a tilt-and-turn uPVC window sash without any adhesive or drilling — common in Europe and increasingly available in the US.
Best Blind Types for No-Drill
Lightweight blinds work best with no-drill systems, since the fittings have real weight limits.
- Cellular / honeycomb shades: very light, energy-efficient, and widely sold in cordless no-drill versions with tension or adhesive fittings. An excellent no-drill choice.
- Pleated shades: similarly light and easy to tension-mount.
- Roller shades: available with adhesive brackets for small to medium windows.
- Faux-wood and real-wood blinds: heavier, so they push the limits of adhesive fittings — reserve no-drill for smaller sizes and favor tension or clamp systems.
Understanding Weight and Size Limits
This is where no-drill installs succeed or fail. Adhesive strips and tension springs can only hold so much:
- Adhesive brackets are typically rated for a few pounds each. A wide, heavy wood blind can exceed that and peel off over days or weeks.
- Tension fits depend on the recess gripping the ends; a too-wide, too-smooth, or out-of-square recess lets the blind slip.
- Keep no-drill blinds to smaller and medium windows. For a large slider or picture window, the safe move is still a drilled mount or a split into two lighter blinds.
Always check the manufacturer’s stated maximum width and weight for the no-drill fitting before ordering.
Measuring for No-Drill Blinds
- Tension/recess mount: measure the inside recess width at top, middle, and bottom, and use the narrowest. Confirm the recess is deep enough (usually 1.5-2 inches) for the fitting and that the sides are solid enough to press against.
- Adhesive mount: measure where the brackets will stick and confirm a smooth, non-textured, paint-stable surface. Rough or freshly painted surfaces won’t hold.
- Clamp mount: confirm your window sash profile matches the clamp’s opening (common for tilt-and-turn uPVC windows).
Installing Tension No-Drill Blinds
- Adjust the head rail’s spring ends or the tension brackets to slightly wider than the recess.
- Compress and position the blind level inside the recess at the top.
- Release so the springs push firmly into both side jambs.
- Tug gently to confirm it grips, then check level and adjust.
Installing Adhesive No-Drill Blinds
- Clean the surface thoroughly with rubbing alcohol and let it dry fully — this is the single biggest factor in whether the adhesive holds.
- Mark bracket positions with a level so the blind hangs straight.
- Peel the backing, press each bracket firmly for 30-60 seconds, and apply strong even pressure.
- Wait 24-72 hours before hanging the blind so the adhesive reaches full bond strength. Rushing this step is the top cause of brackets peeling off later.
- Clip the blind into the cured brackets.
Renter Tips
- Choose tension or clamp systems where possible — they leave zero residue and are truly damage-free.
- If you use adhesive, test that the specific tape removes cleanly (many VHB tapes can lift paint). Removable command-style strips are gentler but hold less.
- Keep packaging and any spare brackets so you can re-mount when you move.
- Photograph the window before install as a move-out record.
Surfaces Where Adhesive Fails
Adhesive brackets are only as good as the surface they grip, and several surfaces defeat them. Textured or knockdown-painted walls give the tape too little contact area. Freshly painted frames (less than a few weeks cured) let the tape pull the paint right off. Dusty, greasy, or previously waxed surfaces block the bond entirely. Glossy but flexing vinyl frames can also let brackets creep over time. On any of these, switch to a tension or clamp system instead. When adhesive is your only option, clean thoroughly with isopropyl alcohol, avoid touching the sticky face, and press hard for a full minute — contact pressure, not time alone, sets these tapes.
Removing No-Drill Blinds Without Damage
The whole point of no-drill is a clean exit, and removal technique matters. For adhesive brackets, don’t yank them straight off — that lifts paint and drywall paper. Instead, warm the tape with a hair dryer for 30-60 seconds to soften the bond, then peel slowly at a low angle, or slide dental floss or fishing line behind the bracket to saw through the adhesive. Command-style stretch-release strips pull straight down and release cleanly if you used them. Tension and clamp systems simply lift out with no residue at all. Keep any leftover adhesive off the wall by rubbing gently with a bit of the same isopropyl alcohol.
Cellular Shades: The Best No-Drill Match
If you’re unsure which blind to buy, cellular (honeycomb) shades are the safest no-drill pick and worth a closer look. They weigh very little, so tension and adhesive fittings hold them easily, and their honeycomb pockets trap air for genuine insulation — an R-value bump that cuts drafts and energy loss at the window. They come in light filtering and blackout opacities, in cordless and even battery-motorized versions, all in no-drill mounting kits. For a renter who wants an energy-efficient, damage-free, child-safe window covering in one product, a cordless no-drill cellular shade checks every box.
No-Drill Options for Different Window Types
Not every window suits every no-drill method, so match the fitting to the frame:
- Standard double-hung with a deep recess: tension fits work perfectly, gripping the side jambs.
- Shallow or flush frames with no recess: adhesive brackets on the wall above the window are the only no-drill route.
- Tilt-and-turn or casement uPVC windows: clamp-on brackets hook the sash without adhesive or drilling.
- Metal-framed windows: strong magnetic or adhesive brackets, since drilling metal is difficult and permanent.
- Sliding glass doors: usually too wide and heavy for no-drill; consider a tension-rod curtain instead.
When in doubt, a snug recess favors tension and a flat smooth frame favors adhesive.
Pros and Cons at a Glance
Pros: no wall damage, fast reversible installation, no tools or anchors, ideal for rentals and hard-to-drill frames, and no dust or patching later.
Cons: limited to lighter blinds and smaller windows, adhesive can fail on textured or freshly painted surfaces, tension fits need a snug square recess, and heavy wood blinds are a poor match.
What They Cost
- Ready-made cordless cellular no-drill shades: $25-$60 per window.
- Custom no-drill cellular or roller shades: $50-$120 per window.
- Adhesive bracket kits to convert standard blinds: $10-$25 per pair.
Bottom Line
No drill window blinds are the smart, damage-free way to dress windows in a rental or on a frame you can’t drill. Stick to lighter blinds like cellular and pleated shades, match the fitting to your window — tension for a snug recess, adhesive for a smooth flat frame, clamps for tilt-and-turn sashes — and respect the weight limits. Clean the surface, let adhesive cure fully, and your no-drill blinds will hang securely for years, then come down without leaving a mark.