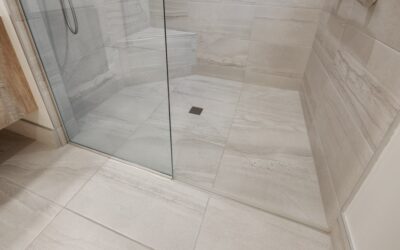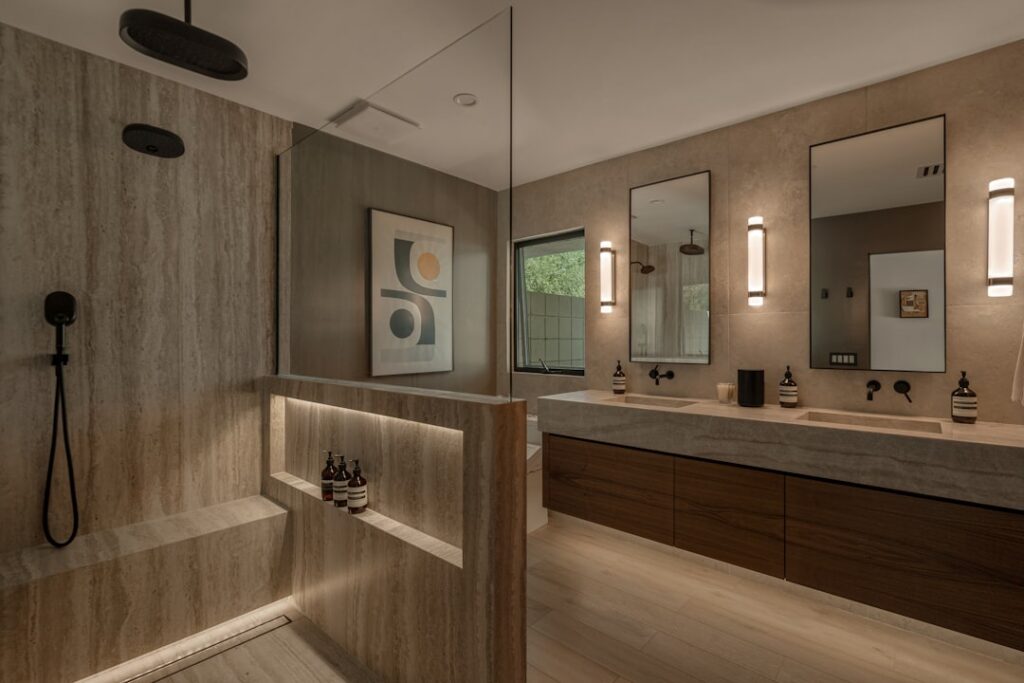
A tiled shower floor looks solid, but tile and grout are not waterproof, and the real defense against a hidden leak sits underneath where you never see it. An Oatey shower pan liner is the flexible membrane that catches water passing through the tile and channels it to the drain instead of into your subfloor. Get the liner and its slope right and the shower can last decades; get it wrong and you’re looking at rotted framing and a full tear-out. This guide explains how the liner works, how it fits into a traditional shower base, and the planning that keeps your shower dry for the long haul.
Part of our Bathroom Remodeling & Flooring guide — explore the full guide →
- Why a Shower Needs a Liner at All
- What the Oatey Liner Is and What It's Made Of
- Sizing the Liner for Your Shower
- The Critical Role of Slope
- Dam Corners, the Drain, and Common Fittings
- Installation Planning and When to Call a Pro
- Liner vs Modern Alternatives
- The Flood Test Nobody Should Skip
- Curb, Threshold, and Bench Details
- Making the Right Call
Why a Shower Needs a Liner at All
People assume tile keeps water out. In reality, grout joints are porous and even sealed tile lets some moisture through over time. In a traditional mortar-bed shower, that water travels down to the pan liner, which is the true waterproofing layer. The liner sits on a sloped mortar bed and connects to a clamping drain that has weep holes, allowing any water that reaches the liner to drain away rather than pool.
This is why a shower is a two-part drainage system: the surface tile sheds most water, and the liner beneath catches the rest. Skip or damage the liner and there’s nothing stopping water from soaking into the plywood and joists below, which is where expensive structural damage begins.
What the Oatey Liner Is and What It’s Made Of
Oatey is a well-known plumbing brand, and its shower pan liner is a flexible sheet membrane commonly available in PVC and CPE (chlorinated polyethylene) versions. It comes in rolls of various widths and thicknesses, often sold by the linear foot so you can buy exactly what your shower footprint needs. The membrane is designed to be folded into the corners and lapped up the walls to form a watertight tray.
Always confirm the exact product, thickness, and compatibility on Oatey’s current product literature, and pair the liner only with the adhesives, solvents, and drain assemblies the manufacturer approves. Using the wrong solvent on the wrong membrane type can compromise the waterproofing, so read the instructions for the specific liner you buy rather than assuming all liners are handled the same way.
Sizing the Liner for Your Shower
Measuring for a pan liner is straightforward once you know the rule: the liner must run up the walls above the finished curb height, typically at least a few inches, and lap over the curb. To size a roll, measure the length and width of the shower floor, then add enough on each side to turn up all the walls and over the curb without seams inside the pan.
- Measure the interior floor dimensions of the shower
- Add the wall height you plan to run the liner up each side, generally to sit above the finished curb
- Add extra to fold over and down the outside of the curb
- Choose a single piece large enough to avoid seams in the floor of the pan whenever possible
A one-piece liner with no floor seams is the goal. Every seam is a potential leak point, so buying a slightly larger piece to keep the floor continuous is cheaper than repairing a failure later.
The Critical Role of Slope
The liner cannot be laid flat. Beneath it, you build a sloped mortar pre-pan that directs water toward the drain, and the finished mortar bed on top of the liner also slopes. The industry-standard slope is about 1/4 inch of fall per foot of run toward the drain. A shower that’s 3 feet from the far wall to the drain needs roughly 3/4 inch of drop across that distance.
This double-slope construction is what makes the weep holes in a clamping drain work. Without the pre-slope under the liner, water that reaches the membrane just sits there against the subfloor side, which can lead to constant dampness and eventually mold or rot. Slope is not a place to cut corners.
Dam Corners, the Drain, and Common Fittings
Folding a flat membrane into a watertight box requires forming the inside corners neatly. Preformed dam corners are accessory pieces that fit over the folded liner at the curb corners to seal those vulnerable spots, since you never cut the liner at an inside corner. Fold it instead, and add a dam corner for a reliable seal.
The drain is equally important. A traditional liner works with a three-piece clamping drain: the liner is sandwiched between the drain base and a clamping ring that’s bolted down, with weep holes that let water on the liner escape into the drain. The liner is cut only to expose the drain opening and the bolt holes, never wider. Bolt the ring evenly so the clamp seals uniformly around the membrane.
Installation Planning and When to Call a Pro
Because a shower pan is a waterproofing system where a hidden failure causes major, expensive damage, treat the installation as a job to plan carefully rather than improvise. The general sequence is: build a sloped pre-pan, set the drain base, lay the liner up the walls and over the curb, form and seal the corners, clamp the drain ring, then float the top mortar bed at the proper slope before tiling. Before you close anything in, most experienced installers flood-test the pan by plugging the drain and filling it with water for 24 hours to confirm it holds.
If you’re comfortable with mortar work and you follow Oatey’s printed instructions to the letter, a pan is a doable DIY project. But if the framing, drain plumbing, or slope has you second-guessing, hire a licensed tile or bathroom contractor. A pan that leaks behind the tile won’t show itself until the damage is done, so this is a case where getting it right the first time is worth far more than the labor you’d save.
Liner vs Modern Alternatives
Sheet liners like Oatey’s are the traditional, time-tested method, and they remain widely used and code-accepted. In recent years, some builders have moved to bonded sheet membranes and foam pan systems that waterproof at the tile surface instead of below the mortar. Both approaches work when installed correctly; the traditional liner is often more economical and forgiving for custom shapes, while newer systems can be faster and thinner.
There’s no single right answer, and the best choice depends on your shower’s size, your budget, and your comfort with mortar work. Whichever route you take, the principle is the same: a continuous, properly sloped waterproof layer that drains to the weep holes.
The Flood Test Nobody Should Skip
Before any mortar or tile goes over the liner, experienced installers perform a flood test, and it’s the single best insurance you have against a hidden leak. The idea is simple: plug the drain, fill the pan with a few inches of water, mark the water level, and leave it for about 24 hours. If the level holds, the pan is watertight. If it drops, you have a leak to find and fix while everything is still accessible, which is infinitely cheaper than discovering it after the shower is tiled and in use.
Many local codes actually require a flood test as part of the inspection process for exactly this reason. Don’t treat it as an optional extra step. A pan that fails a flood test on the bench is a minor fix; a pan that fails behind finished tile is a demolition project. Take the day, run the test, and only proceed once you’re confident the liner is holding water the way it should.
Curb, Threshold, and Bench Details
Two spots deserve extra attention because they’re common leak points. The curb, the raised threshold you step over, must have the liner run up and over it and be sealed carefully at the corners, since water splashes against it constantly. Never puncture the liner on the top or inside face of the curb with fasteners, because every hole is a potential leak; installers use specific techniques to secure the curb without compromising the membrane.
A built-in shower bench or seat is another detail to plan for. Any horizontal surface inside the wet area needs to be waterproofed and sloped slightly so water runs off rather than pooling, and it has to tie into the overall waterproofing system without gaps. Because benches and curbs add corners and transitions where waterproofing gets tricky, they’re a good reason to bring in an experienced tile professional if your project includes them. Getting these transitions right is exactly where a careful installer earns their fee.
Making the Right Call
An Oatey shower pan liner remains a dependable way to waterproof a traditional tiled shower, provided you respect the slope, keep the floor seamless, seal the corners with dam pieces, and clamp the drain evenly. Verify the exact product and its instructions on the manufacturer’s site, flood-test before tiling, and don’t hesitate to bring in a pro for the parts you’re unsure about. Waterproofing you can’t see is the one part of a bathroom remodel where careful planning pays off every single day the shower is in use.