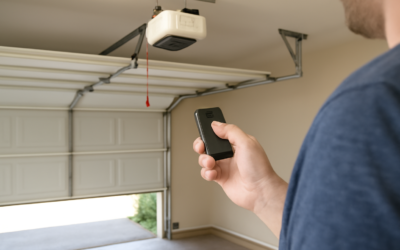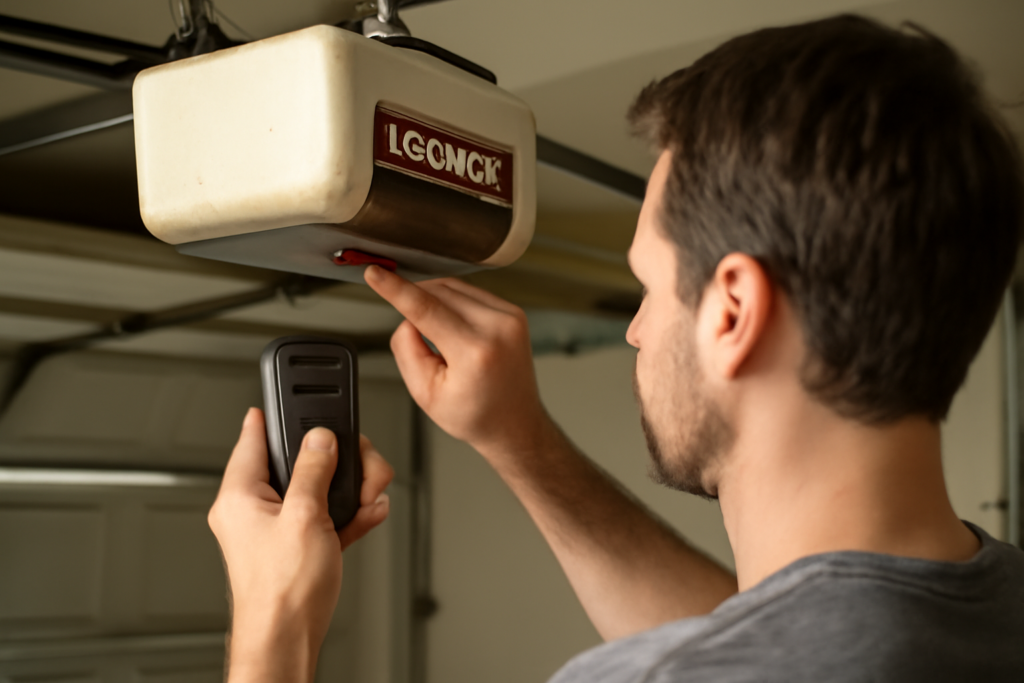
The reason your old Genie remote refuses to program is almost always that you are following instructions for the wrong generation of opener, since Genie has used at least three completely different systems over the decades. Old Genie garage door opener remote programming starts with identifying which system you actually have, because a 1990s Intellicode unit programs nothing like a 1980s DIP-switch model. Once you know your generation, the process takes under a minute. This guide walks through identifying your opener, programming each type, and troubleshooting the failures that stump most homeowners.
Part of our Garage Doors guide — explore the full guide →
- Identify Your Genie System First
- Programming an Intellicode Remote (Learn Code Button)
- Programming a DIP-Switch Remote
- Programming a Genie Wireless Keypad
- Troubleshooting When Programming Fails
- When to Replace Instead of Reprogram
- Understanding Genie Frequencies
- Programming a Car’s HomeLink to an Old Genie
- Preventing Future Programming Headaches
- The Bottom Line
Identify Your Genie System First
Genie openers fall into three broad eras, and matching yours is the whole ballgame. The oldest units, built roughly before 1995, use DIP switches, a bank of tiny sliding switches on both the opener and the remote that must be set to identical patterns. Mid-generation units introduced Genie’s Intellicode rolling-code security, which uses a “Learn Code” or “Program Set” button on the motor unit. The newest of the “old” openers use Intellicode 2 with slightly different button labels and colors.
To identify yours, get a ladder and look at the back or side of the motor unit mounted to the ceiling. Look for either a small program button, often labeled “Learn Code,” “Program Set,” or “PRGM,” with a nearby LED, or a bank of DIP switches under a cover. Note any model number on the label; you can look it up if unsure. This one step saves most people from an hour of frustration following the wrong steps.
Programming an Intellicode Remote (Learn Code Button)
If your opener has a Learn Code or Program Set button, it uses rolling-code Intellicode, and this is the most common “old but not ancient” Genie. The sequence is quick.
- Place your ladder under the motor unit and locate the “Learn Code” or “Program Set” button and its LED indicator.
- Press and release the button. The LED will turn on, indicating the opener is in programming mode for about 30 seconds.
- Within that window, press and release the desired button on your Genie remote once.
- Press the same remote button a second time. The opener’s LED will blink or turn off, confirming the code is learned.
- Wait for the LED to go out, then test the remote. The door should respond.
Note that Genie’s double-press differs from some other brands’ press-and-hold method, which is exactly why a remote can seem dead when you are using the wrong technique. If it does not take on the first try, repeat the full sequence rather than assuming a fault.
Programming a DIP-Switch Remote
For truly old Genie openers with no program button, both the opener and the remote carry a row of small switches, often 9 or 12 of them, set to up or down positions. There is no learning process; you simply match the patterns.
- Open the motor unit’s cover and find the bank of DIP switches inside. Note the exact up/down pattern.
- Open the battery compartment of your remote to expose its DIP switches.
- Set the remote’s switches to exactly match the opener’s pattern, switch for switch.
- Close the remote and test. The door should respond immediately since the codes now match.
If you are buying a replacement remote for a DIP-switch Genie, make sure it is a DIP-switch-compatible model on the correct frequency, commonly 390 MHz for these older units. A modern Intellicode-only remote will not work with a DIP-switch opener, and vice versa.
Programming a Genie Wireless Keypad
Older Genie keypads follow the same split. Intellicode keypads program by pressing the Learn Code button on the motor unit, then entering your chosen PIN on the keypad and pressing the send or up arrow within 30 seconds, watching for the confirmation blink. DIP-switch-era keypads are set to match the opener’s switch pattern and then have a PIN assigned per the keypad’s own instructions.
If an outdoor keypad has weathered several seasons, replace its battery before assuming a programming problem; a weak battery mimics a failed sync and is by far the most common cause of a keypad that suddenly stops responding.
Troubleshooting When Programming Fails
When the remote still will not work after you have used the correct method, run through these common causes in order.
- Dead remote battery: Swap in a fresh coin cell first, every time. It is the number-one culprit.
- Wrong method for your generation: Double-check whether you have Intellicode (button) or DIP-switch (switches) and use the matching steps.
- Full memory: Older openers hold a limited number of remotes. Clear the memory by holding the Learn Code button for several seconds until the LED goes out, then reprogram every device.
- Timed out: You have roughly 30 seconds after pressing the button. Climbing down the ladder first wastes the window; keep the remote in hand.
- Incompatible replacement remote: Confirm the remote matches your opener’s frequency and security type. A universal Genie-compatible remote covering both systems is the safe replacement.
- LED bulb interference: Some LED and CFL bulbs in or near the opener emit radio noise that shortens range. Try a different bulb if range is poor.
When to Replace Instead of Reprogram
Sometimes the smarter move is a new remote or opener. If your DIP-switch opener is decades old, remember it has no rolling-code security, meaning its fixed code can be captured and replayed by a thief; upgrading to an Intellicode-capable remote or a new opener adds real security. If the opener’s logic board is failing, no remote will program reliably, and a control board or full unit replacement is the fix.
Replacement remotes for old Genie units are inexpensive, generally $20 to $40, and universal models keep an aging opener usable for years. Weigh that against a full opener replacement at $200 to $500 installed if the motor or board is also on its way out.
Understanding Genie Frequencies
Buying a compatible remote for an old Genie hinges on frequency, and Genie has used a few over the years. Many older Genie and Overhead Door units operate at 390 MHz, while some vintage models use 315 MHz or other bands, and the Intellicode systems layered rolling-code security on top of those frequencies. A remote must match both the frequency and the security type to work, which is why a random universal remote sometimes fails even when programmed perfectly.
The safest path when replacing a remote for an old Genie is to look up your opener’s model number, printed on the label of the motor unit, and match a remote or a Genie-compatible universal listed for that model. Genie’s own Intellicode remotes and the widely sold universal models that specifically list Genie and Overhead Door compatibility are reliable choices. When in doubt, a universal remote that covers both older fixed-code and modern rolling-code Genie systems spares you the guesswork and keeps an aging opener usable.
Programming a Car’s HomeLink to an Old Genie
Syncing an old Genie to your vehicle’s built-in HomeLink buttons follows the same split as handheld remotes but adds a wrinkle with rolling-code units. For an Intellicode Genie, you first train the HomeLink button to your handheld Genie remote by holding them close together until the car’s indicator blinks rapidly, then you go to the motor unit, press the Learn Code button, and finally return to the car and press the HomeLink button a couple of times to complete the handshake. That trip back to the opener’s Learn button is the step drivers most often miss.
For a DIP-switch Genie, some older vehicles can be set by matching, but many modern HomeLink systems expect a rolling-code signal and may need a compatibility bridge. If your car simply will not learn the old opener, a Genie-compatible universal remote clipped in the car is a dependable fallback that sidesteps HomeLink entirely.
Preventing Future Programming Headaches
A little record-keeping saves you from re-solving the same puzzle years later. Once you have your old Genie programmed, write down the model number, the frequency, the Learn button color or label, and the exact steps that worked, then tape the note inside the motor-unit cover or file a photo on your phone. Keep a spare compatible remote and a fresh set of coin-cell batteries on hand so a dead remote never leaves you locked out.
If your opener is genuinely ancient and increasingly finicky, weigh the ongoing hassle against a modern replacement. A new rolling-code opener with a smartphone app runs $200 to $500 installed and ends the frequency-matching guesswork for good, while adding real security an old fixed-code unit cannot match. But if the motor still runs strong and you just need a working remote, a compatible replacement for $20 to $40 keeps the old Genie serving reliably for years.
The Bottom Line
Old Genie garage door opener remote programming is simple once you identify your generation. Intellicode units program with the Learn Code button and a double-press of the remote; DIP-switch units just need matching switch patterns. Always start troubleshooting with a fresh battery, respect the 30-second timing window, and clear a full memory when needed. Match any replacement remote to your opener’s frequency and security type, and consider upgrading a fixed-code DIP-switch unit for better security. Know your system, use the right steps, and even a decades-old Genie will answer your remote again.