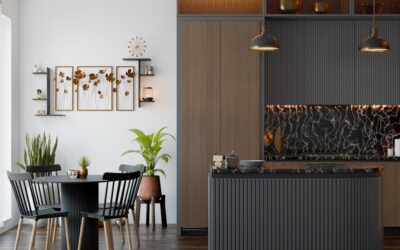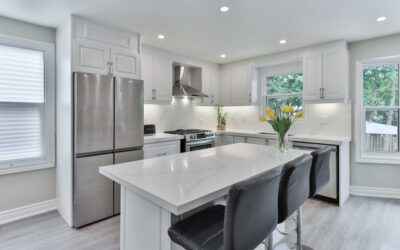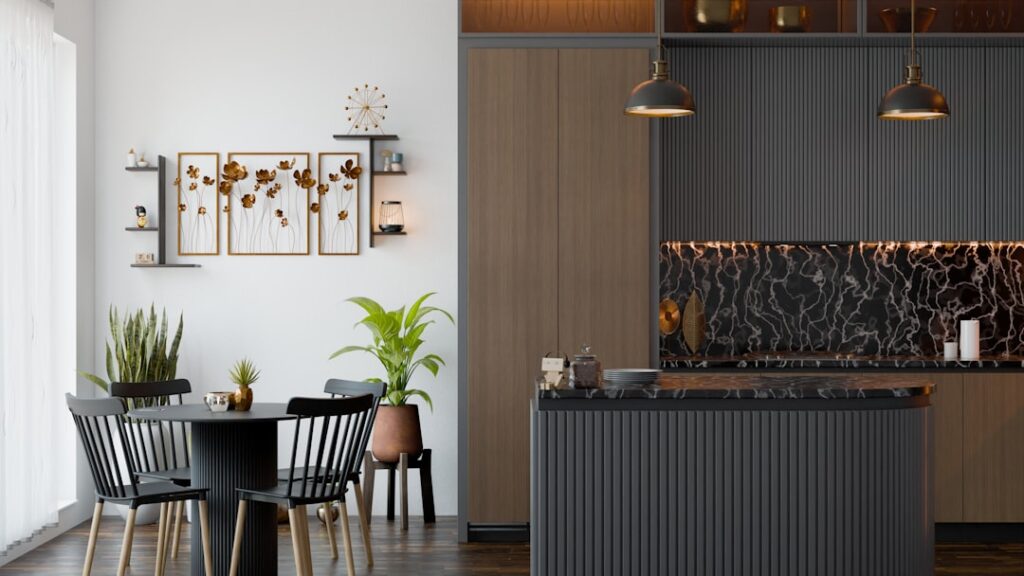
An oval kitchen island trades the hard corners of a rectangular island for graceful curves, improving traffic flow while making a striking design statement. The rounded ends soften how people move around the kitchen, eliminate the sharp corners that bruise hips and catch traffic, and lend an elegant, sculptural quality to the heart of the home.
Part of our Kitchen Remodeling guide — explore the full guide →
Curved islands ask for a bit more planning than boxy ones, from countertop fabrication to seating layout. This guide covers the benefits, sizing, seating, materials, clearances, and cost so you can decide whether an oval island is right for your kitchen.
- Why Choose an Oval Shape?
- Sizing an Oval Island
- Clearances You Must Maintain
- Seating Around the Curve
- Countertop Materials and Fabrication
- Base Cabinet Considerations
- Cost of an Oval Kitchen Island
- Is an Oval Right for Your Kitchen?
- Adding a Sink or Cooktop to the Island
- Lighting Above an Oval Island
- Storage and Function Underneath
- Caring for the Curved Countertop
- Oval Versus Rectangular and Round Islands
- Fitting an Oval in Different Kitchen Sizes
- Budgeting for a Custom Shape
Why Choose an Oval Shape?
The appeal of an oval goes beyond looks. The curved form solves several practical problems:
- Better flow — rounded ends let people move around the island smoothly instead of navigating right angles.
- Safety — no sharp corners means fewer bumps, a real benefit in homes with children.
- Sociable seating — a curved edge naturally angles stools toward one another, encouraging conversation.
- Softened aesthetics — curves counterbalance the straight lines of cabinets and appliances for a more inviting room.
An oval works especially well in open-plan kitchens where the island is visible from living and dining areas and functions as a centerpiece.
Sizing an Oval Island
Because an oval loses some usable surface at the tapered ends compared with a rectangle of the same footprint, size generously. Typical dimensions:
- Length: 6 to 10 feet, depending on kitchen size and how much seating you want.
- Width: 40 to 48 inches at the widest point to allow prep space plus overhang for seating.
- Height: 36 inches for a standard counter, or 42 inches for a raised bar section.
The gentle taper of the ends means you get the most usable counter in the middle, so plan your sink, cooktop, or prep zone there and reserve the ends for seating.
Clearances You Must Maintain
An island only improves flow if it has room to breathe. Follow these minimums:
- Leave at least 36 inches of walkway around all sides, and 42 to 48 inches on the working sides where you open appliances and cabinets.
- Allow 44 inches behind seating so people can pull stools out and pass behind them.
- Confirm the curved footprint clears refrigerator and oven doors when fully open.
These clearances are where oval islands shine, because the rounded ends preserve corner walkways that a rectangle would pinch.
Seating Around the Curve
The curved perimeter is ideal for seating and one of the biggest reasons homeowners choose an oval:
- Allow about 24 inches of width per stool so guests are not cramped.
- Provide 12 to 15 inches of knee overhang under the counter for comfortable seating.
- The curve lets you wrap seating around an end, so diners face one another rather than sitting in a straight row.
Backless stools tuck fully under the overhang and keep sightlines open, which suits the sculptural feel of an oval.
Countertop Materials and Fabrication
Not every countertop material curves equally well, and the shape affects cost. Good choices include:
- Quartz and granite — can be cut to a curve by a fabricator using a template, though the rounded edge adds labor and material waste.
- Solid surface — thermoformable materials like acrylic solid surface bend into smooth curves with seamless joints, ideal for ovals.
- Butcher block — can be shaped to an oval and adds warmth, but needs sealing and care near water.
- Concrete — cast in a custom mold, concrete forms any shape and gives a bold, modern edge.
Expect curved fabrication to cost more than a straight top, because the fabricator must template the exact shape and there is greater offcut waste from a slab.
Base Cabinet Considerations
The cabinetry beneath an oval top is usually a rectangular or angled core with the curved overhang extending past it, or fully custom curved millwork. The simpler and more affordable route is a rectangular cabinet run topped by an oval counter that overhangs the ends, which delivers the curved look without the expense of curved cabinet boxes. Fully curved bases are stunning but cost significantly more and require a skilled cabinetmaker.
Cost of an Oval Kitchen Island
An oval typically costs more than a comparable rectangular island because of custom fabrication. Rough ranges:
- Modest oval with stock cabinets and a curved stone top: $3,000 to $6,000.
- Mid-range with quality materials and seating: $6,000 to $12,000.
- Fully custom curved cabinetry and premium counters: $12,000 and up.
Adding a sink, cooktop, or wine fridge raises the cost through plumbing and electrical runs to the island.
Is an Oval Right for Your Kitchen?
An oval shines in medium to large open kitchens where flow, seating, and a design focal point all matter. In a tight galley kitchen, a rectangular or even a small mobile island may serve better because it maximizes usable surface per inch. If you have the space and want a softer, more sociable centerpiece, the curve is worth the extra fabrication cost.
Adding a Sink or Cooktop to the Island
Many homeowners want their island to be a working station, not just seating and prep. Building in a sink or cooktop is possible on an oval but takes planning:
- Place any sink or cooktop in the wide center section where there is enough depth for the fixture and surrounding counter.
- Running plumbing to an island means routing supply and drain lines through the floor, which is easier during new construction or a slab-up remodel.
- A cooktop requires a downdraft vent or a ceiling-mounted hood above the island, plus a dedicated electrical or gas line.
- Keep at least a landing zone of counter on either side of a cooktop or sink for safety and function.
If a working island is your goal, involve your plumber and electrician early, since these utilities are far cheaper to run before the floor is finished.
Lighting Above an Oval Island
Lighting should echo the island’s curve for a cohesive look. Good approaches include:
- A linear pendant or a row of two to three pendants tracing the long axis of the oval.
- An oval or racetrack-shaped chandelier that mirrors the island’s footprint.
- Recessed lights supplementing the pendants for even task lighting on the prep surface.
Hang pendants about 30 to 36 inches above the countertop so they light the surface without blocking sightlines across the room.
Storage and Function Underneath
The island base is valuable storage, so plan it around how you cook:
- Deep drawers for pots and pans on the working side.
- Open shelving or a wine rack on the seating end for display and easy reach.
- A pull-out trash and recycling cabinet near the prep zone.
- A microwave drawer or beverage fridge built into the base to free counter space.
Because the curved ends overhang the rectangular base, most of the practical storage lives in the straight center run, so concentrate cabinets and drawers there.
Caring for the Curved Countertop
Maintenance depends on the material you chose. Quartz needs only mild soap and water and never requires sealing. Granite and other natural stone should be sealed periodically to resist stains. Butcher block needs regular oiling and care around water, while concrete benefits from resealing to prevent staining. Whatever the surface, wipe spills promptly and use trivets under hot pans, especially near the seating edge where the counter sees the most daily contact.
Oval Versus Rectangular and Round Islands
Comparing shapes helps confirm whether an oval is the right call for your kitchen:
- Versus rectangular — a rectangle maximizes usable counter per square foot and costs less to fabricate, but its sharp corners pinch traffic and bruise hips; the oval trades a little surface for smoother flow and safety.
- Versus round — a round island is highly social but offers less usable prep surface and limited seating; an oval keeps the sociable curve while adding a longer working center.
- Versus a curved-end rectangle — softening just the ends of a rectangle is a budget-friendly way to approximate the oval look while keeping more flat surface.
The oval wins when flow, seating, and a design focal point all matter more than squeezing out every inch of counter.
Fitting an Oval in Different Kitchen Sizes
Room size determines whether an oval is practical:
- Large open-plan kitchens — the ideal home for an oval, with room for generous clearances and wraparound seating.
- Medium kitchens — a smaller oval can work if you protect the walkway clearances, but measure carefully.
- Small or galley kitchens — usually better served by a compact rectangular or mobile island that maximizes usable surface.
Budgeting for a Custom Shape
An oval almost always costs more than a boxy island because of custom countertop fabrication and, sometimes, curved cabinetry. Keep the budget in check by topping a standard rectangular cabinet run with an oval counter that overhangs the ends, which delivers the curved look without paying for curved cabinet boxes. Reserve fully curved millwork for when you want a showpiece and have the budget for skilled custom work. Deciding early how much of the curve is countertop versus cabinetry is the single biggest lever on the final price, so settle that with your fabricator before ordering.
An oval kitchen island combines beauty and practicality, smoothing traffic, encouraging conversation, and giving your kitchen a distinctive heart. Plan generous dimensions, protect your clearances, place work zones in the wide center, and budget for custom countertop work. Get those pieces right and a curved island becomes the feature your whole kitchen revolves around.