A patio contractor will quote $4,000 or more for a modest backyard space, but the same footprint can be yours for a few hundred dollars with the right approach. Great paver patio ideas on a budget come down to three levers you control: choosing affordable materials, laying a pattern that looks intentional, and doing the install yourself. Pull those together and you land at $3 to $8 per square foot instead of the $15 to $30 installed that a pro charges.
Part of our Decks & Outdoor guide — explore the full guide →
Below are the designs, materials, and shortcuts that make a small budget look like a big one.
- Where the Savings Really Come From
- Budget-Friendly Material Picks
- Design Ideas That Punch Above Their Price
- DIY Installation Step by Step
- Free and Salvaged Options
- Getting the Base Right on a Budget
- Shopping Smart for Materials
- Tools You Can Rent Instead of Buy
- Finishing Touches on the Cheap
- Sizing the Patio to Your Budget
- Realistic Budget Numbers
Where the Savings Really Come From
Labor is roughly half the cost of any professional patio, so the biggest single saving in these paver patio ideas on a budget is doing the work yourself. The second lever is material choice: standard concrete pavers and gravel cost a fraction of natural flagstone or clay brick. The third is design efficiency, using patterns and layouts that cover more ground with fewer or cheaper stones. Address all three and the total plummets without the result looking cheap.
Budget-Friendly Material Picks
Start with the least expensive materials that still look sharp when installed cleanly.
- Standard concrete pavers: Holland and square pavers run $0.50 to $1.20 each at big-box stores, about $2 to $4 per square foot.
- Pea gravel: The cheapest surface at $0.50 to $1 per square foot, and no cutting required.
- Large-format concrete slabs: 12×12 or 24×24 pavers cover ground fast with fewer joints and less labor.
- Reclaimed brick: Salvage-yard brick adds character for pennies per piece.
Reserve any pricey accent stone for a small border or focal area where it shows, and use the cheap material for the bulk of the field.
Design Ideas That Punch Above Their Price
Layout drives the perceived value more than the material cost. A few designs consistently look custom on a budget.
- Paver-and-gravel combo: Pave a solid zone for the table and grill, then surround it with pea gravel. Cuts paver cost dramatically while looking like a designed courtyard.
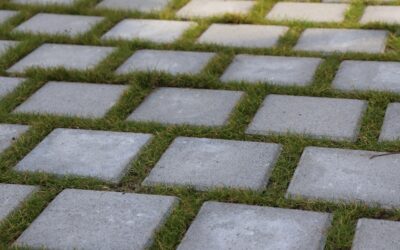
- Floating paver grid: Space large pavers 4 to 6 inches apart with gravel or ground cover between them, using far fewer stones.
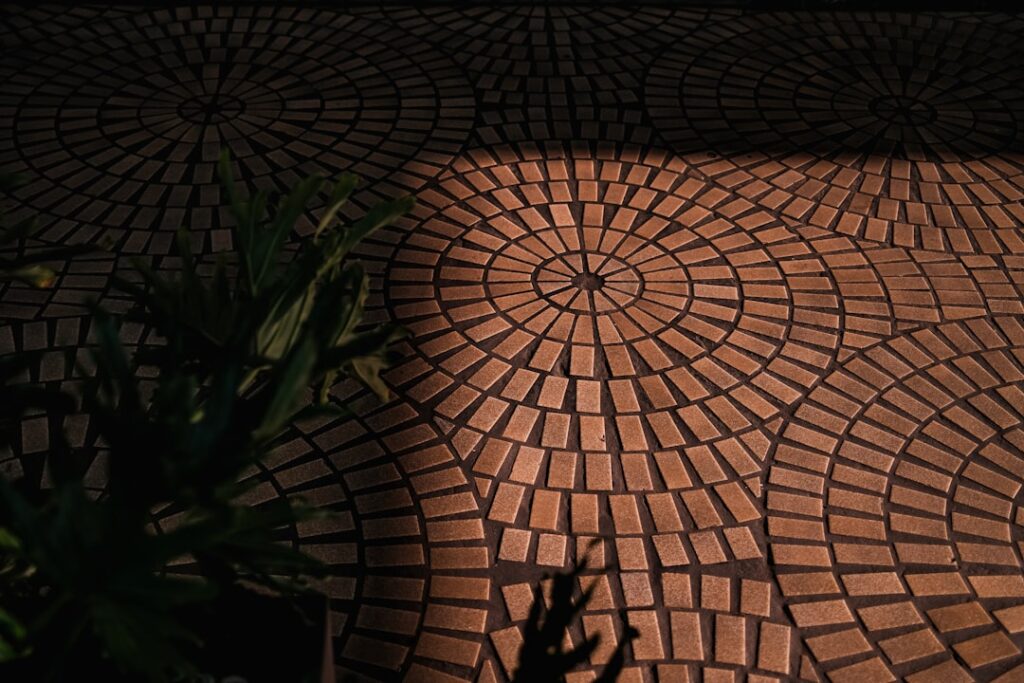
- Herringbone field: The diagonal weave reads as premium using the same cheap rectangular pavers.
- Soldier-course border: Frame any field with a single row of pavers set perpendicular to sharpen the whole edge.
DIY Installation Step by Step
Installing a level, modest patio yourself is well within reach and eliminates the labor cost entirely.
- Excavate 6 to 8 inches deep across the footprint.
- Lay landscape fabric to suppress weeds.
- Add and compact 4 inches of crushed gravel base with a rented plate compactor, about $60 to $90 a day.
- Screed 1 inch of sand flat using a board dragged over two pipe rails.
- Set the pavers in your pattern, tapping each level with a rubber mallet.
- Sweep in polymeric sand and mist to lock the joints.
A weekend and a helper can finish 120 square feet this way for well under $500 in materials and rental.
Free and Salvaged Options
The cheapest material is one you never pay for. Broken concrete slabs, called urbanite, lay like flagstone with gravel joints for essentially the cost of hauling, and contractors often give away broken sidewalk to dodge dump fees. Community marketplaces regularly list leftover pavers and reclaimed brick from finished projects. Cleaning up salvaged pieces takes elbow grease, but it can drop your material cost to nearly zero.
Getting the Base Right on a Budget
The temptation to skip the foundation is where budget patios go wrong and end up costing more the second time. You can economize on the surface material, but never on the base, because a patio laid on bare dirt heaves, sinks, and holds water after the first freeze or heavy rain. The non-negotiable foundation is four inches of compacted crushed gravel topped by one inch of screeded bedding sand. Rent a plate compactor for $60 to $90 a day even on a small job; hand-tamping never reaches the density that keeps pavers from settling into ruts. Build in a slight slope of about 1/4 inch per foot away from the house so water drains off, and add an edge restraint of steel spikes or a soldier course so the outer pavers cannot spread. These base steps cost little and are the difference between a patio that lasts a decade and one you redo in two years.
Shopping Smart for Materials
Where and when you buy pavers affects the total as much as which pavers you pick. A few tactics stretch the budget further.
- Buy end-of-season: Big-box stores discount pavers and bagged base material in fall as demand drops.
- Check the returns and clearance aisle for broken-pallet pavers sold at a steep markdown.
- Order in full pallets rather than by the piece, which lowers the per-paver price significantly.
- Source salvaged brick and broken concrete free from demolition sites and community marketplaces.
- Calculate square footage first and add only 10 percent for cuts, so you do not overbuy costly extras.
Tools You Can Rent Instead of Buy
You do not need to own a shed full of equipment to lay a patio, and renting keeps the project cheap. A plate compactor, the one tool you truly need, rents for $60 to $90 a day and does the work no hand tool can match. A masonry or diamond blade on a rented wet saw handles the border cuts a herringbone pattern requires, though a simple running-bond layout may need almost no cutting at all. Everything else, a rubber mallet, a level, a wheelbarrow, and a garden rake, you likely already own or can borrow. Renting the one specialized machine rather than buying it keeps a DIY patio firmly in the few-hundred-dollar range while still giving you a professional-grade compacted base.
Finishing Touches on the Cheap
Small details separate a budget patio from a cheap-looking one, and most cost little. Solar path lights at $3 to $5 each add evening glow with no wiring. A crisp steel or paver border frames the space and keeps gravel contained. Potted plants and a few yards of mulch soften the hard edges. Arranging your furniture on the paved zone while gravel handles the perimeter makes the whole area read larger than its paved core.
Sizing the Patio to Your Budget
One of the smartest budget moves is to right-size the patio rather than paving more than you need. A common mistake is building a sprawling patio to fill the yard, then running short on material or ending up with a bare, under-furnished slab. Start from how you will actually use the space. A bistro set for two needs only about 8 by 8 feet, roughly 64 square feet. A dining table for six wants around 12 by 12 feet, or 144 square feet, to leave room to pull out chairs. A full outdoor living area with dining and a seating group runs 16 by 18 feet or more. Match the footprint to the furniture and traffic you plan, and you avoid paying for square footage that sits empty.
If the ideal size stretches your budget, remember the hybrid approach: pave only the zone that needs a hard, level surface for furniture, and let cheaper gravel handle the surrounding walkway and lounge area. This lets you build a generous-feeling outdoor room while paying for pavers on just the portion that truly requires them, which is often the single biggest lever for keeping the project affordable.
Realistic Budget Numbers
To set expectations for a 150-square-foot patio done yourself: a full concrete-paver field runs $400 to $700 in materials, a paver-and-gravel hybrid drops to $250 to $450, and an all-gravel patio with paver borders can come in under $200. Compare that to $2,500 to $4,500 installed by a contractor. The lesson across these paver patio ideas on a budget is consistent: get the base right, choose an affordable material, lay a smart pattern, and swing the mallet yourself. Do that and your backyard looks like it cost far more than it did.