
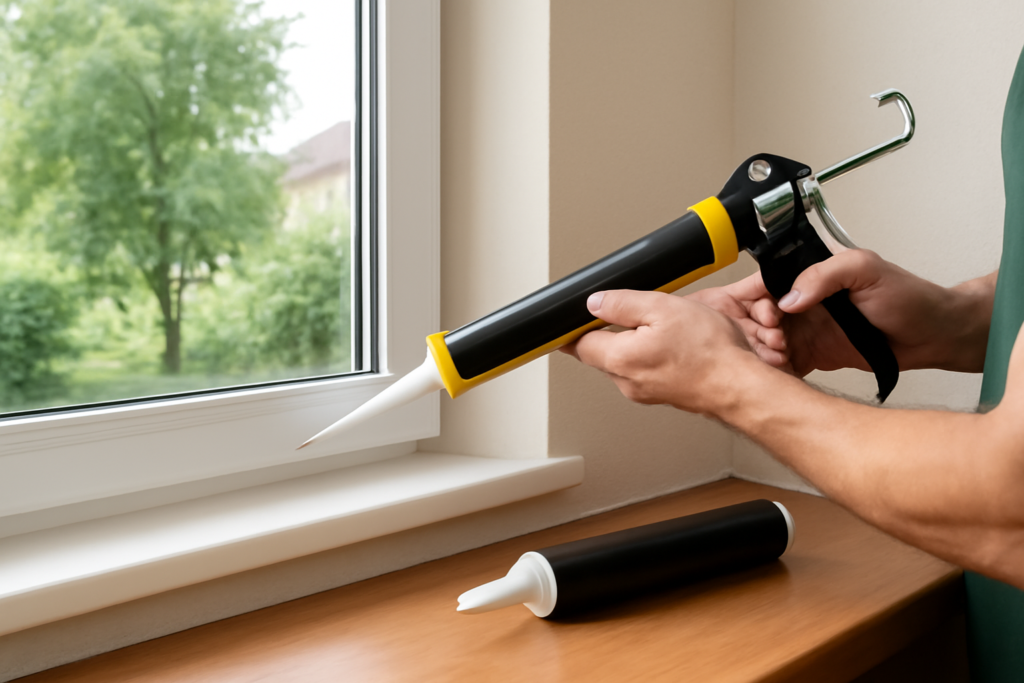
When contractors seal a driveway expansion joint, a concrete crack, or the trim on a house they are about to paint, they almost never reach for silicone; they reach for polyurethane. Polyurethane caulking is the heavy-duty, paintable, weatherproof sealant built for high-movement structural joints where you need adhesion, durability, and a surface you can paint to match. It is tougher and stickier than silicone in most exterior applications, and unlike pure silicone, it takes paint beautifully, which is exactly why it dominates on construction sites.
Part of our Paint & Walls guide — explore the full guide →
If silicone is the specialist for wet, nonporous, unpainted joints, polyurethane is the generalist that handles the rough, structural, paintable work that makes up most of a home’s exterior maintenance. Think about where a house actually needs sealing: the gaps around window and door trim that will be painted to match, the expansion joints in a concrete driveway that flex and take the weight of a car, the seams in metal gutters, the transitions where siding meets masonry. None of those are jobs for a slick, unpaintable silicone. They call for a sealant that grips porous materials aggressively, flexes through years of movement, shrugs off weather, and disappears under a coat of paint. That is exactly the niche polyurethane fills, which is why you will find it on the truck of nearly every remodeler and mason. It asks a little more patience during application and cure than latex caulk, but it pays that back with a bond and a durability that cheaper products cannot approach. The sections below show you where to use it and how to get professional results.
- What Polyurethane Caulk Is
- Where Polyurethane Shines
- Polyurethane vs Silicone
- How to Apply Polyurethane Caulk
- Cure Time and Painting
- Getting Long-Lasting Results
- Backer Rod and Proper Joint Design
- Storage, Cleanup, and Safety
- Temperature, Timing, and Getting Paint to Stick
- Frequently Asked Questions
What Polyurethane Caulk Is
Polyurethane is a synthetic sealant that cures into a tough, rubbery, abrasion-resistant bead with exceptional adhesion to concrete, wood, metal, masonry, and most building materials. It flexes with joint movement, resists weather and UV over time, and stands up to foot and even vehicle traffic in the right formulations. That combination of grip, flexibility, and toughness is its calling card.
Its two biggest advantages over silicone are paintability and adhesion. Polyurethane bonds aggressively to porous construction materials like concrete and wood where silicone can struggle, and once cured it accepts paint so the joint disappears into the surrounding surface. The trade-offs are a longer cure time, a stickier and messier application, and generally shorter UV life than premium silicone in constant harsh sun.
Where Polyurethane Shines
This is a sealant for the tough, structural, paintable jobs around the exterior and the workshop.
- Exterior trim and siding: Sealing joints and gaps that will be painted to match the house.
- Concrete and masonry: Filling driveway, sidewalk, and foundation expansion joints that flex and take traffic.
- Roofing and flashing: Weatherproofing metal-to-masonry transitions and roof penetrations.
- Gutters and downspouts: Sealing seams that must hold up to standing water and freeze-thaw.
- Windows and doors: Bedding exterior frames where a paintable, durable seal matters.
The one place to avoid it is a constantly submerged or heavy-water indoor spot like a shower interior, where 100 percent silicone with mildewcide still wins.
Polyurethane vs Silicone
Choosing between the two comes down to a few clear questions. If the joint will be painted, choose polyurethane, because pure silicone rejects paint. If the joint bonds to porous concrete, masonry, or wood outdoors, polyurethane’s superior adhesion usually makes it the better pick. If the joint sits in constant water, like a shower or a tub surround, or is exposed to relentless UV for decades, silicone’s moisture and UV resistance give it the edge.
In short, think of silicone as the wet-area, nonporous, no-paint specialist and polyurethane as the structural, exterior, paintable workhorse. Many pros keep both on the truck and match the tube to the task rather than trying to make one do everything.
How to Apply Polyurethane Caulk
Polyurethane is stickier and less forgiving than latex caulk, so preparation and speed both matter.
- Clean the joint. Remove old sealant, dust, and loose debris, and make sure the surface is dry. For deep joints, insert a foam backer rod so you are not filling a bottomless gap.
- Mask the edges. Painter’s tape is even more valuable here because cured polyurethane is very hard to clean off surrounding surfaces.
- Cut the nozzle. Slice at 45 degrees to the joint width and load the tube in the gun.
- Lay the bead. Hold the gun at 45 degrees and pull steadily along the joint, pushing sealant into the gap.
- Tool quickly. Smooth the bead with a tool or a soap-and-water-dampened finger before it skins, and pull the tape immediately.
Clean up wet polyurethane with mineral spirits, not water, and do it right away, because once it cures it is nearly impossible to remove without scraping. Wear gloves; this stuff bonds to skin as readily as it bonds to concrete.
Cure Time and Painting
Patience is the price of polyurethane’s toughness. It skins over in about 30 minutes to an hour but cures much slower than silicone, typically taking 24 hours to become tack-free and up to 7 days to fully cure through a thick bead. Temperature and humidity affect the timeline; cold weather slows it considerably.
You can paint polyurethane once it has cured, and the results are excellent, which is its whole appeal for trim work. Wait until the bead is fully skinned and firm, usually at least 24 hours, before applying paint, and follow the tube’s recommendation, since some products want a full cure first. Both latex and oil-based paints adhere well to cured polyurethane, letting the joint blend seamlessly into painted siding or trim.
Getting Long-Lasting Results
A well-applied polyurethane joint on exterior trim or concrete can last 10 to 20 years, and its abrasion resistance means it holds up in traffic areas where softer caulks tear. Size the joint correctly with a backer rod so the sealant bonds to two sides and not the bottom, which lets it flex without splitting. Keep exterior beads painted where UV is severe, since paint shields the polyurethane and extends its life.
Inspect exterior joints once a year and reseal any that have cracked or pulled away, cutting out the old bead first.
Backer Rod and Proper Joint Design
The detail that separates a professional sealant job from an amateur one is how the joint is built, and backer rod is the key. A backer rod is a flexible foam cylinder you press into a deep or wide gap before caulking. It does three jobs at once: it controls how deep the sealant sits, it saves you from wasting caulk filling a bottomless void, and, most importantly, it prevents three-sided adhesion.
That last point matters more than it sounds. A sealant bonded to only the two sides of a joint can stretch and compress freely as the materials move, but one that also sticks to the bottom is pinned in place and tears when the joint flexes. The rule of thumb is to size the bead so its depth is about half its width, roughly a two-to-one ratio, which lets polyurethane flex through many cycles of expansion and contraction. Choose a backer rod slightly larger than the gap so it stays put under compression, and your joints will outlast a poorly designed bead by years.
Storage, Cleanup, and Safety
Polyurethane is stickier and more demanding to handle than latex caulk, so a few practices keep the job clean and safe. Wear nitrile gloves, because cured polyurethane bonds to skin as readily as it does to concrete and does not simply wash off. Clean wet sealant and tools with mineral spirits or acetone, never water, and do it immediately, since once it cures your only option is to scrape.
Work in a ventilated area, as uncured polyurethane gives off fumes, and keep it off your good clothes because it will not come out. Storage is its own challenge: opened tubes cure from exposure to moisture in the air, so seal the nozzle tightly with a cap or a screw, and even then a partial tube may skin over within weeks. Buy only what you will use soon, and check that unopened tubes are within their shelf life before starting a job. For the demanding, paintable, structural work that defines so much of home exterior maintenance, polyurethane caulking is the sealant the pros trust, delivering grip and durability that silicone simply cannot match on porous, painted surfaces.
Temperature, Timing, and Getting Paint to Stick
Polyurethane is fussier about weather than latex caulk, and rushing the schedule is how a good bead fails early. Apply it when the surface and air sit between 40°F and 100°F, with the sweet spot around 60°F to 80°F; below 40°F the sealant stiffens in the tube, tools poorly, and cures at a crawl. Expect a skin in 30 to 60 minutes, a tack-free surface at roughly 24 hours, and full through-cure of a heavy 3/8-inch bead in 5 to 7 days. High humidity actually speeds the cure since polyurethane is moisture-triggered, while cold dry air can double the timeline. Plan the job so the fresh bead gets at least 24 rain-free hours, because a downpour on an uncured joint washes out the surface and ruins adhesion.
Paintability is polyurethane’s headline advantage over silicone, but only if you wait for the skin to firm up. Give the bead a full 24 hours before you brush anything on it, and on a thick joint wait longer or the paint film wrinkles as the caulk keeps curing underneath. Both latex and oil-based paints bond well once the surface is firm, so the joint disappears into painted siding or trim. For cleanup, keep a rag and a small can of mineral spirits within arm’s reach and wipe tools and smears immediately, because water does nothing and a cured smear only comes off with a blade. This paint-and-adhesion combination is exactly why polyurethane beats silicone on exterior structural joints where the seal has to match the wall.
Frequently Asked Questions
What is the difference between self-leveling and non-sag polyurethane caulk?
Self-leveling polyurethane flows out flat on its own, which makes it the right pick for horizontal joints in driveways, sidewalks, and garage slabs. Non-sag, or gun-grade, polyurethane stays where you place it, so it works on vertical joints, trim, and siding. Do not use self-leveling sealant on slopes or walls, because it runs out of the joint before it cures.
How many feet does a tube of polyurethane caulk cover?
A standard 10.1-ounce cartridge fills about 24 linear feet of a 1/4 by 1/4 inch joint. Coverage drops quickly as joints get bigger: a 1/2 inch wide by 1/4 inch deep joint uses a tube in roughly 12 feet. Using backer rod to keep the depth at about half the width saves sealant and helps the joint flex properly.
Can you put polyurethane caulk over old silicone?
No. Fresh polyurethane will not bond to cured silicone or its residue, so the new bead will peel. Cut out the old silicone, scrape the joint clean, and remove the remaining film with a silicone remover or mineral spirits per the product label. Let the joint dry fully before applying the polyurethane, and test adhesion on a short section if any doubt remains.
Can polyurethane caulk be used for radon mitigation?
Yes, polyurethane sealant is commonly used to seal slab cracks, floor-to-wall joints, and gaps around pipe penetrations as part of radon reduction. Sealing alone rarely lowers radon enough, so it is usually paired with a sub-slab depressurization system. Test radon levels before and after the work, and consider a certified radon mitigation professional for system design.


