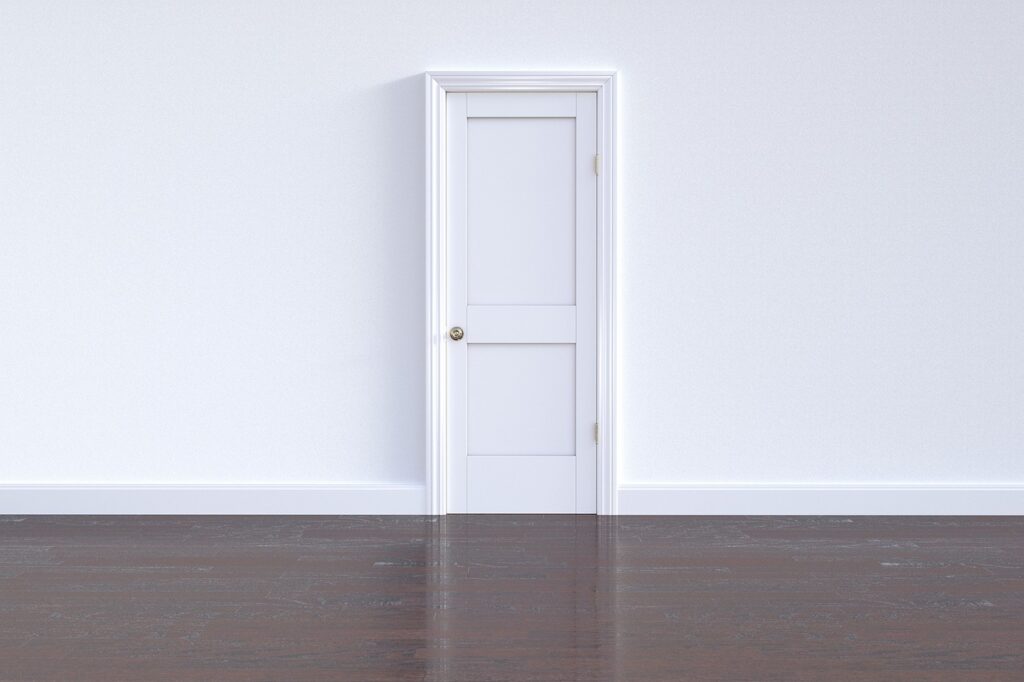
If you have shopped for trim, you have almost certainly seen primed baseboard stacked in bright white bundles at the home center. This is baseboard that arrives from the factory already coated with a layer of primer, saving you a messy, time-consuming step and giving you a ready-to-paint surface right out of the package. For most interior painting projects, primed trim is the smart default: it goes up faster, paints more evenly, and often costs little more than bare wood. This guide explains the material types, costs, and how to install and finish primed baseboard for a crisp, professional look.
- What Is Primed Baseboard?
- Materials Used for Primed Baseboard
- Benefits of Choosing Primed Baseboard
- Primed Baseboard Costs
- Tools and Materials for Installation
- How to Install and Finish Primed Baseboard
- Painting Tips for a Professional Finish
- Primed Versus Prefinished and Bare Baseboard
- Caring for Painted Baseboard
- Final Thoughts on Primed Baseboard
What Is Primed Baseboard?
Primed baseboard is trim that has been factory-coated with a base layer of primer, usually a smooth white finish, before it ever reaches the store. Primer is the preparatory coat that seals the material, blocks stains, and gives topcoat paint something to grip. By applying it in a controlled factory setting, manufacturers deliver a consistent, even base that would be tedious to replicate by hand. All you have to do is install the trim and apply your finish coats of paint. This is different from unfinished bare-wood baseboard, which you must prime yourself, and from prefinished trim, which comes fully painted or stained.
Materials Used for Primed Baseboard
Primed baseboard comes in several materials, each with its own strengths:
- MDF (medium-density fiberboard): The most common and affordable choice, with an ultra-smooth surface that paints beautifully, though it is vulnerable to moisture and dents.
- Finger-jointed pine: Made from short wood pieces joined together, it is stable, paint-grade, and stronger than MDF, ideal for painted trim.
- Solid wood: Primed solid pine or poplar offers the most durability and holds up to knocks, at a higher price.
- PVC and polystyrene: Fully waterproof synthetic options, perfect for bathrooms, basements, and other damp areas where wood would swell.
MDF and finger-jointed pine cover most interior projects, while PVC handles moisture-prone rooms.
Benefits of Choosing Primed Baseboard
The appeal of primed baseboard comes down to convenience and quality. Because the primer is already on, you skip an entire coat of work, which saves hours on a whole-house trim project. The factory primer is smoother and more uniform than most hand-applied primer, so your finish paint lays down cleaner with fewer streaks. Primed trim also resists warping better than bare wood during storage, and it makes color changes easy since the neutral white base accepts any paint color. For anyone planning to paint their trim, which is the vast majority of homeowners, starting with primed stock simply produces a better result with less effort.
Primed Baseboard Costs
Pricing is reasonable and varies by material and profile. Primed MDF baseboard typically runs about $0.75 to $2 per linear foot, finger-jointed pine around $1.25 to $3, and primed solid wood or PVC toward $2 to $5 or more. Taller and more elaborate profiles cost more than simple, narrow ones. For an average room with roughly 50 to 60 linear feet of wall, expect to spend somewhere between $50 and $180 on the trim itself. You will also need finish nails, construction adhesive or a nail gun, caulk, wood filler, and paint. Compared with the labor saved by not priming, the small premium over bare wood is usually well worth it.
Tools and Materials for Installation
Gather these before you begin:
- Primed baseboard in your chosen profile and length
- A miter saw for accurate angle cuts
- A finish nailer or hammer and finish nails
- A coping saw for tight inside corners, if desired
- Paintable caulk and a caulk gun
- Wood filler for nail holes
- A tape measure, pencil, and level
- Sandpaper and your finish paint
Having everything ready makes for a smoother, faster installation with clean, gap-free joints.
How to Install and Finish Primed Baseboard
Installing primed baseboard follows a clear sequence that ends in a painted, finished look:
- Measure and cut. Measure each wall and cut the trim on a miter saw, using 45-degree miters for outside corners and coped joints or miters for inside corners.
- Dry-fit the pieces. Hold each piece in place to check the fit before fastening, adjusting cuts as needed.
- Fasten to the wall. Nail the baseboard into the studs and bottom plate with finish nails, keeping it tight to the floor and wall.
- Fill and caulk. Fill nail holes with wood filler and run a bead of paintable caulk along the top edge and any corner gaps.
- Sand smooth. Lightly sand filled spots and any rough areas once dry.
- Apply finish paint. Because it is already primed, you can go straight to two coats of your chosen finish paint for a crisp, durable surface.
Painting Tips for a Professional Finish
Even with the primer already done, the topcoat is what people see, so a little care pays off. Lightly sand the primed surface with fine sandpaper before painting to knock down any nibs and improve adhesion, then wipe away the dust. Use a quality semi-gloss or satin trim paint, which resists scuffs and cleans easily. Two thin coats look far better than one thick coat, and caulking every gap before painting is the single biggest secret to trim that looks professionally installed. Cut in carefully at the wall and floor, and consider a fine angled brush for crisp lines along the wall.
Primed Versus Prefinished and Bare Baseboard
Understanding how primed baseboard compares with the alternatives helps you choose wisely. Bare, unfinished baseboard is the cheapest option, but you must prime every piece yourself, which adds a full coat of labor and drying time and often produces a less uniform base than the factory finish. Prefinished baseboard comes fully painted or stained from the factory, so it needs no finishing at all, but you cannot change the color, and any nicks from installation are hard to touch up invisibly. Primed baseboard sits in the middle and hits the sweet spot for most homeowners: the tedious priming is already done, yet you still get to choose your finish color and apply fresh topcoats that hide nail holes and caulk lines. For anyone planning to paint their trim to match a specific scheme, primed stock offers the best balance of convenience, quality, and flexibility at a modest price premium over bare wood.
Caring for Painted Baseboard
Once installed and painted, baseboard takes daily abuse from feet, vacuums, mops, and furniture, so a little care keeps it looking sharp. Dust it regularly with a dry cloth or a vacuum brush attachment, since baseboard collects surprising amounts of dust and pet hair along its top edge. Wipe scuffs and marks with a damp cloth and mild cleaner, and use a semi-gloss or satin finish paint that stands up to this cleaning far better than flat paint. Touch up chips and scratches promptly with leftover paint before they spread or collect grime. When mopping floors, avoid soaking the base, especially if it is MDF, which can swell if water seeps into an unpainted edge. Re-caulk any gaps that open at the wall or floor over time. With this simple upkeep, painted baseboard stays crisp and clean for many years.
Final Thoughts on Primed Baseboard
For nearly any interior trim project you intend to paint, primed baseboard is the practical, time-saving choice. It arrives ready to install and finish, delivers a smoother base than hand-priming, and comes in materials to suit everything from dry living rooms to damp bathrooms. Choose MDF or finger-jointed pine for standard rooms and PVC where moisture is a concern, install it with tight joints, caulk and fill carefully, and finish with two coats of quality trim paint. The result is clean, sharp baseboard that frames your rooms beautifully with far less labor than starting from bare wood.