
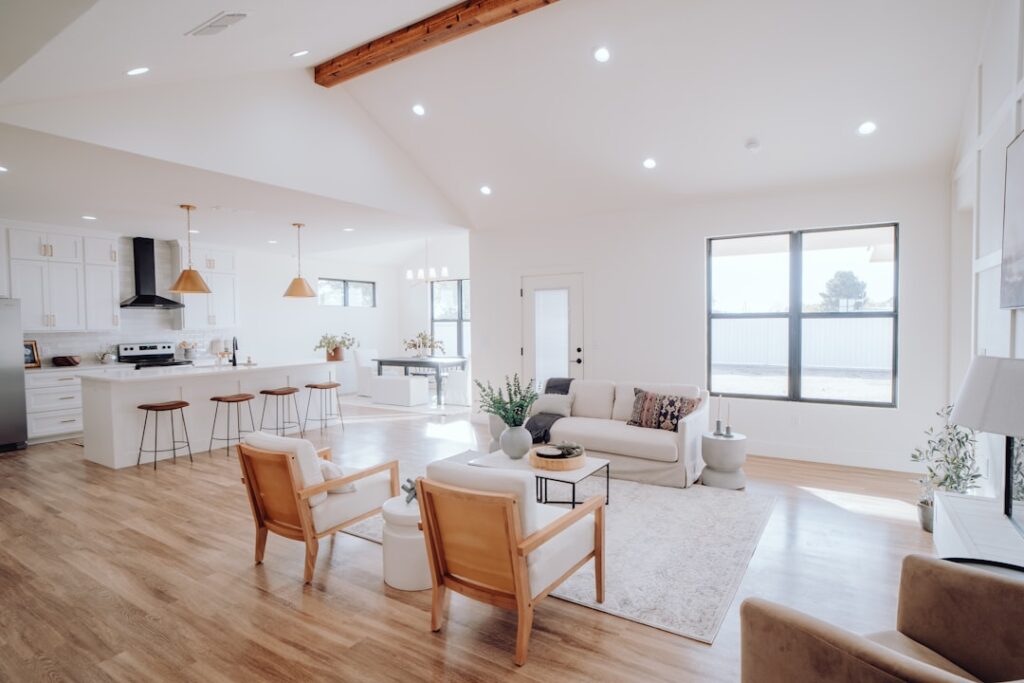
The fastest way to make a whole room look freshly renovated is not new furniture or a bold wall color, it is crisp, clean trim at the floor. Choosing the right white baseboard paint is what makes that trim read as sharp and intentional rather than dingy and yellowed. The catch is that “white” covers hundreds of shades and several sheens, and the wrong combination shows every scuff, brushstroke, and roller mark. This guide walks you through picking the right product and applying it so your baseboards look professionally finished.
Part of our Paint & Walls guide — explore the full guide →
- Why the Right Sheen Matters More Than the Color
- Choosing the Right Shade of White
- Oil-Based vs. Water-Based White Baseboard Paint
- How Much Paint You Need
- Step-by-Step: Painting Baseboards for a Clean Finish
- Common Mistakes That Ruin White Trim
- Brush vs. Sprayer vs. Roller
- Dealing With Yellowed or Previously Painted Trim
- Final Thoughts
Why the Right Sheen Matters More Than the Color
Before you agonize over which white, get the sheen right, because that decision affects durability and appearance more than the exact shade. Baseboards take a beating from vacuums, shoes, mops, and pets, so they need a finish that resists scuffs and wipes clean.
- Semi-gloss: The traditional and most popular choice for trim. Durable, easy to wipe down, and reflects enough light to define the trim crisply.
- Satin: A softer, lower-shine look that hides surface imperfections better but is slightly less scrubbable.
- Gloss: Maximum durability and shine, but it highlights every dent and drip, so surface prep has to be flawless.
For most homes, semi-gloss is the sweet spot. It stands up to cleaning and hides fewer flaws than full gloss while still looking distinctly like finished trim against a flatter wall paint.
Choosing the Right Shade of White
All whites carry an undertone, and matching that undertone to your walls and flooring is what makes trim look deliberate. A cool, blue-based white next to a warm cream wall looks mismatched and slightly dirty.
- Bright, true whites: Clean and crisp, ideal for modern spaces and stark contrast against dark or saturated walls.
- Warm whites: A hint of yellow or cream, flattering with wood tones and traditional interiors.
- Soft or off-whites: Slightly grayed whites that read as elegant and hide dust better than a stark bright white.
A safe strategy is to sample two or three whites, paint a scrap board, and view it against your actual walls in both daylight and evening light before committing. If you want the trim to match your ceiling and window casing for a seamless look, use the exact same white throughout.
Oil-Based vs. Water-Based White Baseboard Paint
The formulation you choose affects how the paint flows, how long it lasts, and whether it yellows over time. This is one of the most important decisions for white trim specifically.
Water-Based (Acrylic and Hybrid Enamels)
Modern water-based enamels have closed the gap with oil almost entirely. They dry fast, clean up with soap and water, have low odor, and critically, they resist yellowing. That last point matters enormously for white paint, since old oil formulas famously ambered over the years. For nearly every homeowner today, a quality water-based trim enamel is the right pick.
Oil-Based (Alkyd)
Traditional oil paint self-levels into an ultra-smooth, hard finish that many pros still love. The downsides are strong fumes, slow dry times, mineral-spirit cleanup, and a tendency to yellow, which is a real problem on white. Hybrid alkyd enamels that clean up with water offer a nice middle ground, delivering oil-like leveling without the yellowing or odor.
How Much Paint You Need
Baseboards are narrow, so a little paint goes a long way. One gallon covers roughly 350 to 400 square feet, which translates to a lot of linear feet of 5- or 6-inch trim. For an average room or two, a single quart is often enough, and a gallon typically handles the trim in a whole small house. Buy a dedicated trim enamel rather than leftover wall paint, since trim paint is formulated to level and harden for durability.
Step-by-Step: Painting Baseboards for a Clean Finish
Great results are 80 percent preparation. Rushing the prep is why DIY trim ends up looking streaky. Follow this process:
- Clean the trim with a degreasing cleaner to remove dust, grease, and scuffs. Wipe dry.
- Sand lightly with 220-grit sandpaper to dull the old finish so new paint grips. Wipe away dust with a tack cloth.
- Fill and caulk. Fill dents and nail holes, then run a thin bead of paintable caulk along the top edge where trim meets the wall.
- Tape the floor. Press painter’s tape tight against the flooring, or slide thin cardboard under the base shoe to protect it.
- Prime bare spots. Spot-prime filled areas and any raw wood so the topcoat lays down evenly.
- Cut in with a 2-inch angled brush, applying thin, even coats. Brush in the direction of the trim, finishing each pass with a light “tipping off” stroke.
- Apply two coats, letting the first dry fully per the label before the second. Two thin coats always beat one thick coat.
- Remove tape while the final coat is still slightly wet to avoid peeling a dried edge.
Common Mistakes That Ruin White Trim
A few errors show up again and again. Skipping the sanding step leaves paint that peels at the first scuff. Loading the brush too heavily causes drips and sags that harden into permanent ridges. And painting over dust or grease traps grit under a finish that should look glassy. Slow down, keep coats thin, and let each layer cure.
Brush vs. Sprayer vs. Roller
How you apply the paint affects both the finish and the effort. Each method has its place:
- Brush: The most common and controllable for installed baseboards. A quality 2-inch angled sash brush gives clean lines against the wall and floor.
- Small foam or microfiber roller: Speeds up long straight runs and lays down a smooth, even film, though you still need a brush to cut in edges.
- Sprayer: Delivers the smoothest, most factory-like finish, ideal for trim removed and painted off the wall or for whole-house new construction. Requires masking and more setup.
For most homeowners repainting existing baseboards, a combination works best: cut in with the angled brush, then smooth the flat face with a small roller before the paint sets. This hybrid approach hides brush marks while keeping crisp edges where the trim meets the wall.
Dealing With Yellowed or Previously Painted Trim
Older baseboards often carry decades of paint, and starting from that base takes extra care. If the existing paint is oil-based, which was common on trim for years, a fresh coat of water-based paint may not adhere well without proper prep. Test by rubbing a spot with denatured alcohol on a rag; if the paint softens, it is likely water-based, and if it resists, it is probably oil.
For oil over new water-based work, scuff-sand thoroughly and use a bonding primer so the new enamel grips. If old white trim has yellowed, a stain-blocking primer prevents the discoloration from bleeding through your fresh white topcoat. Skipping the primer on yellowed or oil-painted trim is a common reason a beautiful new coat starts peeling or ambering within a year.
Final Thoughts
The right white baseboard paint comes down to three choices: a durable semi-gloss or satin sheen, a white undertone that harmonizes with your walls, and a non-yellowing water-based or hybrid enamel. Pair those with patient prep, thin coats, and clean caulk lines, and your baseboards will frame every room with the crisp, bright finish that makes an entire home feel newly renovated.


