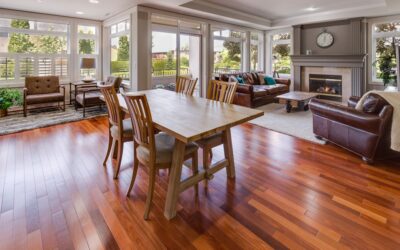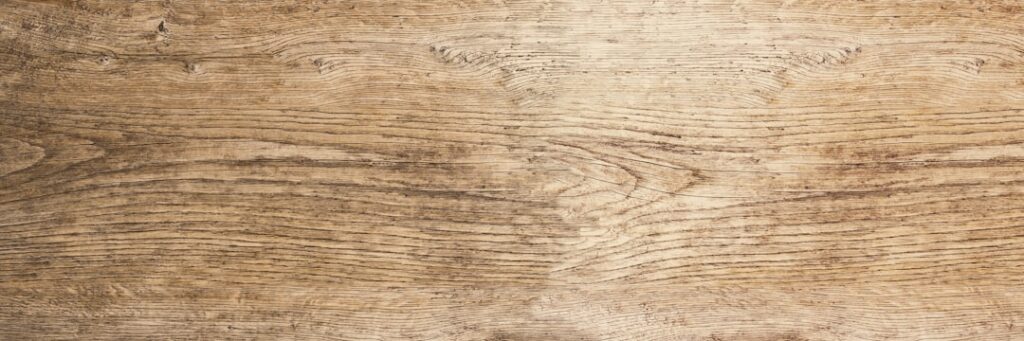
Sheet vinyl spent decades as the floor of last resort, printed with fake parquet patterns that fooled no one. That era is over. Modern realistic wood look vinyl sheet flooring uses high-definition photographic printing and embossed-in-register texture that can pass for plank flooring from a standing height — at $1 to $4 per square foot, installed as one seamless waterproof piece. If you have written off sheet goods based on what was in your grandmother’s kitchen, the current generation deserves a second look. Here is how to separate the convincing products from the ones that still look like a photograph of a floor.
What Makes a Wood Print Look Real
Three manufacturing features determine realism, and they are worth checking on every sample you handle:
- Print resolution and repeat length. Budget vinyl repeats the same plank image every few feet, and your eye catches the duplication instantly across a large room. Better products use rotogravure or digital printing with pattern repeats of 6 feet or more, so no two “planks” look identical within a normal field of view.
- Embossed-in-register (EIR) texture. On cheap vinyl, the surface texture is a generic stipple unrelated to the printed grain. EIR products align the physical embossing with the printed grain lines, so a knot you see is a knot you can feel. This single feature does more for realism than anything else.
- Low gloss level. Real hardwood today is finished in matte and satin sheens. Shiny vinyl reads as plastic immediately. Look for products described as matte, low-gloss, or with an anti-shine wear layer.
Plank-width graphics matter too. Current prints mimic 6- to 9-inch-wide planks with beveled edge shading printed between boards, which sells the illusion of individual pieces even though the floor is one continuous sheet.
The Case for Sheet Over Plank
Luxury vinyl plank gets the marketing attention, but sheet goods hold real advantages. A 12-foot-wide roll covers most kitchens, bathrooms, and laundry rooms with zero seams, and no seams means no place for water to find. Even “waterproof” click-lock planks have hundreds of joints where standing water can eventually reach the subfloor; a properly installed sheet floor is watertight edge to edge. That is why sheet vinyl remains the standard in rental units, hospitals, and mobile homes where flood risk and low maintenance rule.
Cost is the second argument. Quality wood-look sheet vinyl runs $1 to $4 per square foot against $2.50 to $7 for comparable LVP, and professional installation is similar or cheaper. Sheet goods are also thinner — usually 2 to 4.5 mm — which helps at transitions to existing floors where an 8 mm rigid plank would create a trip lip.
The trade-offs are honest ones: sheet vinyl is harder to DIY (one bad cut can ruin a whole piece), harder to repair (damage means patching rather than swapping a plank), and its resale perception still trails LVP even when the surface looks just as good.
Construction Types and Wear Layers
Backing construction affects both durability and installation. Felt-backed vinyl is the traditional budget option, glued down full-spread, and vulnerable if the backing gets soaked. Fiberglass-backed vinyl is the modern standard — dimensionally stable, cushioned, and often installable as loose-lay or perimeter-glue, which makes DIY far more forgiving. Some fiberglass products even come in plank-and-grout-groove textures thick enough to be mistaken for LVT.
The wear layer is the number that predicts lifespan. Measured in mils (thousandths of an inch), it is the clear coating standing between foot traffic and the printed image:
- 6 mil: Light duty — guest baths, closets, low-traffic bedrooms.
- 10-12 mil: The residential sweet spot for kitchens, hallways, and family use.
- 20 mil and up: Commercial grade; overkill for most homes but excellent with large dogs.
Urethane wear layers outperform plain vinyl no-wax coatings, and versions with aluminum oxide or ceramic-bead additives resist scratching best. Expect a 10- to 12-mil urethane product to look good for 10 to 20 years in a normal household.
What It Costs
Budget realistically for the whole job, not just the roll. Material at $1 to $4 per square foot covers most quality options, with premium fiberglass loose-lay products topping out near $5. Professional installation adds $1 to $2.50 per square foot, plus $30 to $75 per room for adhesive and floor prep supplies. A 12-by-12 kitchen therefore lands between roughly $350 DIY and $900 professionally installed — a fraction of tile or hardwood money for a fully waterproof result.
Subfloor Prep Makes or Breaks the Illusion
Thin, flexible sheet vinyl telegraphs everything beneath it. A nail head, a grain of subfloor texture, or an old tile grout line will show through the surface within weeks, instantly breaking the wood illusion. Before installation, the substrate needs to be smooth, clean, and flat: sand plywood joints, fill gaps and screw dimples with floor patch, and skim-coat embossed old vinyl or grout lines with embossing leveler. Budget a half day for prep on a typical room — it is the least glamorous and most important part of the job.
Acclimation matters as well. Let the roll sit in the room at 65 to 85°F for 24 to 48 hours before cutting so it relaxes flat and cuts accurately.
Where It Works Best
Realistic wood look vinyl sheet flooring is close to ideal in full bathrooms, laundry rooms, mudrooms, basements, and rental kitchens — anywhere the combination of moisture, budget, and low maintenance outweighs prestige. It is also a favorite for aging-in-place remodels because the surface is warmer and softer underfoot than tile, with no grout joints to trip a walker. Where it makes less sense: formal living areas of higher-end homes where buyers expect hardwood or at least rigid LVP, and rooms with heavy rolling loads unless you choose a commercial-rated product.
Buying Checklist
- Order a physical sample and view it flat on the floor in daylight — realism collapses or holds up at real viewing angles, not on a website.
- Confirm EIR texture, matte finish, and a pattern repeat long enough that you cannot spot duplicate planks on the sample.
- Choose fiberglass backing and at least a 10-mil urethane wear layer for main living areas.
- Measure for the fewest seams possible; buy 10 to 15 percent extra and keep offcuts for repairs, since patterns get discontinued quickly.
- Match the adhesive system (full-spread, perimeter, or loose-lay) to the manufacturer’s spec — this is the number one cause of bubbling failures.
Get those five things right and you will own the cheapest genuinely waterproof wood-look floor on the market — one that most visitors will never identify as sheet vinyl until you tell them.
Prefer to explore on your own?
See how new flooring looks in your actual room in seconds — free, no signup.
Try the free Floor Studio →