Walk into a modern showroom and you will notice that the sharpest, cleanest tile installations almost always share one trait: razor-thin grout lines. That look usually comes from rectified tile, a category of porcelain or ceramic that has been mechanically ground after firing so every piece shares the exact same dimensions. If you have ever wondered why some tile floors look seamless while others have wavy, uneven joints, the answer often lives in this single manufacturing step.
Part of our Tile & Grout guide — explore the full guide →
Understanding what rectification actually does, where it shines, and where it can cost you extra headaches will help you decide whether it belongs in your project. Let me walk you through it the way I would explain it to a homeowner standing in my shop.
- What Rectified Tile Actually Is
- The Big Advantage: Thin Grout Lines
- Where Rectified Tile Works Best
- The Trade-Offs You Should Know
- Rectified vs. Non-Rectified: A Quick Comparison
- What Rectified Tile Costs
- Installation Tips Worth Following
- How Rectified Tile Is Made
- Common Questions Homeowners Ask
- Is Rectified Tile Right for You?
What Rectified Tile Actually Is
After tile is pressed and fired in a kiln, it shrinks slightly and the edges come out marginally irregular. A standard “cushion edge” tile leaves those edges as-is, with a small rounded bevel. A rectified tile takes an extra trip through a precision saw or grinding wheel that shaves each edge down to a calibrated size, producing perfectly square 90-degree corners and uniform dimensions across the entire production run.
The practical result is that a 24-inch rectified tile measures very close to a true 24 inches on every piece, while a non-rectified tile of the same nominal size might vary by 1/16 inch or more from tile to tile. That consistency is what allows installers to set those tight, modern joints.
The Big Advantage: Thin Grout Lines
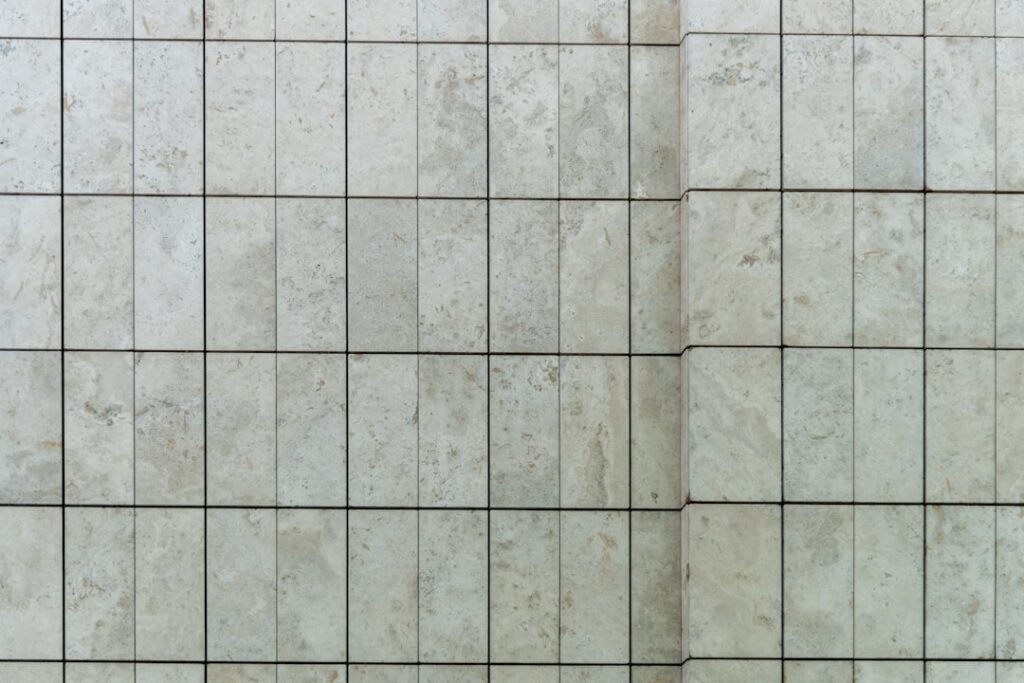
The headline benefit is the grout joint. Because every edge is straight and every tile is the same size, you can set rectified tile with joints as narrow as 1/16 inch, where conventional tile typically needs 3/16 inch or wider to hide dimensional differences. Thin lines deliver a continuous, almost monolithic surface that reads as larger and cleaner, which is why designers reach for rectified large-format tile in contemporary kitchens and bathrooms.
Thinner grout also means less grout to clean and seal over the years. Grout is the part of any tile floor that stains and ages first, so reducing the amount of it visible on your floor is a long-term maintenance win, not just a style choice.
Where Rectified Tile Works Best
Rectified tile earns its keep in a few specific situations:
- Large-format installations — Tiles 12 by 24 inches and larger benefit most, since size errors compound visually across big pieces.
- Modern, minimalist designs — Open showers, feature walls, and seamless floor-to-wall layouts all rely on that crisp grid.
- Stacked or grid patterns — Tight, aligned joints look intentional only when the tiles truly match.
- Wood-look planks — Many rectified porcelain planks let you mimic hardwood with a more refined joint than a saggy cushion-edge plank.
The Trade-Offs You Should Know
Rectified tile is not automatically the better choice for every room. Those sharp 90-degree edges are less forgiving than a beveled edge. If the slightest corner gets chipped during handling or installation, it shows clearly because there is no rounded profile to soften it.
More importantly, rectified tile demands a flatter substrate. With minimal grout to absorb differences, even small humps or dips in the floor cause “lippage,” where one tile sits higher than its neighbor and you can feel the edge with your foot or catch it with a mop. A self-leveling underlayment or careful floor prep is often required, and many installers use tile leveling clips to hold edges flush while the mortar cures.
Rectified vs. Non-Rectified: A Quick Comparison
Here is how the two stack up so you can match the tile to your priorities:
- Edge profile: Rectified has sharp, ground edges; non-rectified has a soft, rounded cushion edge.
- Grout joint: Rectified allows 1/16 to 1/8 inch; non-rectified typically needs 3/16 inch or more.
- Substrate demand: Rectified needs a very flat floor; non-rectified tolerates minor imperfections.
- Look: Rectified is seamless and modern; non-rectified is more traditional and forgiving.
- Cost: Rectified usually runs higher per square foot.
What Rectified Tile Costs
Expect to pay a premium for the extra processing. Standard porcelain might run $2 to $5 per square foot, while comparable rectified porcelain often lands in the $4 to $10 per square foot range, with designer large-format and natural-stone-look options climbing higher. Installation labor can also be slightly more expensive because the prep work and the tight tolerances take more time and skill. For a typical bathroom or kitchen, budget for the floor prep as a real line item, not an afterthought.
Installation Tips Worth Following
If you are hiring out the work, ask the installer specifically whether they have experience with rectified large-format tile, because the skill gap between a good and a poor installation is wide here. For DIYers, a few practices make a real difference:
- Check your subfloor flatness with a long straightedge and correct any deviation greater than 1/8 inch over 10 feet.
- Use a quality leveling clip system to control lippage.
- Dry-lay a section first to confirm your joint width and pattern.
- Back-butter large tiles to ensure full mortar coverage, which prevents cracking and hollow spots.
How Rectified Tile Is Made
It helps to picture the factory floor. Tile starts as a pressed body of clay or porcelain that goes through a kiln at temperatures often exceeding 2,000 degrees Fahrenheit. During firing, the body vitrifies and shrinks, and that shrinkage is never perfectly uniform across a batch, which is why two tiles pressed from the same mold can finish at slightly different sizes. A non-rectified tile is sold as-is after firing. A rectified tile is loaded onto a line where diamond grinding wheels or wet saws trim every edge to a precise reference dimension, squaring the corners and calibrating the size. This grinding is what adds cost, but it also explains why rectified tiles feel sharper at the edge when you run a finger along them.
Because the edges are cut rather than molded, rectified tiles do not have the small factory bevel that hides chips and dirt at the joint. That clean, squared profile is the source of both the look you are paying for and the extra care the tile demands during transport and setting.
Common Questions Homeowners Ask
A few questions come up again and again, so here are quick, honest answers:
- Can you grout rectified tile with sanded grout? Yes, but for joints under 1/8 inch, an unsanded or fine grout is often easier to work into the tight space.
- Does rectified tile need spacers? Yes. Even though the tiles are uniform, you still want consistent joints, and many installers combine spacers with leveling clips.
- Is rectified tile waterproof? The porcelain body itself is highly water-resistant, but waterproofing a wet area depends on the substrate and grout, not just the tile.
- Can it go on walls? Absolutely, and the seamless look is especially striking on a large feature wall or in a curbless shower.
Is Rectified Tile Right for You?
Choose rectified tile when you want a sleek, contemporary surface with minimal grout and you are willing to invest in proper floor prep. If your budget is tight, your subfloor is uneven, or you simply prefer a softer traditional look, a quality non-rectified tile will serve you well and forgive more during installation. Think about who is doing the work too: an experienced installer will make rectified tile sing, while a first-timer on an uneven floor may be happier with the forgiveness of a cushion edge. Either way, knowing the difference puts you in control of the final result rather than leaving the look to chance, and that knowledge alone often saves homeowners from an expensive disappointment.
Prefer to explore on your own?
See how new flooring looks in your actual room in seconds — free, no signup.
Try the free Floor Studio →