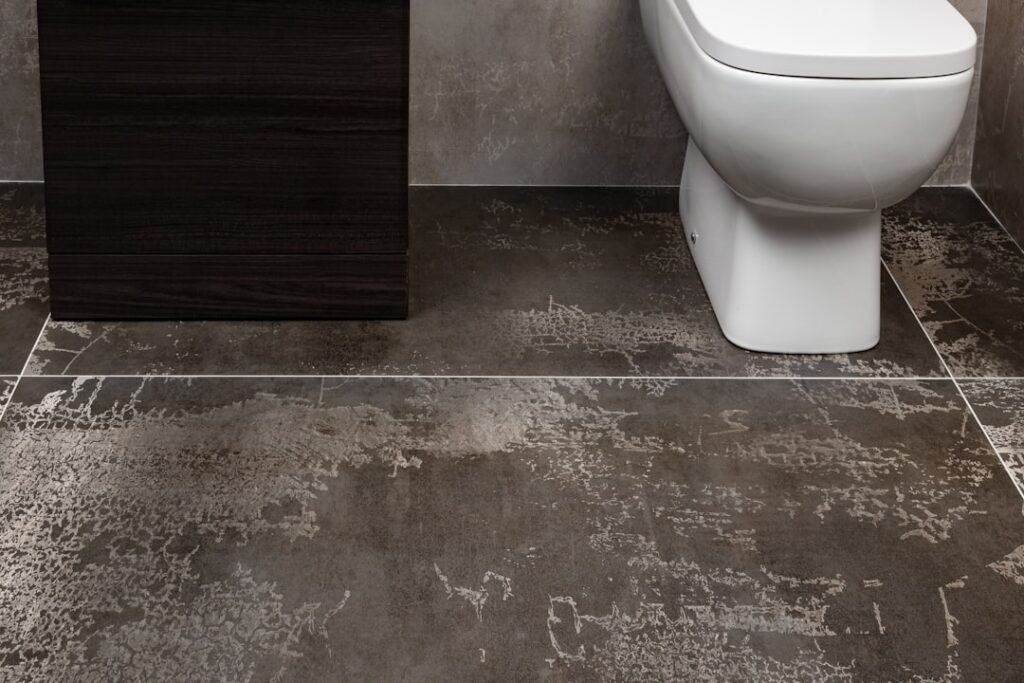
A worn vanity top with chipped edges and stained caulk can drag down an otherwise clean bathroom. The good news is that you can replace bathroom countertop yourself in a single afternoon, and doing so is one of the most affordable upgrades that instantly refreshes the space. This guide covers what it costs, which materials work best for small vanities, and exactly how to remove the old top and set the new one without cracking tile or ruining the cabinet underneath.
Part of our Countertops guide — explore the full guide →
- What It Costs to Replace a Vanity Top
- Choosing the Right Material
- Tools and Materials You Will Need
- Removing the Old Countertop
- Preparing the Cabinet Base
- Installing the New Countertop
- Sealing, Plumbing, and Final Touches
- Measuring for the Perfect Fit
- Common Mistakes to Avoid
- Matching the Backsplash and Faucet
- When to Call a Pro
What It Costs to Replace a Vanity Top
Bathroom countertops are far cheaper than kitchen counters simply because they are smaller. A standard 25-inch by 22-inch vanity top covers only a few square feet, so material costs stay low even for premium surfaces. Expect a prefabricated cultured marble or laminate top to run $100 to $300, while a quartz or granite vanity top typically lands between $250 and $700 installed.
If you hire a pro, labor for a simple swap usually adds $150 to $400. Doing it yourself with a prefab top and integrated sink can bring the entire project under $250, making it one of the best returns you can get for a weekend of work.
Choosing the Right Material
For bathrooms, moisture resistance and easy cleaning matter more than heat resistance, since you are not setting hot pans on a vanity. That widens your good options considerably.
- Cultured marble comes with an integrated sink, installs as one piece, and costs the least.
- Quartz is nonporous, needs no sealing, and shrugs off toothpaste, cosmetics, and water.
- Granite offers natural beauty but requires periodic sealing around the faucet.
- Solid surface like Corian resists stains and can be repaired by sanding.
Measure your existing top carefully before buying. Standard vanity widths run 24, 30, 36, and 48 inches, and home centers stock prefab tops in those exact sizes with the sink already molded in.
Tools and Materials You Will Need
Gather your supplies before you shut off the water. You will need a utility knife, a putty knife or pry bar, an adjustable wrench, a caulk gun, silicone adhesive, 100 percent silicone caulk, plumber’s putty, and a bucket. Having a helper makes lifting the new top into place much safer, especially with heavy stone.
Lay an old towel in the cabinet to catch drips, and keep a second bucket handy for the P-trap water. A small level and painter’s tape round out the kit so you can set the new top square and mark your cut lines cleanly.
Removing the Old Countertop
Start by shutting off the hot and cold supply valves under the sink and opening the faucet to relieve pressure. Disconnect the supply lines, then loosen the slip nuts on the P-trap and let the trapped water drain into your bucket. Detach the drain assembly from the sink.
Next, run your utility knife along the caulk line where the backsplash meets the wall and where the top meets the cabinet. Look inside the cabinet for mounting clips or screws holding the top down and remove them. Slide the pry bar under a corner and lift gently, working around the perimeter so you break the adhesive bond without gouging the wall or cracking the cabinet frame.
Preparing the Cabinet Base
With the old top gone, scrape away every bit of old adhesive and caulk from the cabinet rails using a putty knife. A clean, level surface is essential for a solid bond and a gap-free fit against the wall. Check the cabinet top edge with your level in both directions.
If the cabinet rocks or sits unevenly, shim the low points now with thin wood shims. Small gaps between the new top and the wall are normal and get sealed with caulk later, but a top that sits on a warped base will flex and eventually crack the caulk seal or the top itself.
Installing the New Countertop
Dry-fit the new top first to confirm it sits flush against the wall and overhangs evenly. If the wall is bowed, mark and sand or file the backsplash edge for a tighter fit. Once satisfied, run a bead of silicone adhesive along the cabinet rails.
Set the new top in place, pressing down firmly and checking that it is level. Wipe away any squeeze-out immediately. Reinstall the faucet and drain assembly before you push the vanity fully against the wall, since it is far easier to reach the connections with clear access. Use fresh plumber’s putty under the drain flange for a leak-free seal.
Sealing, Plumbing, and Final Touches
Reconnect the water supply lines and the P-trap, hand-tightening first and then snugging with a wrench a quarter turn past finger-tight. Turn the valves back on slowly and watch every joint for drips. Run the faucet for a minute and check underneath again before you consider the job done.
Finish by caulking the seam where the backsplash meets the wall and where the top meets any side walls. Use 100 percent silicone, not acrylic latex, because silicone stays flexible and waterproof in a wet environment. Smooth the bead with a wet fingertip and let it cure for 24 hours before using the sink heavily.
Measuring for the Perfect Fit
Accurate measurements prevent the single most frustrating outcome, which is a top that does not fit. Measure the cabinet width from outside edge to outside edge, then the depth from the wall to the front face. Standard vanity tops overhang the cabinet by about 1 inch on the front and exposed sides, so your top will be slightly larger than the cabinet itself.
Note the faucet configuration too. Most prefab tops come drilled for a standard 4-inch centerset or 8-inch widespread faucet, so match the new top to the faucet you plan to keep or buy. If your plumbing rough-in sits off-center, confirm the sink bowl location on the new top clears your supply lines and drain before you purchase.
Common Mistakes to Avoid
A few predictable errors turn an easy swap into a headache. The biggest is forgetting to shut off and disconnect the water fully, which leads to spills and stripped fittings. Another is prying too aggressively on the old top and cracking the cabinet frame or gouging the drywall, so always cut the caulk seal completely first and lift with steady, even pressure.
Rushing the sealant step causes long-term trouble. Using acrylic latex caulk instead of 100 percent silicone leaves a seam that eventually mildews and lets water reach the cabinet. Skipping fresh plumber’s putty under the drain flange invites slow leaks that rot the cabinet floor. Take an extra ten minutes on these details and the installation will stay watertight for years.
Matching the Backsplash and Faucet
Replacing the countertop is the ideal moment to refresh the elements around it. If your old top had an attached backsplash, decide whether you want the new top’s integrated splash or a separate tile backsplash for a more custom look. Coordinating these choices up front avoids an awkward transition where old and new finishes meet.
The faucet deserves attention too, since removing it is already part of the job. Swapping in a new faucet while the old top is out is far easier than doing it later, and a fresh fixture instantly updates the vanity. Confirm the new faucet’s hole configuration matches your new top, and replace the supply lines and shutoff valves at the same time if they show any corrosion, giving you a fully refreshed, leak-free setup.
When to Call a Pro
You can replace bathroom countertop tops yourself in most cases, but bring in help for a few situations. Heavy stone slabs over 48 inches are awkward and can crack if flexed, and any project requiring a new sink cutout in solid stone needs a fabricator. If your shutoff valves are corroded or leaking, address the plumbing first so you are not fighting old fittings mid-project. For a straightforward prefab swap, though, this is a satisfying DIY that pays off every time you walk into the room.