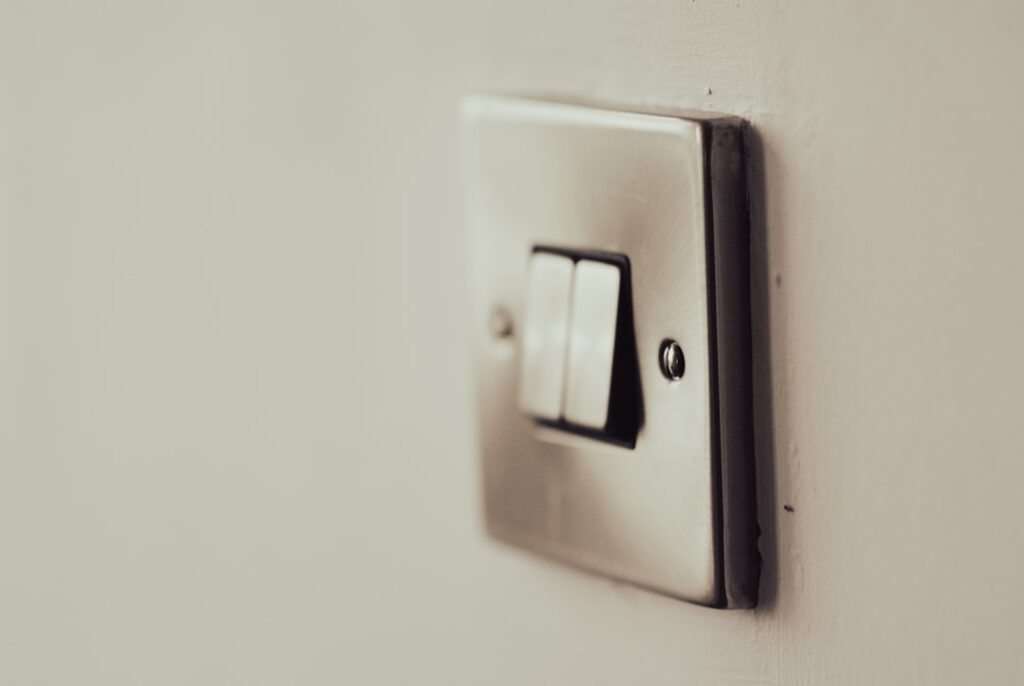
The wide, flat paddle you press with a knuckle or an elbow — that is a rocker light switch, also called a decora or paddle switch. It has largely replaced the old up-down toggle in modern homes because it looks cleaner, is easier to operate with full hands, and pairs with the rectangular decora plates that dimmers, USB outlets, and smart devices also use. Swapping a tired toggle for a rocker is one of the simplest upgrades that instantly modernizes a room.
- What Makes a Rocker Switch Different
- Types of Rocker Switches
- The Neutral-Wire Question
- Costs
- Tools You Will Need
- Safety First
- Replacing a Toggle With a Single-Pole Rocker
- Installing a Smart or Illuminated Rocker
- Wiring a Three-Way Rocker
- Troubleshooting
- Screw Terminals vs. Backstab Connections
- Choosing the Right Dimmer for LEDs
- Fit and Box Depth
- Design Tips
This guide covers the types of rocker switches, when the wiring in your box does or does not support the switch you want, and how to make the swap safely.
What Makes a Rocker Switch Different
Functionally, a basic rocker does the same thing as a toggle — it opens or closes a circuit. The difference is the interface: a large paddle that rocks on a central pivot instead of a small lever. That larger surface is easier to hit in the dark, easier to operate with an elbow when your hands are full, and reads as more contemporary. It also uses the standard decora rectangular opening, so it drops into the same plate family as dimmers, timers, and smart switches.
Types of Rocker Switches
- Single-pole rocker: Controls one light from one location. The most common; usually marked ON/OFF.
- Three-way rocker: Controls a light from two locations (used in pairs). No printed ON/OFF because either position can be on.
- Four-way rocker: Used between two three-ways to control a light from three or more spots.
- Dimmer rocker: A paddle plus a slide or a press-and-hold dimming function.
- Illuminated/locator rocker: A small LED glows so you can find the switch in the dark, or indicates the load is on.
- Smart rocker: Wi-Fi, Bluetooth, or Z-Wave control — nearly all of these require a neutral wire.
The Neutral-Wire Question
This is the detail that trips people up when they go beyond a basic swap. A simple single-pole rocker only needs the hot (line) and the switched hot (load) — no neutral. But many upgraded rockers do:
- Illuminated/locator and many smart switches need a neutral wire to power their internal electronics continuously. Without a neutral, the switch has no return path to stay powered when the light is off.
- Older switch boxes — especially in homes built before the 2011 NEC required neutrals at most switch locations — often have no neutral bundle in the box, only the hot loop.
Before buying an illuminated, smart, or certain dimmer rockers, open the box (power off) and look for a bundle of white neutral wires capped with a wire nut. No neutral in the box means you are limited to switches that don’t need one, or you need to run a neutral — an electrician’s job.
Costs
- Basic single-pole rocker: $2–$6.
- Three-way rocker: $5–$12.
- Illuminated/locator rocker: $6–$15.
- Rocker dimmer: $20–$45.
- Smart rocker switch: $25–$60.
- Decora wall plate: $1–$8.
Tools You Will Need
- Non-contact voltage tester (tested on a known-live source)
- Insulated screwdrivers
- Wire strippers and needle-nose pliers
- Wire nuts and electrical tape
- A decora wall plate
Safety First
- Turn off the breaker for the circuit at the panel.
- Verify de-energized with a non-contact voltage tester on the switch and every wire in the box — some boxes hold more than one circuit.
- Confirm dead before disconnecting anything.
Replacing a Toggle With a Single-Pole Rocker
- With power off and verified, remove the plate and the two screws holding the old toggle.
- Photograph the wiring before disconnecting. On a single-pole switch you will typically see two hot wires (line and switched load) plus a ground.
- Note which screw each wire was on. On a single-pole switch the two hot terminals are interchangeable, but the ground goes to the green screw.
- Transfer the wires to the new rocker: the two hots to the brass terminals, the bare/green ground to the green screw. Prefer the screw terminals over the push-in backstab holes for a lasting connection.
- Make sure the rocker is oriented so ON is up (the printed marking helps).
- Tuck the wires, mount the switch, and install the decora plate.
- Restore power and test.
Installing a Smart or Illuminated Rocker
- Confirm a neutral is present in the box (a capped bundle of white wires).
- With power off, connect line, load, neutral (the switch’s white or marked lead to the neutral bundle), and ground per the manufacturer’s diagram — these switches label each lead specifically.
- For smart switches, follow the app pairing steps after restoring power.
If there is no neutral, do not force it — either choose a no-neutral-required smart switch designed for that situation or have an electrician run a neutral.
Wiring a Three-Way Rocker
A three-way rocker has a common terminal (dark screw) and two traveler terminals, just like a toggle three-way. Land the common (incoming hot on one switch, fixture feed on the other) on the dark screw and the two travelers on the brass screws. Because either paddle position can be “on,” three-way rockers do not print ON/OFF — that is normal.
Troubleshooting
- Light won’t turn on: A loose terminal or a hot wire on the wrong screw; recheck with power off.
- Smart switch won’t power up: Missing or incorrect neutral connection.
- Buzzing dimmer: The bulbs are not dimmer-compatible — use dimmable LED bulbs rated for your dimmer.
- Paddle upside down (ON is down): Rotate the switch 180 degrees so ON is up.
- Flicker: Move backstabbed wires to the screw terminals and tighten.
Screw Terminals vs. Backstab Connections
Most rocker switches offer two ways to attach the wires: screw terminals on the side, or push-in backstab holes on the back where you jam a stripped wire and a spring clip grabs it. Backstabbing is faster, but it is the leading cause of flickering lights and failed switches, because the small spring contact loosens and overheats over years of use. Always use the screw terminals for a lasting connection: strip about three-quarters of an inch, form a clockwise hook around the screw, and tighten firmly so the wire is captured under the screw head. If you inherit a switch that was backstabbed and it flickers, moving the wires to the screws usually cures it. For 20A circuits with 12 AWG wire, the screw terminals are effectively required — the heavier gauge does not seat reliably in a backstab.
Choosing the Right Dimmer for LEDs
If you are upgrading to a rocker dimmer, the bulbs and the dimmer have to match or you get buzzing, flicker, and a limited dimming range. Use an LED-rated dimmer — an old incandescent dimmer overdrives modern LED drivers. Confirm your bulbs are marked dimmable; non-dimmable LEDs will flicker or strobe on any dimmer. Check the dimmer’s minimum load and bulb count, because some dimmers misbehave when driving just one or two low-wattage LEDs. A quality LED dimmer with compatible dimmable bulbs gives smooth, full-range control with no hum. When a dimmer buzzes, the fix is almost always swapping to compatible bulbs rather than replacing the dimmer.
Fit and Box Depth
Basic rocker switches are the same depth as a toggle and drop right in, but dimmers and smart rockers are bulkier and can be a tight fit in a shallow or crowded box. If the switch will not seat because the box is packed with wires, do not force it — an overstuffed box crushes connections and can overheat. Use a box extender to gain depth, or fold the conductors neatly to the back before tucking the device. On a multi-gang box where several dimmers sit side by side, you may need to de-rate them by snapping off the heat-dissipating fins, which reduces their maximum wattage — read the dimmer’s ganging instructions so you do not exceed the reduced rating.
Design Tips
- Keep switch style consistent through a room — mixing toggles and rockers looks unfinished.
- Use screwless decora plates for the cleanest modern look.
- Add locator (illuminated) rockers in hallways, garages, and basements where you fumble in the dark.
- Match the switch color to your plates and other devices.
A rocker light switch is an easy, high-impact upgrade: a couple of dollars and fifteen minutes turns a dated toggle into a clean modern paddle. The one thing to check before buying anything fancier than a basic single-pole is whether your box has a neutral wire — illuminated and smart rockers need one. Kill the breaker, verify it is dead, prefer the screw terminals over the backstabs, and you will have a switch that looks better and lasts longer than the one it replaced.