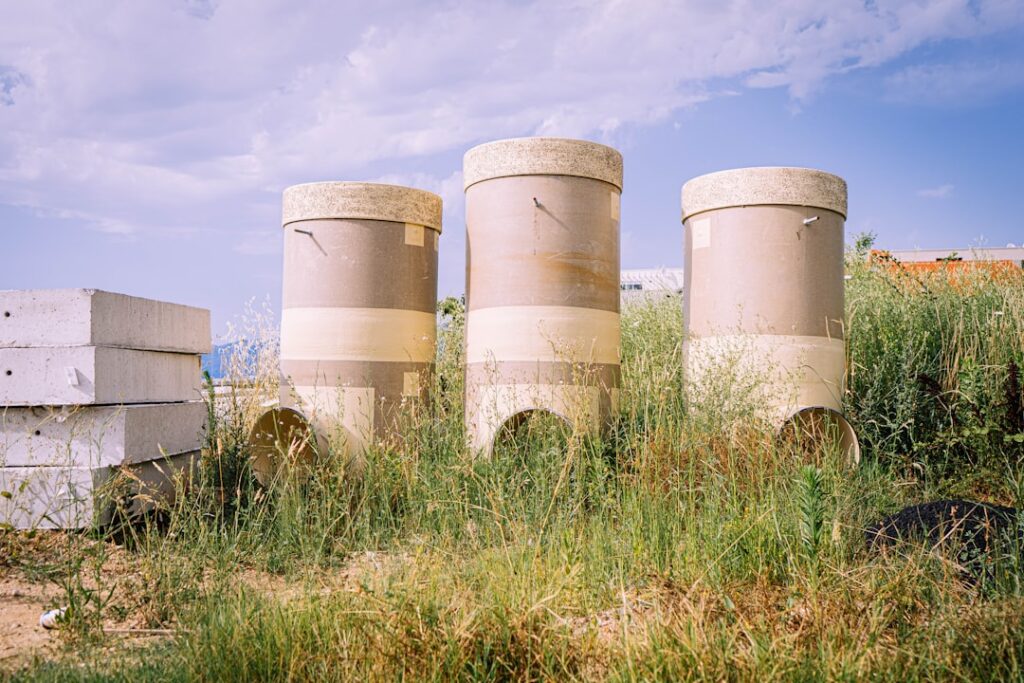
A septic tank riser is a vertical pipe or collar that extends your buried septic tank’s access lids up to ground level, so you never have to dig up the yard again to pump or inspect the tank. If your septic lids sit under a foot or two of soil, adding risers is one of the best convenience-and-maintenance upgrades you can make. This guide covers the types, sizing, costs, and how to install one safely — with a firm warning about tank gases.
What a Septic Tank Riser Does
Most septic tanks are buried 12 to 30 inches below the surface, with heavy concrete or plastic lids over the access ports. Every time the tank needs pumping (every 3 to 5 years) or inspection, someone has to locate and excavate those lids by hand — a muddy, time-consuming job that pumpers often charge extra for. A riser eliminates that. It is a tube that mounts over the access opening and brings a lid up to grade, giving you a visible, accessible cover you can open in seconds.
The benefits stack up:
- No digging at every pump-out or inspection.
- Lower service costs — pumpers charge less when they don’t have to excavate.
- Easier routine monitoring of sludge and scum levels.
- Faster access in an emergency like a backup.
- Locatable lids so you always know where the tank is.
Riser Materials
Risers come in three materials, and plastic is the modern favorite:
- Polyethylene (plastic): The standard today. Lightweight, corrosion-proof, easy to install, and seals well. $50 to $200 per section.
- Polypropylene: Similar to poly, strong and durable, often used for structural riser systems.
- Concrete: Heavy and durable but hard to handle, can crack, and its joints leak over time as they degrade. $50 to $150 per section, plus equipment to move it.
- PVC pipe: Large-diameter PVC is sometimes used as a budget riser but is less common than molded poly systems.
For nearly every homeowner, a molded polyethylene riser kit is the right choice — it is watertight, gas-tight, and light enough to install by hand.
Riser Sizing
Two dimensions matter: diameter and height.
- Diameter: Common sizes are 12, 20, and 24 inches. A 20-to-24-inch riser gives comfortable access for pumping the large center manhole, while 12-inch risers suit the inlet/outlet inspection ports.
- Height: Risers stack in sections (typically 6 to 12 inches each) to match your burial depth. Measure from the top of the tank access opening to grade, and stack enough sections so the lid ends just at or slightly above ground level.
Order a riser kit that matches your tank’s access opening and includes an adapter ring, the needed number of riser sections, a lid, gaskets, and sealant.
What a Septic Tank Riser Costs
- Riser kit (materials): $100 to $400 for a complete plastic kit with lid.
- Per riser section: $50 to $200.
- Professional installation: $300 to $1,000 per riser, $500 to $1,200 if installed for two access points.
- Total (typical, professional): $500 to $1,500.
Many homeowners add risers during a scheduled pump-out, when the tank is already located and open — the pumper can install them for a modest add-on and you save the separate trip charge.
DIY Installation Steps
Installing a plastic riser is a reasonable DIY project if the tank isn’t buried too deep. Here is the general process:
- Locate and expose the tank lid. Use your septic map or probe to find the access opening, then carefully dig down to the top of the tank around the opening.
- Clean the tank surface around the opening so the adapter ring can seal to it.
- Attach the base/adapter ring to the tank top with the manufacturer’s butyl rope sealant or approved adhesive. This joint must be watertight to keep groundwater out.
- Stack the riser sections onto the base, sealing each joint with gasket or sealant, until the top reaches grade.
- Fasten the lid — use a lid that screws or bolts down and is child-resistant.
- Backfill and compact soil around the riser, leaving the lid just above grade so it stays visible and water runs away from it.
Critical Safety Warning
This is the part you cannot skip. A septic tank contains hydrogen sulfide and methane — toxic, oxygen-displacing gases that can knock you unconscious in seconds and are lethal. Follow these rules without exception:
- Never enter, lean into, or put your head over an open septic tank. People die from a single breath of tank gas every year.
- Never let a child or pet near an open tank. Keep the opening covered whenever you step away.
- Work from outside and above the tank only — installing a riser does not require entering it.
- Have the tank pumped and the level down before you work if possible, and keep others clear.
- Use a secured, lockable or bolt-down lid so no one can fall in — an unsecured riser lid over an open tank is a drowning and asphyxiation hazard.
Installing risers is DIY-friendly. Anything requiring you to reach inside the tank is not — call a professional.
Choosing a Good Lid
The lid is a safety device, not just a cover. Pick one that:
- Bolts or screws down so children cannot open it.
- Rates for the load it may see (foot traffic vs. occasional vehicle — never park on a standard riser).
- Seals against odor and keeps rainwater out.
- Is a visible color (green blends into lawns; some use a warning label).
Maintenance After Installing a Riser
The riser itself is low-maintenance, but it makes system upkeep easy:
- Check the lid seal yearly for cracks and confirm it bolts down tight.
- Keep the lid clear of debris and mowing damage; mark it so you don’t hit it with equipment.
- Use the access to check sludge and scum levels between pump-outs.
- Confirm water isn’t pooling around the riser, which could mean a joint leak letting groundwater in.
Is a Riser Worth It? The Payback
The math on a septic tank riser is compelling. A riser kit and installation runs $300 to $1,500, but it pays back in convenience and lower service costs at every pump-out. Septic pumpers routinely charge an extra $50 to $200 to locate and dig up buried lids — a fee you avoid entirely once the lids are at grade. Over a system’s 25-to-40-year life, that’s five to eight or more pump-outs and inspections where you skip the excavation charge and the yard damage. Risers also make it easy to check sludge and scum levels yourself between pumpings, so you pump on the tank’s actual schedule instead of guessing, which prevents the catastrophic drain-field failures that come from an overfull tank. Add it during a scheduled pump-out and the installation cost drops further, since the tank is already exposed.
Adding Risers to an Older Tank
Most existing tanks accept risers, but a few details matter on older systems. Concrete tanks from decades past sometimes have irregular or damaged access openings, so the adapter ring may need extra sealant or a custom base to seat watertight. If the tank has only one central manhole, you may want risers over the inlet and outlet inspection ports too, so you can check the baffles without digging. Confirm the tank top is sound before mounting anything heavy — a cracked or deteriorating concrete lid should be replaced first. And always seal every joint against groundwater infiltration; a leaking riser lets rainwater into the tank, which overloads the system and shortens the drain field’s life. When the tank is old or the lid is questionable, have the pumper or a septic pro assess it during the install.
The Bottom Line
A septic tank riser brings your buried access lids to ground level, ending the dig-up ritual at every pumping and cutting your service costs. Choose a molded polyethylene kit sized to your tank’s opening and burial depth, seal each joint watertight, and finish with a bolt-down, child-resistant lid. Installing risers from above is DIY-friendly, but never enter or lean over an open tank — the gases are lethal. Add them during your next pump-out and you’ll make every future septic service faster, cheaper, and safer.