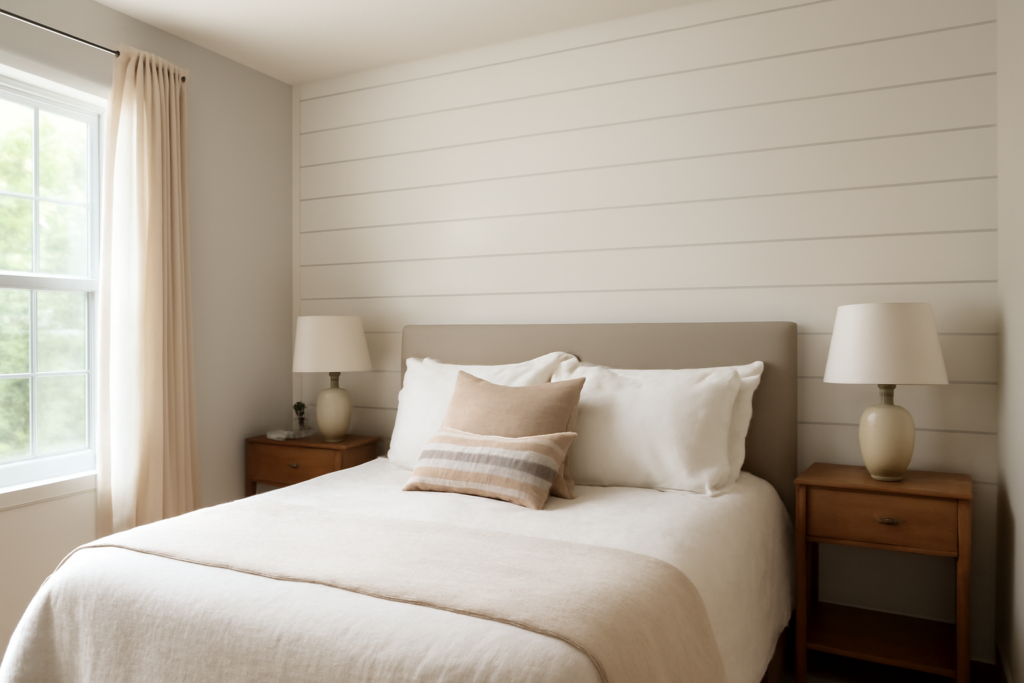
Few weekend projects change a room as dramatically per dollar spent as planking the wall behind your bed. A shiplap accent wall bedroom upgrade typically costs $150 to $600 in materials for a standard 12-foot wall and takes one focused Saturday, yet it delivers the kind of texture and architectural weight that paint alone never achieves. Done right, it looks built-in rather than tacked-on. This guide covers material choices, honest costs, layout decisions, and the installation sequence pros use to get tight, even lines.
- Why the Bed Wall Is the Right Wall
- Material Options: Pine, MDF, or Peel-and-Stick
- What a Shiplap Accent Wall Actually Costs
- Horizontal or Vertical: Picking a Layout
- Tools and Prep Work Before the First Board
- Installation, Step by Step
- Paint, Sheen, and Color Choices
- Mistakes That Separate Amateur Walls From Pro Walls
Why the Bed Wall Is the Right Wall
An accent wall works when it anchors the room’s natural focal point, and in a bedroom that is almost always the wall behind the headboard. Planking that wall frames the bed the way a fireplace surround frames a hearth, and it hides the visual clutter of outlets and switch plates behind the nightstands. Choosing a wall with windows or a closet door forces dozens of extra cuts and rarely reads as intentional.
Scale matters more than people expect. In a bedroom with 8-foot ceilings, standard 5-1/4-inch or 7-1/4-inch plank faces look proportional. Rooms with 9-foot or vaulted ceilings can handle wider 9-inch planks without feeling busy. Measure your wall before shopping: width times height gives square footage, and you should buy 10 percent extra for cuts and the occasional bowed board.
Material Options: Pine, MDF, or Peel-and-Stick
Three materials dominate this project, and each has a legitimate use case. Real pine shiplap is the traditional choice, milled with a rabbeted edge so each board overlaps the next. Primed MDF shiplap has exploded in popularity because it is dead straight, pre-primed, and machines cleanly. Peel-and-stick plank products trade authenticity for speed.
- Pine shiplap: $1.00 to $2.50 per sq ft unfinished. Real wood grain, takes stain, but boards can bow and knots may bleed through paint without a shellac-based primer.
- Primed MDF shiplap: $1.50 to $3.00 per sq ft. Perfectly uniform, paints beautifully, no knots. Weak point is moisture; fine in a bedroom, wrong for a bathroom.
- Peel-and-stick planks: $3.00 to $6.00 per sq ft. No nailer required and renter-friendly on some surfaces, but adhesive failures happen on textured walls, and removal can damage drywall.
- Plywood strips: $0.80 to $1.50 per sq ft if you rip 1/4-inch sanded ply into planks yourself. Cheapest route, but you supply the labor and use spacers instead of milled rabbets.
For a painted wall, MDF is the pragmatic winner. For a stained, wood-toned wall, pine or a character-grade board is the only real option.
What a Shiplap Accent Wall Actually Costs
Budget in three buckets: planks, trim and fasteners, and finish. A typical 12-foot by 8-foot bedroom wall is 96 square feet. At MDF pricing with 10 percent waste, plank cost lands around $160 to $320. Add $30 to $60 for 18-gauge brad nails, construction adhesive, caulk, and spackle, plus $40 to $80 for primer and a gallon of quality paint. All-in DIY cost for that wall: roughly $230 to $460.
Hiring the job out changes the math. Carpenters charge $500 to $1,500 for a single accent wall depending on region and wall complexity, which usually means $7 to $15 per square foot installed and painted. The labor premium buys tight scribing around outlets and baseboards, which is exactly where amateur installs show their seams. If your walls are badly out of plumb or you lack a miter saw, the pro quote starts looking reasonable.
Horizontal or Vertical: Picking a Layout
Horizontal planks are the classic look, and they visually widen a narrow bedroom. Rows run parallel to the floor, so any out-of-level installation screams at eye level; a laser level or carefully snapped chalk lines are non-negotiable. Start your first course at the ceiling with a full board if you want the most visible row to be uncut, letting the ripped partial board land behind the bed near the floor where nobody sees it.
Vertical installation draws the eye upward and suits rooms with low ceilings. It requires either horizontal blocking between studs or a layer of 1/4-inch plywood over the drywall, because vertical boards cross studs only at top and bottom. Some homeowners split the difference with a board-and-batten lower half and shiplap above, or run planks only two-thirds up the wall with a ledge cap. Sketch it on paper first, and dry-lay six boards on the floor to confirm the reveal spacing looks right.
Tools and Prep Work Before the First Board
Gather everything before you start, because mid-project hardware runs kill momentum. You will need a miter saw, a jigsaw or oscillating tool for outlet cutouts, an 18-gauge brad nailer with 2-inch nails, a stud finder, a 4-foot level, a tape measure, nickels or tile spacers for gaps, construction adhesive, and paintable caulk.
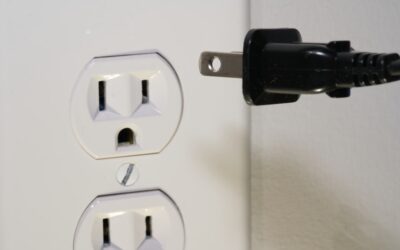
Prep takes an hour and determines the quality of everything after. Locate every stud and mark vertical pencil lines floor to ceiling; brads must hit framing, not just drywall. Remove outlet covers and shut off power to the wall at the breaker, since outlet boxes need extension collars to sit flush with the new plank surface, a code requirement in most jurisdictions. Pull the baseboard carefully with a pry bar if you plan to reinstall it over the planks, and paint the wall behind your planned gaps a dark color or the plank color so the shadow lines stay clean.
Installation, Step by Step
The sequence below assumes horizontal MDF or pine shiplap on a standard drywall bedroom wall:
- Snap a level reference line for your first course. Do not trust the ceiling or floor to be level; in most houses they are not.
- Apply a zigzag bead of construction adhesive to the back of the first board, set it on the line, and shoot two brads into every stud it crosses.
- Set the next course using nickel-gap spacing. Milled shiplap self-spaces with its rabbet; square-edge boards need a nickel or 1/8-inch spacer at each end.
- Stagger end joints at least 16 inches between neighboring rows, always landing joints on a stud.
- Mark and cut outlet openings by transferring measurements, drilling a starter hole, and finishing with a jigsaw. Cut shy and enlarge; you cannot uncut.
- Rip the final course to width on a table saw or with a circular saw and guide, leaving a 1/16-inch expansion gap at the ceiling and floor.
- Fill nail holes with spackle, caulk the side edges where planks meet adjacent walls, and reinstall baseboard and any side trim.
A helper makes the job twice as fast, mostly by holding the far end of 12-foot boards level while you nail. Expect four to six hours of installation for one wall, plus finishing time the next day.
Paint, Sheen, and Color Choices
White remains the default for good reason: it reads bright, shows the shadow lines crisply, and pairs with any bedding. But painted shiplap has moved well past farmhouse white. Deep greens, navy, and charcoal turn the wall moody and modern, and a color-drenched look, painting planks, trim, and ceiling edge the same shade, photographs beautifully in bedrooms. Satin or eggshell sheen is the sweet spot; flat paint scuffs behind a headboard, and semi-gloss exaggerates every dent in MDF.
Application order matters. Prime raw pine with a stain-blocking primer so knots never ghost through, then paint the groove lines first with a 1-inch angled brush before rolling the faces with a 3/8-inch nap roller. Two topcoats is standard. For stained pine, finish the boards before installation, then touch up nail holes after, because stain is nearly impossible to apply cleanly inside installed gaps.
Mistakes That Separate Amateur Walls From Pro Walls
Most shiplap accent wall bedroom projects fail on details, not concept. Skipping stud-marking is the biggest one; adhesive alone will not hold MDF flat long-term, and brads into bare drywall back out within a season. Second is ignoring the first-course level line, which telegraphs a visible slope across every row above it. Third is butting boards tight to the ceiling with no gap, then watching seasonal movement crack the caulk line.
Also resist the urge to skip outlet box extenders, which leave receptacles recessed and are both ugly and a fire-code violation. Acclimate wood planks in the bedroom for 48 to 72 hours before nailing so they finish moving before installation rather than after. Get those five details right, and your accent wall will look like it came with the house.