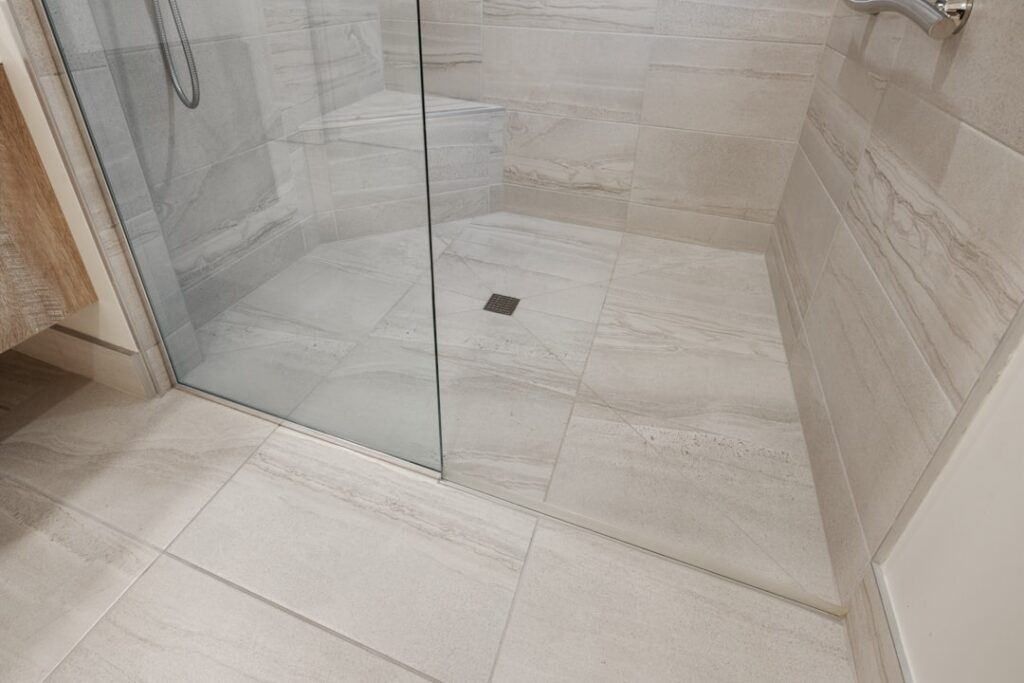
If you love the look of a tiled shower but dread the grout scrubbing, the cracked joints, and the cost of a full tile installation, shower inserts that look like tile offer a tempting middle path. These molded or paneled surrounds mimic the appearance of real tile while giving you a smoother, lower-maintenance, and often faster-to-install surface.
Part of our Bathroom Remodeling & Flooring guide — explore the full guide →
This guide breaks down the materials available, how they compare to genuine tile, what you can expect to spend, and how to pick a product that looks convincing and lasts. Whether you are remodeling a tired bathroom or building new, this will help you decide.
What Are Tile-Look Shower Inserts
A shower insert is a prefabricated surround, typically made of acrylic, fiberglass, composite, or solid surface material, manufactured to fit a standard shower opening. The tile-look versions are molded or printed with the texture and grout-line pattern of real tile, so from a few feet away they read as a tiled wall, but they install as large panels or a single molded unit instead of dozens of individual tiles.
The big appeal is the absence of real grout lines. Because the surface is continuous, there are few or no joints for mold and mildew to colonize, and cleaning becomes a quick wipe-down rather than a scrubbing session. You get the visual warmth of tile without most of the headaches that come with it.
Common Materials and How They Compare
Not all inserts are built the same, and the material drives the look, durability, and price. The main options include:
- Acrylic — lightweight, non-porous, warm to the touch, and easy to clean. Acrylic panels resist staining and hold color well, making them a popular mid-range choice.
- Fiberglass (FRP) — the most budget-friendly option, often sold as one-piece units. It is the least expensive but can be more prone to scratching and fading over time.
- Composite and PVC wall panels — rigid panels with a printed tile pattern, often glued over a prepared wall. They install quickly and come in many styles.
- Solid surface — a premium, seamless material that can be fabricated to look like large-format tile or stone. It is durable and repairable but sits at the higher end of the price range.
Acrylic and solid surface generally deliver the most convincing, longest-lasting results, while fiberglass keeps costs down for tighter budgets.
Tile-Look Inserts Versus Real Tile
The honest comparison comes down to trade-offs. Real tile offers unlimited design flexibility, genuine texture, and a premium resale impression, but it costs more, takes longer to install, and brings ongoing grout maintenance. Tile-look inserts win on speed, easier cleaning, and a continuous waterproof surface, but they offer fewer custom layouts and, depending on the material, may not match the high-end feel of natural stone or handmade tile up close.
Consider how long you plan to stay, how much upkeep you are willing to do, and how close people actually get to the shower wall. For many homeowners, a quality acrylic or solid-surface insert hits the sweet spot of looking great and staying low-maintenance for years.
What They Cost
Pricing varies widely by material, size, and whether you install it yourself or hire a pro. As a rough framework, a basic fiberglass one-piece unit is the most affordable, acrylic panel kits land in the middle, and solid-surface or designer panel systems reach the upper range. Labor adds to the total if you hire an installer, though inserts typically install faster than tile, which can lower the labor portion compared with a full tile job.
Treat any figure you see as an estimate, since prices change by region and brand. The best approach is to get written quotes from local suppliers and installers that separate the material cost from the labor so you can compare options fairly.
Installation Basics
Installation depends on the product. One-piece units are straightforward in new construction but can be difficult to fit through existing doorways, which is why multi-piece and panel systems are popular for remodels. Panel systems are generally glued and sealed over a sound, waterproof substrate. A typical project involves:
- Removing the old surround and inspecting the wall behind it for water damage.
- Ensuring the substrate is flat, dry, and properly waterproofed.
- Dry-fitting the panels or unit to confirm the layout and cutouts for the valve and showerhead.
- Adhering the panels with the manufacturer’s recommended adhesive and sealing the seams and edges.
- Caulking the joints and allowing the proper cure time before use.
Sealing is the step that protects everything behind the wall, so follow the manufacturer’s instructions precisely. Hidden leaks are the most expensive mistake in any shower project. If you are not confident in waterproofing or your wall shows signs of past damage, hire a licensed contractor.
Maintenance and Longevity
The low-maintenance promise is real, but it depends on care. Clean the surface with a non-abrasive cleaner and a soft cloth, since harsh scouring pads can dull or scratch acrylic and fiberglass. Squeegee the walls after showers to limit water spots, and reapply caulk at the seams when it starts to age. Avoid abrasive powders and bleach-heavy products on acrylic, which can etch the finish over time. Treated well, a quality insert can serve a busy bathroom for many years before it needs replacement.
Pros and Cons at a Glance
Before you commit, it helps to weigh the strengths and limitations side by side. On the plus side, tile-look inserts deliver a seamless, largely grout-free surface that cleans quickly, they install faster than individual tile, they cost less than a full custom tile job, and they create a continuous waterproof barrier when sealed correctly. On the other side, you have fewer custom design layouts than real tile, budget materials like fiberglass can scratch or fade, a damaged panel is harder to spot-repair than a single replaceable tile, and the very highest-end natural stone look is tough to match convincingly. For most homeowners the balance tips toward convenience, but a design purist remodeling a showcase bathroom may still prefer genuine tile.
Common Mistakes to Avoid
A few errors show up again and again with insert projects. Measuring only the opening width and forgetting to account for the depth or the valve location leads to panels that do not fit. Installing over a soft or water-damaged wall without repairing it first traps moisture and invites failure. Using the wrong adhesive, or skipping the cure time before the first shower, weakens the bond and seals. And choosing the cheapest fiberglass unit for a heavily used family bathroom often means replacing it sooner than a slightly pricier acrylic would have lasted. A little planning at the front end prevents the expensive surprises later.
How to Choose the Right Insert
Match the product to your space and your tolerance for upkeep. Measure your opening carefully, decide between a one-piece unit and a panel system based on access, and choose a material that fits both your budget and the look you want up close. Examine samples in person if you can, since photos flatten the texture that makes a tile-look surface convincing. With the right choice, shower inserts that look like tile give you the style you are after and the easy living that real grout never quite delivers.
Prefer to explore on your own?
See how new flooring looks in your actual room in seconds — free, no signup.
Try the free Floor Studio →