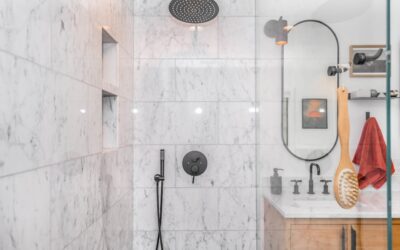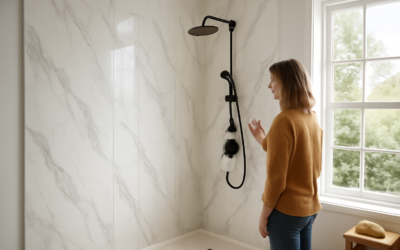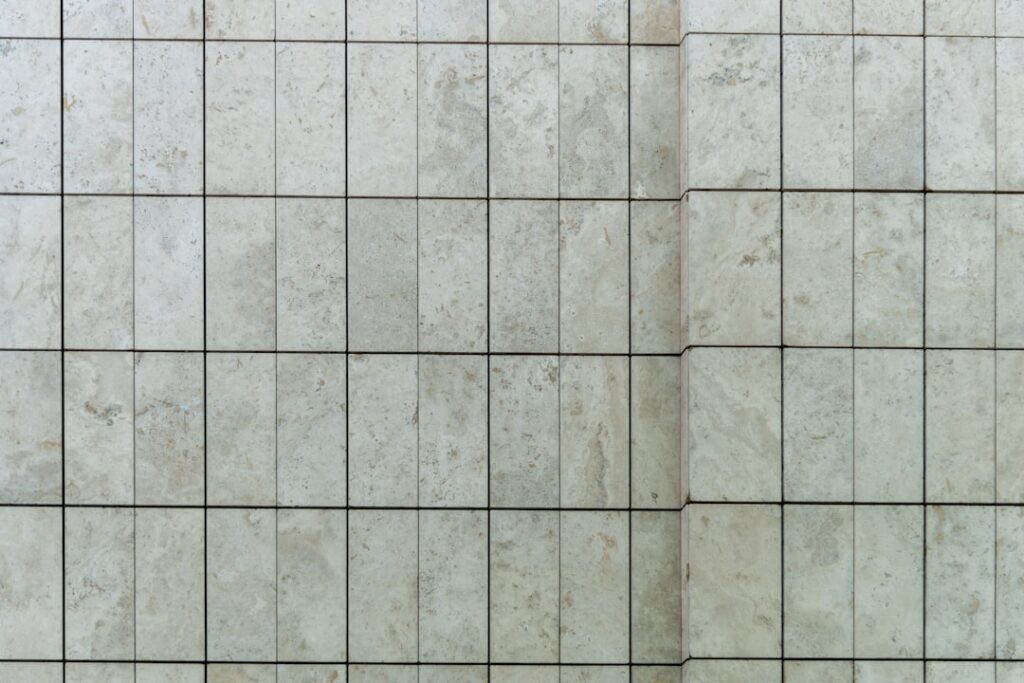
Tile looks beautiful in a shower until you remember the grout: the scrubbing, the mildew, the reselling. That is why so many homeowners are turning to shower panels that look like tile, large waterproof sheets printed or molded to mimic subway tile, marble, or stone, but installed in hours with almost no grout lines to clean. They deliver the high-end look of a tiled surround with a fraction of the labor and maintenance. This guide explains the panel types, how they compare to real tile, what they cost, and how to install them so they last.
Part of our Bathroom Remodeling & Flooring guide — explore the full guide →
What Tile-Look Shower Panels Actually Are
These panels are large rigid or semi-rigid sheets, typically 24 to 48 inches wide and reaching floor to ceiling, that mount over your shower walls to create a continuous waterproof surface. Instead of dozens of individual tiles set in mortar and grout, you install a handful of big panels that snap or glue together with sealed, nearly invisible seams. The surface is printed or embossed to replicate the look of tile, including the appearance of grout lines, so from a step back the wall reads as a fully tiled shower without the grid of real grout joints that stain and harbor mildew.
Types of Panels Compared
Not all tile-look panels are built the same, and the material drives durability, price, and appearance.
- PVC panels: Lightweight, fully waterproof, and the most budget-friendly. Hollow or foam-core construction cuts easily with a utility knife, though the surface is softer and can flex.
- Acrylic panels: A glossy, solid surface that resists scratches and cleans easily. More durable and higher-end looking than PVC, at a higher price.
- Laminate / high-pressure laminate (HPL): A tough printed layer bonded to a waterproof core, offering realistic stone and marble looks with strong impact resistance.
- Composite / SPC-style panels: Rigid stone-plastic composite panels that feel solid and handle temperature swings well.
Acrylic and composite panels look and feel the most like premium tile, while PVC wins on price and ease of cutting.
Panels vs Real Tile
Understanding the tradeoffs helps you decide if panels fit your project.
- Installation speed: Panels go up in a day or two; a tiled shower takes several days of setting, curing, and grouting.
- Grout maintenance: Panels have minimal or no grout to scrub, seal, or replace, the biggest day-to-day advantage.
- Waterproofing: A properly sealed panel system is inherently waterproof; tile relies on a separate membrane behind it that must be done correctly.
- Cost: Panels usually cost less installed, especially when you factor in labor.
- Longevity and resale: Real tile still edges out panels on ultimate durability and perceived value, but quality panels last many years.
- Repair: A cracked tile can be swapped individually; a damaged panel means replacing a larger section.
Cost Expectations
Pricing varies widely by material and coverage area. For an average shower surround:
- PVC panel kits: $200 to $600 in materials for a full surround.
- Acrylic panels: $500 to $1,500 depending on brand and finish.
- Composite / HPL systems: $800 to $2,000, approaching mid-range tile pricing but with far less labor.
- Professional installation: Often $500 to $1,500 on top, though many kits are designed for DIY.
Because installation is so much faster than tile, the total delivered cost is usually lower even when the panels themselves are not the cheapest option.
Preparing the Walls
Panels are only as good as the surface behind them. Take the prep seriously even though it is quicker than tile.
- Remove the old surround or, for some systems, install directly over sound, flat existing tile or a moisture-resistant backer.
- Check for a flat, plumb substrate: Panels telegraph waves in the wall, so shim or float the surface flat.
- Use moisture-resistant backer: Cement board or a waterproof backer behind the panels adds a durable, water-tolerant base.
- Dry-fit every panel and mark cuts for the valve, showerhead, and corners before applying adhesive.
Installation Steps
Most systems follow a similar sequence that a handy DIYer can complete in a weekend.
- Cut the panels to size and cut openings for the plumbing using a jigsaw or hole saw, going slow to avoid chipping.
- Apply adhesive: Run beads of the manufacturer’s recommended waterproof panel adhesive across the back.
- Set the panel and press firmly, working from a plumb starting line so everything stays square.
- Join the seams: Many panels use tongue-and-groove or trim strips; apply sealant in the joints as specified.
- Seal all edges: Run a bead of 100% silicone caulk at every corner, the base, and around fixtures. This is the true waterproofing step.
- Let it cure before running water, per the adhesive instructions.
The silicone seal at seams and penetrations is what keeps water out, so do not rush it.
Cleaning and Maintenance
The whole appeal of panels is easy upkeep. Wipe the walls with a soft cloth and a non-abrasive bathroom cleaner; the smooth surface and lack of grout mean mildew has almost nowhere to grow. Avoid abrasive scrubbing pads and harsh solvents that can dull acrylic or scratch PVC. Squeegee after showers to prevent water spots on glossy finishes, and inspect the silicone seams once a year, refreshing any caulk that shrinks or lifts. With that light routine, panels stay looking new far longer than grout ever does.
Design Options
Tile-look panels come in a wide range of styles: classic white subway, large-format marble with veining, slate and stone textures, and even hexagon and mosaic prints. Because the panels are large, they create a clean, seamless look that suits modern bathrooms, while marble and stone patterns lean elegant. You can mix a bold feature-wall panel with simpler panels on the side walls for a designer effect without the tile-setting labor.
Pros and Cons at a Glance
Before committing, weigh the honest tradeoffs. On the plus side, panels install fast, need almost no grout maintenance, are inherently waterproof when sealed, and cost less installed than a comparable tiled surround. They also create a seamless, modern look and are lighter and easier to handle than crates of tile. On the downside, quality varies widely, and cheaper PVC panels can look and feel plastic up close. A damaged panel is harder to repair than a single tile, real tile still edges panels on resale perception, and lower-end products may show seams if installed carelessly. The verdict for most homeowners is that mid-grade acrylic or composite panels hit the sweet spot, delivering a convincing look with the low-maintenance payoff that makes the whole category appealing.
Common Installation Mistakes
Most panel failures trace to a handful of avoidable errors. Installing over a wavy or out-of-plumb wall telegraphs every bump through the panel and opens gaps at the seams, so flatten the substrate first. Skimping on the silicone seal at corners, the base, and around the valve is the fastest route to water getting behind the panels, so never rush that step. Using the wrong adhesive, rather than the manufacturer’s specified waterproof product, can lead to panels bubbling or letting go over time. Cutting fixture openings too aggressively leaves gaps that are hard to seal cleanly. And starting off a non-plumb line throws the whole surround out of square. Take your time on prep and sealing, and the panels reward you with years of leak-free, low-maintenance service.
Do Panels Add Value to Your Home?
A common question is whether tile-look panels help or hurt at resale. The honest answer depends on quality. A clean, well-installed acrylic or composite surround reads as an attractive, low-maintenance upgrade that many buyers appreciate, especially in secondary bathrooms. Cheap PVC panels that look plastic or show sloppy seams can have the opposite effect. Real tile still carries the most perceived value with buyers who equate it with permanence, so for a primary bath in a higher-end home, tile may be the safer resale choice. But for a rental, a fast bathroom refresh, or a homeowner who simply hates cleaning grout, quality panels deliver a fresh, updated look at a lower cost that most buyers view favorably. Installation quality is what tips the scale either way.
The Bottom Line
Shower panels that look like tile give you the appearance of a fully tiled surround with a fraction of the installation time and almost none of the grout maintenance. Choose acrylic or composite for the most convincing, durable finish or PVC to save money, prep a flat and moisture-resistant substrate, and seal every seam with silicone. For homeowners who love the look of tile but dread the upkeep, panels are a fast, waterproof, and increasingly convincing alternative.
Prefer to explore on your own?
See how new flooring looks in your actual room in seconds — free, no signup.
Try the free Floor Studio →