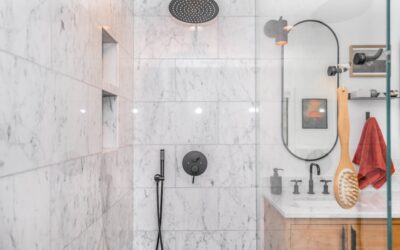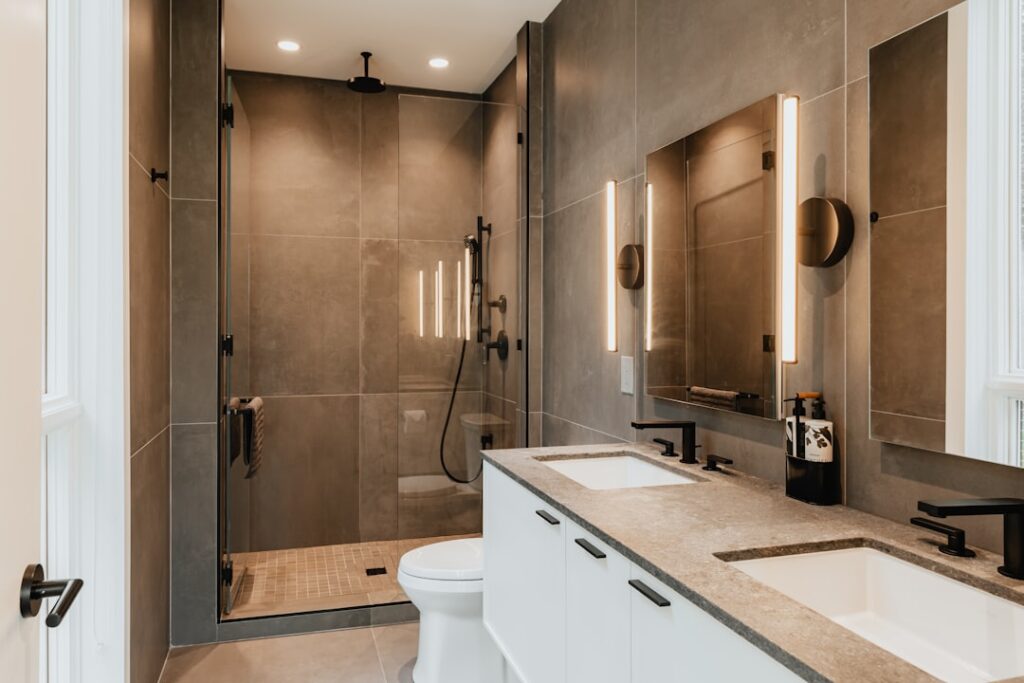
A smart shower layout is the difference between a bathroom you love and one you fight with every morning. Get the dimensions, drain placement, and door swing right, and the space feels generous even at 32 inches square. Get them wrong, and you end up soaking the floor, banging your elbows, or staring at a tiled box that never quite drains.
Part of our Bathroom Remodeling & Flooring guide — explore the full guide →
I have framed, plumbed, and tiled hundreds of showers over the years, and the same handful of layout decisions come up every single time. This guide walks you through the numbers, the code minimums, and the practical tricks that separate a professional result from a weekend headache.
Start With the Right Shower Footprint
Before you pick tile or glass, settle the footprint. The International Residential Code requires a minimum interior shower area of 1,024 square inches, which works out to a 32-by-32-inch box. That is the legal floor, not a comfortable target. Anything tighter feels claustrophobic and makes bending over to wash your feet a contortion act.
In real homes, the most common stall sizes are 36 by 36 inches and 36 by 48 inches. If you have the room, a 48-by-48-inch or larger walk-in changes the whole experience. For two-person showers or curbless designs, plan on at least 60 by 36 inches so two people are not elbowing each other under one head.
- 32 x 32 in — absolute code minimum, tight for adults
- 36 x 36 in — comfortable single-person standard
- 36 x 48 in — adds room to turn and bend
- 60 x 36 in — converts a standard tub alcove to a walk-in
Clearances and Door Swing
The space outside the shower matters as much as the space inside. Code wants at least 24 inches of clear space in front of the shower opening so you can step in and dry off without backing into the toilet or vanity. I push for 30 inches whenever the floor plan allows it.
If you use a hinged glass door, it must swing outward and clear fixtures, towel bars, and the vanity. A 24-inch-wide door needs roughly 24 inches of swing arc. When the bathroom is tight, a sliding or barn-style door, or a doorless walk-in with a 60-inch or longer wet wall, eliminates the swing problem entirely. Curbless entries help wheelchairs and aging-in-place users, but they demand a properly sloped subfloor and a linear drain.
Drain Placement and Floor Slope
Water management is where a good shower layout earns its keep. A standard center drain needs a uniform 1/4-inch-per-foot slope from all four walls. That is the sweet spot: steep enough to move water, gentle enough that you do not feel like you are standing on a hill.
Linear drains, set against one wall or at the entry, let you slope the floor in a single direction. They pair beautifully with large-format tile and curbless designs because you only need a one-way pitch. Whatever you choose, the drain must connect to a 2-inch waste line in most jurisdictions, and the trap has to stay accessible.
Quick Slope Math
For a 36-inch run from wall to center drain, a 1/4-inch-per-foot pitch drops the floor about 3/8 inch. Mark that drop before you set the pre-slope mud bed, then verify with a 4-foot level. Skipping this step is the number one reason showers pond water in the corners.
Plan Your Plumbing Wall
Decide early which wall carries the valve and showerhead, because it determines your blocking, framing, and how the rough-in plumbing runs. The standard mounting height for a wall-mounted showerhead is 78 to 80 inches off the finished floor, and the mixing valve usually sits 38 to 48 inches up.
If you want a handheld on a slide bar, a rain head from the ceiling, or body sprays, run the supply lines now. Adding them later means opening the wall. Install 2-by blocking behind the tile for grab bars even if you do not plan to mount them yet; the cost is a few dollars in lumber and it future-proofs the space.
Niches, Benches, and Storage
A recessed niche keeps shampoo bottles off the floor and out of the way. Standard niche openings run 12 to 14 inches wide and 12 to 24 inches tall, set between 40 and 60 inches off the floor so they are easy to reach. Center the niche on the wet wall or align it with a tile grout line for a clean look.
A built-in bench should be 17 to 19 inches deep and 17 to 18 inches tall, matching the height of a chair so it is comfortable to sit on while shaving. Slope the bench top about 1/8 inch toward the drain so water sheets off instead of pooling. In a 36-inch-wide stall, a corner bench eats less usable floor than a full-width seat.
Ventilation, Lighting, and Finish Choices
No shower layout is complete without moisture control. Install an exhaust fan rated for the room’s square footage, typically 50 to 110 CFM for a residential bath, and vent it outside, never into the attic. Run it during the shower and for 20 minutes after to keep mold off your grout.
For lighting, use a fixture rated for wet locations directly over the shower. Recessed LED cans with a damp or wet rating work well. Choose porcelain or natural-stone tile rated for floors, and pick a textured or honed finish on the shower pan; a glossy floor tile turns slick the moment it gets wet. Aim for a coefficient of friction of 0.42 or higher on walking surfaces.
Common Layout Mistakes to Avoid
Even experienced remodelers trip over the same issues. Watch for these before you commit:
- Showerhead spraying the door — never aim the head straight at the opening, or water escapes every time
- Niche on an exterior wall — recessing into an insulated exterior wall invites cold spots and moisture; keep niches on interior partitions
- Controls out of reach — place the valve so you can turn the water on from outside the spray zone
- Forgetting the slope before tile — fix the pitch in the mud bed, not with grout
Putting Your Shower Layout Together
Start with the footprint your bathroom can spare, confirm you clear the 32-by-32-inch minimum, and add comfort from there. Lock in drain type and slope, set your plumbing wall heights, and rough in everything you might ever want before the tile goes up. Add a niche and bench at reachable heights, vent the moisture out, and choose slip-resistant finishes.
Done right, a thoughtful shower layout pays you back every single morning with a space that drains cleanly, stays dry around it, and feels bigger than its square footage suggests. Sketch it on graph paper, double-check the clearances, and you will avoid the expensive surprises that come from guessing.