
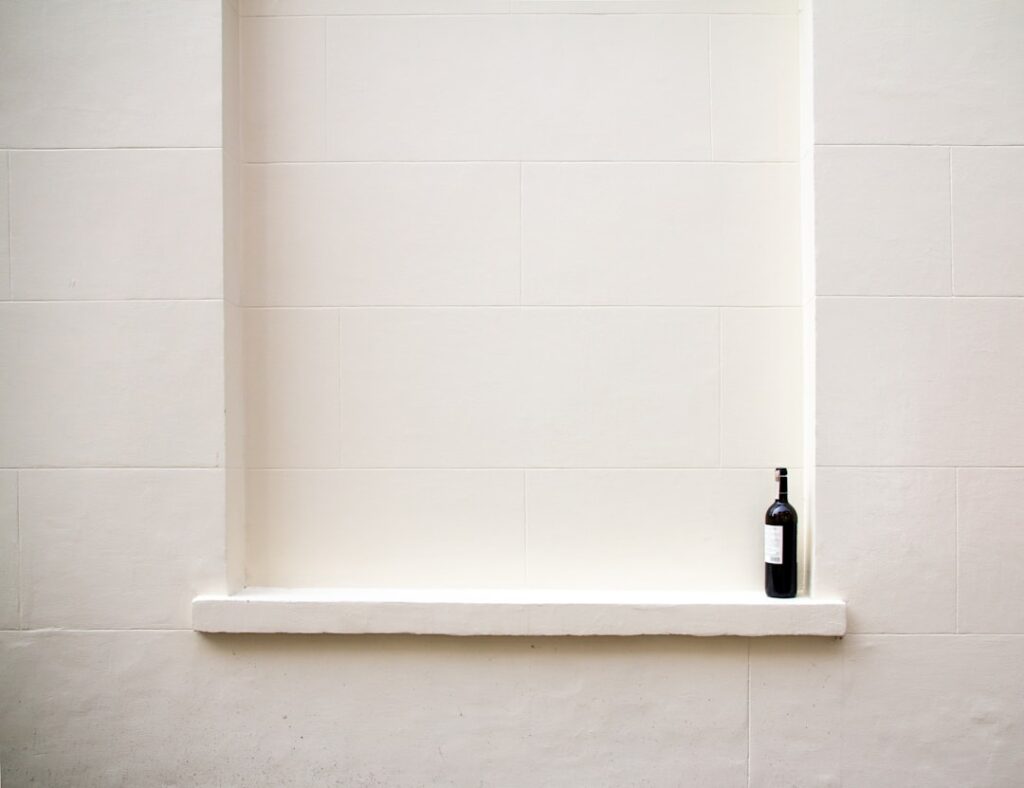
A recessed shower shelf looks effortless in a finished bathroom, but the detail that makes or breaks it is the shower niche trim, the edge treatment where the tiled opening meets the surrounding wall. Get it right and the niche reads as a crisp, intentional feature. Get it wrong and you end up with jagged tile edges, water sneaking behind the wall, and a grout line that cracks within a season. The trim is not just decorative; it protects the most vulnerable joint in the entire shower.
Part of our Bathroom Remodeling & Flooring guide — explore the full guide →
- Why the Niche Edge Needs Special Attention
- Main Types of Shower Niche Trim
- Prefab Niches Change the Trim Equation
- Waterproofing Comes Before Trim
- Sloping the Niche Floor
- Step-by-Step: Installing Metal Profile Trim
- Common Mistakes to Avoid
- Cost Expectations
- Coordinating Trim With Your Overall Design
- Single vs Multiple Niches and Placement
- Maintaining a Niche Over Time
Why the Niche Edge Needs Special Attention
The perimeter of a niche has four inside corners and four outside corners packed into a small space, and every one of them is exposed to direct spray. Standard field tile has a raw, unglazed edge on its cut sides, which looks unfinished and can wick moisture. The trim’s job is to cover those raw edges, create a clean transition from the niche interior to the shower wall, and shed water back into the enclosure rather than into the wall cavity. Because the niche interrupts your waterproofing membrane, the edge is also where leaks most commonly start.
Main Types of Shower Niche Trim
There are several ways to finish the edge, ranging from traditional tile techniques to modern metal profiles.
- Metal edge profiles (Schluter-style): Aluminum, stainless, or anodized L-shaped or square-edge strips set in thinset that cap the tile edge with a clean metal line. Available in brushed nickel, chrome, matte black, and brass tones to match fixtures. This is the most popular modern choice, costing roughly $15 to $30 per 8-foot length.
- Bullnose tile: Field tile with one factory-finished rounded edge. You wrap the bullnose around the niche opening so a smooth glazed edge faces out. Works beautifully with ceramic lines that offer matching bullnose, but many porcelain and stone tiles have no bullnose available.
- Mitered tile edges: The tile is cut at a 45-degree angle where two pieces meet at a corner, creating a seamless picture-frame look with no visible raw edge or metal. It is the highest-end result and the hardest to execute, demanding a wet saw and patience.
- Pencil liner and quarter-round trim: Narrow ceramic accent pieces that frame the niche like molding. They add a decorative border but require the same careful waterproofing underneath.
Prefab Niches Change the Trim Equation
Many builders now use preformed foam niches from brands like Schluter-Kerdi, Wedi, or Tile Redi. These come with integrated waterproofing flanges, so the trim decision becomes mostly cosmetic rather than structural. You still cap the front edge with metal profile, bullnose, or a miter, but the leak-prone membrane joint is handled by the manufacturer. A prefab niche costs $30 to $70 and can save hours of pan-liner and mesh work, which is why they have largely replaced site-built recesses in production bathrooms.
Waterproofing Comes Before Trim
No trim choice compensates for bad waterproofing. Before any edge treatment goes on, the niche interior and the surrounding wall must be sealed as a continuous system, whether that is a liquid membrane like RedGard, a sheet membrane like Kerdi, or a foam board niche. The membrane should lap out onto the shower wall a few inches so water hitting the niche flows onto sealed surfaces. When you set your metal profile or bullnose, the thinset bonds over this membrane, and a bead of 100 percent silicone, not grout, goes in the change-of-plane corners where the niche floor meets its walls. Grout in those inside corners will crack; silicone flexes and stays sealed.
Sloping the Niche Floor
A detail amateurs skip: the bottom shelf of the niche should slope slightly forward, about a quarter inch, so shampoo bottles do not sit in standing water. You build this pitch into the thinset bed under the shelf tile before you set it. The front edge trim then caps a shelf that naturally drains toward the shower, preventing the soap-scum puddle that plagues flat niches.
Step-by-Step: Installing Metal Profile Trim
- Confirm the niche and wall are fully waterproofed and cured.
- Measure each of the four sides of the opening and cut the metal profile with a miter saw or hacksaw, mitering the corners at 45 degrees for a clean frame.
- Comb thinset onto the wall along the niche edge and press the perforated flange of the profile into it.
- Set your surrounding field tile so it locks the profile flange in place and the metal cap sits flush against the tile edge.
- Do the same inside the niche, tucking interior tile against the back leg of the profile.
- After thinset cures, grout the field joints but silicone the profile-to-tile line and all inside corners.
Common Mistakes to Avoid
The biggest error is treating trim as an afterthought and discovering mid-tile that the niche dimensions do not align with tile courses, forcing ugly slivers around the opening. Plan the niche size and placement to land on grout lines of the surrounding tile whenever possible. Other frequent problems include grouting the inside corners instead of siliconing them, forgetting the forward slope, and choosing a metal finish that clashes with the shower fixtures. Buy the trim in the same finish family as your valve and showerhead for a coordinated look.
Cost Expectations
If you are hiring out, expect a tile setter to charge $150 to $400 to build and trim a single niche as part of a larger shower job, more for a mitered or multi-shelf design. DIY material cost is modest: a prefab niche, a length or two of metal profile, thinset, and silicone total well under $100. The real investment is care and time, since the niche is the fussiest square foot of the entire shower.
Coordinating Trim With Your Overall Design
The niche trim is a small element, but it is at eye level and draws attention, so it should feel intentional within the whole shower. A common high-end approach is to run the same field tile inside the niche as on the surrounding walls, so the recess reads as a carved-out pocket rather than a contrasting box. Others deliberately contrast, lining the niche with a mosaic, a marble slab, or an accent tile to create a jewel-box focal point. If you choose a metal profile, match its finish to your shower fixtures: brushed nickel profile with brushed nickel valves, matte black with matte black hardware. Mixing finishes reads as an oversight. For a mosaic-lined niche, a metal profile edge cleanly caps the small tile edges that would otherwise look raw.
Single vs Multiple Niches and Placement
Deciding how many niches and where to place them matters as much as the trim. A single niche sized around 12 by 24 inches, set at roughly shoulder height between 48 and 60 inches off the floor, suits most showers and keeps shampoo within easy reach. Taller households sometimes add a second, lower niche for a razor or a foot ledge. Place niches on a dry wall away from the direct spray of the showerhead when possible, which reduces water sitting on the shelf, and never center a niche on an exterior wall in a cold climate without confirming there is room for insulation behind it. Aligning the niche opening with your tile grid, so its edges land on grout lines, is the detail that makes the trim look effortless.
Maintaining a Niche Over Time
Once installed, a niche needs a little upkeep to stay looking sharp. The silicone in the corners and along the metal profile will eventually discolor or grow mildew in the constant moisture; plan to cut it out and re-caulk every few years with a mildew-resistant 100 percent silicone. Squeegee or wipe the niche shelf after showers to discourage soap scum and hard-water spots, especially on natural stone, which etches and stains. If you sealed a stone niche, refresh the sealer annually. Catching a failing caulk joint early, before water works behind the tile, is the single most important maintenance habit for keeping the niche and the wall behind it dry.
The right shower niche trim ties the recess into the rest of your tile while sealing the one spot most likely to leak. Whether you choose sleek metal profiles, classic bullnose, or a flawless miter, put waterproofing first, slope the shelf, silicone the corners, and plan the layout so tile courses land cleanly. Do that, and your niche will look custom and stay dry for the life of the shower.


