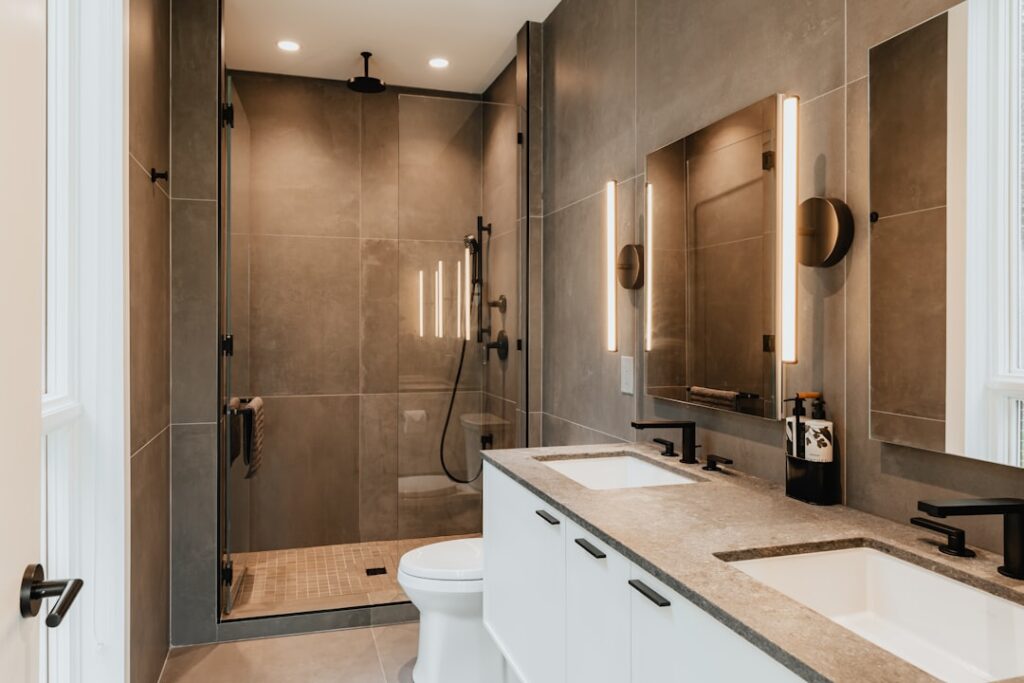
Most shower failures are invisible until they are catastrophic, hidden rot behind the tile, mold in the wall cavity, a slow leak that has been quietly destroying the subfloor for years. A proper shower rebuild is the cure, and unlike a cosmetic re-tile, it addresses the parts that actually keep water where it belongs: the waterproofing, the shower pan, and the plumbing. Done right, it lasts decades; done wrong, it leaks again within a year. This guide walks through what a real rebuild involves, the critical steps you cannot skip, and where you genuinely need a professional.
When a Rebuild Is the Right Call
Not every tired shower needs a full rebuild, but several signs point to one. Loose or cracked tiles, persistent mildew that returns no matter how you clean, a soft or spongy floor, water stains on the ceiling below, or a musty smell all suggest the waterproofing has failed behind the surface. Once water gets into the wall or subfloor, surface fixes are lipstick on a deeper problem. A rebuild lets you tear out to the studs, fix the hidden damage, and start with sound waterproofing.
The Anatomy of a Watertight Shower
Understanding the layers explains why shortcuts fail. A modern tiled shower relies on several systems working together.
- The shower pan: The sloped, waterproof base that channels water to the drain.
- Waterproofing membrane: A sheet or liquid-applied barrier over the walls and pan that keeps water out of the framing.
- Backer board: Cement board or a foam waterproof board that replaces drywall, which has no business in a wet area.
- Tile and grout: The visible, durable finish, which is decorative and not, by itself, waterproof.
- Plumbing: The valve, supply lines, and drain that must be sound and correctly installed.
Tile and grout are not the waterproofing; the membrane behind them is. That single fact is what separates a lasting shower from a leaking one.
Demolition and Inspection
The rebuild starts with careful demolition down to the studs and subfloor. As you tear out, inspect what is revealed: rotted framing, water-damaged subfloor, mold, and corroded plumbing all need to be addressed now, while everything is open. This is the moment to replace any compromised wood, treat or remove mold, and confirm the framing is plumb and solid. Skipping a thorough inspection here means building a beautiful new shower over a rotting foundation.
Building the Pan and Plumbing
The base and the plumbing are the highest-stakes parts of the job. The shower pan must slope correctly toward the drain, typically about a quarter inch per foot, so water never pools. You can build a traditional mortar pan with a liner or use a modern pre-sloped foam pan system, but either way the waterproofing must be continuous and the drain connection watertight.
Plumbing is where a professional earns the fee. Moving or replacing the shower valve, adjusting supply lines, and ensuring the drain meets code involves skills and, often, permits. Improper plumbing leaks behind finished walls or fails inspection, so for anything beyond a straightforward swap, hire a licensed plumber.
Waterproofing: The Step You Cannot Rush
If there is one place to be obsessive, it is waterproofing. Install cement board or a waterproof foam board, never standard drywall, on the wet walls. Then apply a continuous waterproofing system: a sheet membrane, a liquid-applied membrane, or a board system with sealed seams. Pay special attention to corners, the pan-to-wall transition, niches, and around the valve and drain, since these are the most common leak points.
- Install and fasten the backer board, leaving the correct gap above the pan.
- Seal all seams, corners, and penetrations with the membrane’s banding and sealant.
- Apply the membrane over the entire wet area, overlapping onto the pan.
- Perform a flood test on the pan, plugging the drain and filling it, to confirm there are no leaks before tiling.
The flood test is non-negotiable. Catching a pan leak now is trivial; catching it after tiling means tearing everything out again.
Tiling and Finishing
Only after the waterproofing is verified does the tile go up. Set the wall and floor tile in a quality thin-set, maintain consistent grout joints, and use a grout suited to the joint width. Caulk, not grout, the changes of plane, the corners and the pan-to-wall joint, so they can flex without cracking. Seal porous tile and grout as needed, and let everything cure before using the shower. Quality tile work is the visible payoff, but it only lasts because of the unseen work beneath it.
What a Shower Rebuild Costs
Costs vary widely with size, materials, and how much hidden damage you find. As a broad planning range, a professional tiled shower rebuild often falls somewhere from a few thousand dollars to well over ten thousand, depending on tile choice, glass enclosure, plumbing changes, and labor rates in your area. Discovering rot or mold during demolition adds to the total. These are estimates only, so collect at least three written quotes from licensed contractors and ask each to itemize demolition, plumbing, waterproofing, tile, and any structural repairs.
DIY Versus Hiring a Pro
A confident, experienced DIYer can handle demolition, backer board, waterproofing, and tile, especially with a modern board-based waterproofing system. But the plumbing and any structural repairs are where the risks concentrate. Leaks behind finished walls, improper drain installation, and compromised framing are expensive and dangerous mistakes. The smart approach for most homeowners is to hire a licensed plumber for the valve and drain work and a structural assessment for any rot, even if you tackle the finishing yourself. When in doubt, hire a professional for the wet-critical steps; the cost of a redo dwarfs the cost of doing it right once.
The Bottom Line
A shower rebuild succeeds on the parts you never see. Tear out to the studs, fix hidden damage, build a properly sloped and waterproofed pan, ensure sound plumbing, install continuous waterproofing, flood-test before tiling, and only then finish with tile. Bring in a licensed pro for the plumbing and any structural work. Do it in that order, refuse to cut corners on the membrane, and you will have a shower that stays watertight for decades instead of one that leaks before the grout has fully cured.