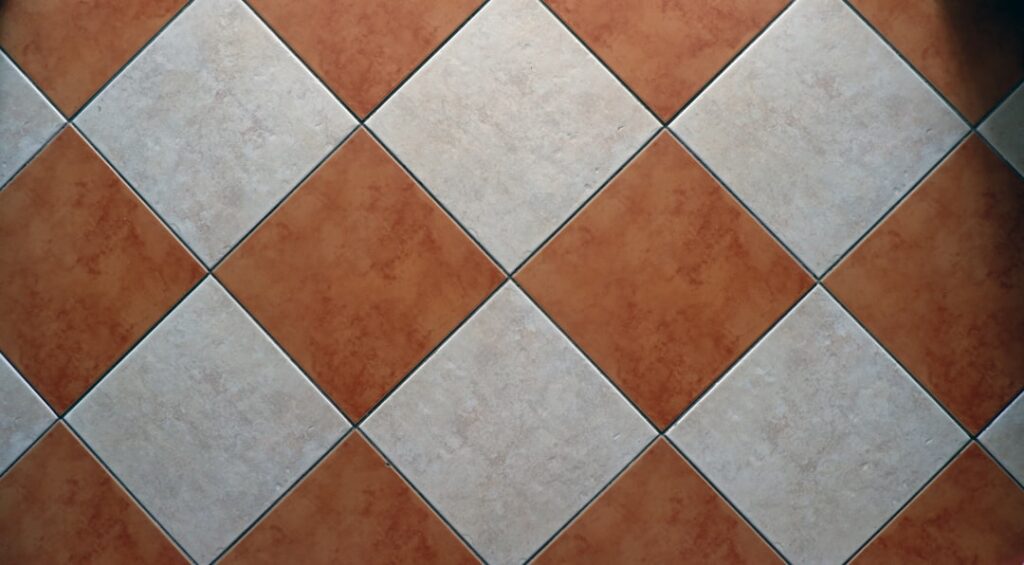
Here is the truth that surprises most homeowners: standard grout is not waterproof, and it never was. That crumbling, discolored line between your shower tiles is porous cement, and it soaks up water like a sponge. Choosing the right waterproof grout for shower walls and floors is what stops moisture from seeping behind the tile, feeding mold, and quietly rotting the wall structure. Get this decision right and you prevent the single most common cause of failed shower installations.
Not all “waterproof” grout is created equal, and even the best product only works as part of a proper waterproofing system. This guide breaks down your real options, how to apply them, and where homeowners go wrong.
- Why Standard Grout Fails in Showers
- The Two Main Waterproof Options
- Epoxy vs Cement: Choosing Between Them
- The Critical Point: Grout Is Not Your Waterproof Layer
- How to Apply Grout for a Watertight Shower
- Color, Width, and Aesthetics
- Common Mistakes That Cause Leaks
- Sealing and Maintenance
- Preventing Mold and Leaks Long Term
- The Bottom Line
Why Standard Grout Fails in Showers
Traditional sanded cement grout is a mix of Portland cement, sand, and pigment. Once cured, it is riddled with microscopic pores that wick water. In a shower, that means every hot, humid cycle drives moisture into the grout lines, where it can reach the substrate behind the tile.
Over months, this leads to three problems: dark mold and mildew staining, efflorescence and crumbling as the grout breaks down, and eventually leaks that damage drywall, subfloor, or the ceiling below. Sealing cement grout helps, but sealer wears off and needs reapplication, so it is a maintenance chore rather than a permanent fix.
The Two Main Waterproof Options
Epoxy Grout
Epoxy grout is the closest thing to a truly waterproof joint. It is made from epoxy resins and a hardener instead of cement, curing into a dense, nonporous, stain-resistant solid. It never needs sealing, resists most household chemicals, and shrugs off mold. For showers, it is the gold standard, especially on floors and in wet zones that see constant spray.
High-Performance Cement Grout
Modern polymer-modified cement grouts, sometimes sold as “ready-to-use” or “stain-proof” formulas, add acrylics and additives that dramatically reduce water absorption. They are not fully waterproof like epoxy, but many perform well and require no separate sealing. They are easier to work with than epoxy and cost less, making them a solid middle-ground choice.
Epoxy vs Cement: Choosing Between Them
- Waterproofing: Epoxy wins outright; it is nonporous. Modified cement resists water but is not impervious.
- Sealing: Epoxy never needs sealing. Even improved cement grouts benefit from periodic sealer.
- Workability: Cement is forgiving and easy for DIYers. Epoxy cures fast and demands quick, careful work.
- Cost: Cement runs a few dollars per pound; epoxy costs noticeably more per square foot.
- Stain resistance: Epoxy resists coffee, wine, and mildew far better than any cement grout.
For a shower floor, curbless entry, or a steam shower, epoxy is worth the extra effort and money. For shower walls in a standard bathroom, a high-quality polymer-modified cement grout is often plenty when paired with proper waterproofing behind the tile.
The Critical Point: Grout Is Not Your Waterproof Layer
This is where most failures actually begin. Even perfect epoxy grout is not a substitute for a waterproof membrane behind the tile. Water eventually finds a path through any joint, so the real defense is the system underneath.
A properly built shower uses a waterproofing membrane, a sheet membrane, a liquid-applied coating, or a foam board system, over the substrate before the tile goes up. The grout is the top surface that slows water and looks finished, but the membrane is what keeps your walls dry. Treat grout as the last line of defense, not the only one.
How to Apply Grout for a Watertight Shower
- Prep the joints: ensure they are clean, uniform, and free of thinset before grouting.
- Mix per label: follow the manufacturer’s ratios exactly; over-watering cement grout weakens it and invites porosity.
- Work in sections: especially with epoxy, which has a short working time before it sets.
- Pack the joints fully: hold the float at 45 degrees and press grout in completely, leaving no gaps.
- Clean promptly: wipe haze with a damp sponge before it hardens; epoxy haze is very difficult to remove once cured.
- Use caulk at changes of plane: corners and the wall-to-floor joint should get flexible silicone, not rigid grout, to absorb movement.
Color, Width, and Aesthetics
Grout choice is not only about waterproofing; it shapes how the finished shower looks. Wider grout lines demand a sanded grout for strength, while very thin lines under an eighth of an inch use unsanded formulas that pack into tight joints without scratching polished tile. Epoxy comes in both, so you rarely have to compromise waterproofing for looks.
- Matching grout: a color close to the tile makes the wall read as one continuous surface.
- Contrasting grout: a darker line frames each tile for a graphic, defined look.
- Mid-gray tones: the most practical everyday choice, hiding soap scum and minor staining.
- White grout: bright and classic but shows dirt fastest, so epoxy is smart here.
Whatever color you pick, epoxy holds its shade far better than cement over years of hot, wet use, because it does not absorb the minerals and soap residue that gray out cement lines.
Common Mistakes That Cause Leaks
Even good materials fail when the install rushes the fundamentals. The most damaging error is treating grout as the waterproof layer and skipping the membrane behind the tile entirely. The second is using rigid grout in the corners and the wall-to-floor joint, where a building’s natural movement will crack it within a season.
Other frequent mistakes include over-watering cement grout, which weakens it and makes it more porous, and failing to pack the joints completely, leaving voids where water collects. With epoxy, waiting too long to clean the haze leaves a stubborn film that dulls the tile. Slow down, follow the mixing ratios, and address each of these and your shower will stay dry for the long haul.
Sealing and Maintenance
If you chose epoxy, you can skip sealing entirely; the surface is already impervious. Just clean it with a mild, non-abrasive cleaner and a soft brush. Avoid harsh acids that can dull the finish over years.
If you used cement-based grout, apply a penetrating grout sealer after the grout fully cures, usually 48 to 72 hours, then reseal every year or two. Test by dripping water on the line; if it darkens quickly, it is time to reseal. Ventilate the bathroom with an exhaust fan during and after showers to keep humidity down, which is the cheapest mold prevention there is.
Preventing Mold and Leaks Long Term
Even the best waterproof grout for shower installations need a little care. Squeegee the walls after showering to cut standing moisture, run the fan for 20 minutes afterward, and recaulk the corners and floor joint at the first sign of shrinkage or mildew. Silicone caulk in the change-of-plane joints does the flexing that rigid grout cannot, and it is the first thing to fail if you skip it.
The Bottom Line
For maximum protection, epoxy grout paired with a proper waterproof membrane is the combination that keeps showers dry for decades. For everyday bathroom walls, a premium polymer-modified cement grout over a membrane is a practical, budget-friendly choice. Whatever you pick, remember the grout finishes the job the membrane starts, use flexible caulk at every corner, and keep the room ventilated. Do that and you will never fight a leaking, moldy shower again.