An accent wall is the highest-impact, lowest-risk upgrade in shower design: you splurge on one plane of tile instead of three, and if it’s placed well it makes the entire bathroom look custom. But I’ve also been hired to tear out accent walls that looked like a mistake — wrong wall, wrong scale, colors fighting each other. The difference between “designer” and “what happened here” is a handful of placement and pairing rules. Here’s how I plan a shower tile accent wall with clients, from choosing the wall to coordinating the niche, with real costs and the mistakes I see most.
Part of our Bathroom Remodeling & Flooring guide — explore the full guide →
Which Wall Gets the Accent? (This Decision Is 80% of It)
A shower tile accent wall goes on the wall you see first and most. In practice that means:
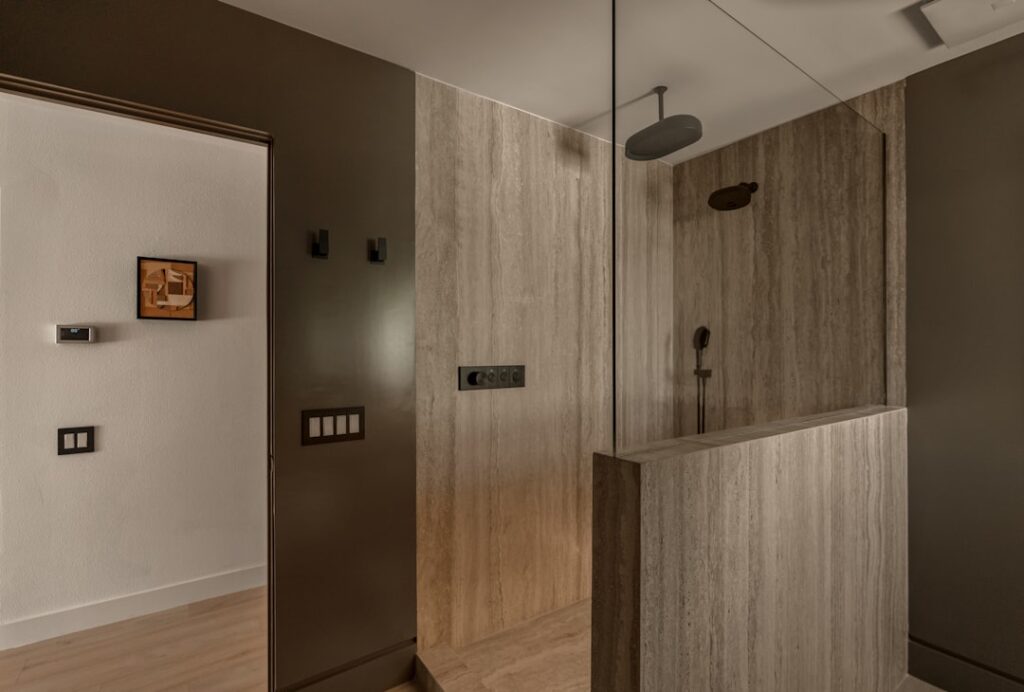
- The back wall — in most alcove showers and tub-shower combos, the long back wall faces the bathroom door or is fully visible through the glass. This is the default, and it’s the right call probably three times out of four. Through a clear glass panel, a tiled back wall becomes artwork for the whole room.
- The plumbing wall — the wall holding the shower valve and head. Choose this when it’s the wall facing the door (common in showers entered from the side). Bonus: the fixtures, niche, and accent tile all live on one organized plane, and the other walls stay serene. The catch is more penetrations — valve, head, maybe a slide bar — so pick a tile that drills cleanly, and expect slightly more cutting labor.
- The full wet-wall floor-to-ceiling stripe — in curbless or open-concept showers, running the accent from the shower floor up and even across the ceiling of the shower zone defines the wet area architecturally. It’s the most modern application and it needs ceiling-height planning from day one.
The wall not to accent: a wall you only see obliquely, a short knee-wall segment, or a wall broken up by a window unless you’re deliberately framing that window. If the answer isn’t obvious, stand in the bathroom doorway — whatever shower wall you’re looking at is your accent wall.
Accent Tile Ideas That Consistently Work
After a lot of installs, these pairings have the highest hit rate:
- Texture, same color: matte white field tile with a glossy dimensional or fluted white accent. Zero color risk, all depth and shadow. The safest “designer” move there is.
- Pattern upgrade, same tile: the field tile in running bond, the accent wall in herringbone or vertical stack. Costs only extra labor (roughly 25–50% more on that one wall) and always looks intentional because the material is identical.
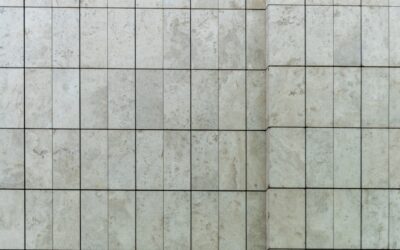
- Marble-look feature: porcelain slabs or 24×48 marble-look panels ($6–$15 per square foot) on the back wall with quiet field tile around it. Book-matched veining is the luxury version.
- Zellige or handmade-look: the irregular glazed squares ($12–$25 per square foot) bring craft and shimmer; confining them to one wall keeps both the cost and the visual energy in check.
- Mosaic or penny-round feature: sheet-mounted mosaics ($8–$20 per square foot) turn a wall into texture. Pair with large, calm field tile so the scales contrast.
- Color drop: deep green, navy, or terracotta stacked tile against white or greige field tile. Pull the accent color into towels or paint so it doesn’t float alone in the room.
The common thread: contrast in exactly one dimension — color, texture, pattern, or scale. Change two or more at once and the wall starts shouting.
Coordinating the Niche, Curb, and Trim
The niche is where accent schemes go to die, so decide its role deliberately. Three clean options: put the niche in the accent wall and tile its interior with the field tile (my usual recommendation — the niche reads as a window through the accent); put the niche in a field wall and line it with the accent tile (a little echo that ties the room together); or make the niche itself the only accent in an otherwise single-tile shower — the budget version of this whole concept, and honestly a great one at $50–$150 of special tile.
What I steer clients away from: a third tile that appears only in the niche, and accent tile that wraps partially around a corner and stops mid-wall. Accents end at inside corners, full stop. For edges and transitions, use metal profile trim (Schluter Jolly and similar, $15–$30 per 8-foot length) in a finish matching your fixtures — it frames the accent plane crisply and solves the exposed-tile-edge problem at the glass line.
What a Shower Accent Wall Costs
A shower tile accent wall is priced by the difference between your feature tile and your field tile, plus any labor premium. Take a typical 60×36 alcove shower with 8-foot walls — roughly 90–100 square feet of wall tile, with the back wall around 40 square feet:
| Approach | Accent Material | Added Cost vs. All-Field-Tile |
|---|---|---|
| Pattern change only (same tile) | $0 extra material | $150–$400 extra labor |
| Mid-range accent tile ($10/sq ft vs $4 field) | ~$240 extra material | $300–$600 total with labor |
| Premium zellige/mosaic ($20/sq ft) | ~$640 extra material | $800–$1,200 total |
| Porcelain slab feature wall | $800–$1,500 material | $1,500–$3,000 total (slab handling) |
| Accent niche only | $50–$150 | $100–$250 total |
Compare that to accenting all three walls with the premium tile — an extra $1,500–$2,500 on the same shower — and you see why the accent wall is the value play: you get 90% of the impact for a third of the splurge.
Installation Notes That Protect the Look
- Waterproofing doesn’t change. The accent wall gets the same membrane or backer treatment as every other wall — decorative tile is never the waterproof layer. Budget and build the shower system first, beauty second.
- Check combined thickness. Mosaics and zellige often sit thinner or thicker than your field tile. Where the accent meets field tile at corners or borders, the setter needs to build out or float the substrate so the faces land flush. This is a plan-ahead item, not a fix-later item.
- Center the layout. The accent wall’s pattern should center on the wall (or on the valve if it’s the plumbing wall), with equal cuts at both corners. Slivers on a feature wall are the tell of a rushed job.
- Order 15% overage on the accent tile — 20% for herringbone or handmade tile. Dye lots vary, and a feature wall with one mismatched replacement tile defeats the purpose.
- Grout choice matters double here. On the accent wall, grout is part of the design: match it to the tile to emphasize shape and texture, or contrast to emphasize pattern. Bring home grout sticks and hold them against the sample.
Mistakes I Get Hired to Fix
The horizontal accent stripe at eye level — the 4-inch glass-mosaic band circling the shower — is the dated look homeowners now pay to remove; if you love those mosaics, give them a whole wall or a niche instead. Accent tile stopped at 6 feet with painted drywall above always reads unfinished — take the accent to the ceiling. Tiny showers with high-contrast busy accents feel smaller, not fancier; under about 3×4 feet, use texture-on-tone instead of color contrast. And matching the accent tile to the vanity backsplash, the floor, and the mirror frame overcooks the theme — the accent wall works because it’s the exception, not the rule.
Lighting deserves a sentence too, because it’s the multiplier on every choice above. Dimensional and glossy accent tile lives or dies by raking light — a wall-washer or a well-placed shower light turns fluted tile into sculpture, while flat overhead lighting turns it back into wallpaper. If you’re splurging on texture, tell your electrician before drywall closes up; a $150 recessed fixture aimed at the feature wall is the cheapest upgrade in this whole article.
If you take one thing from a guy who sets these for a living: choose the wall by standing in the doorway, change only one variable between field and accent, run it floor to ceiling corner to corner, and let the niche borrow from — not add to — the palette. Do those four things and even a modest $300 accent upgrade will be the thing everyone comments on; skip them and no tile budget can save the wall.
Prefer to explore on your own?
See how new flooring looks in your actual room in seconds — free, no signup.
Try the free Floor Studio →