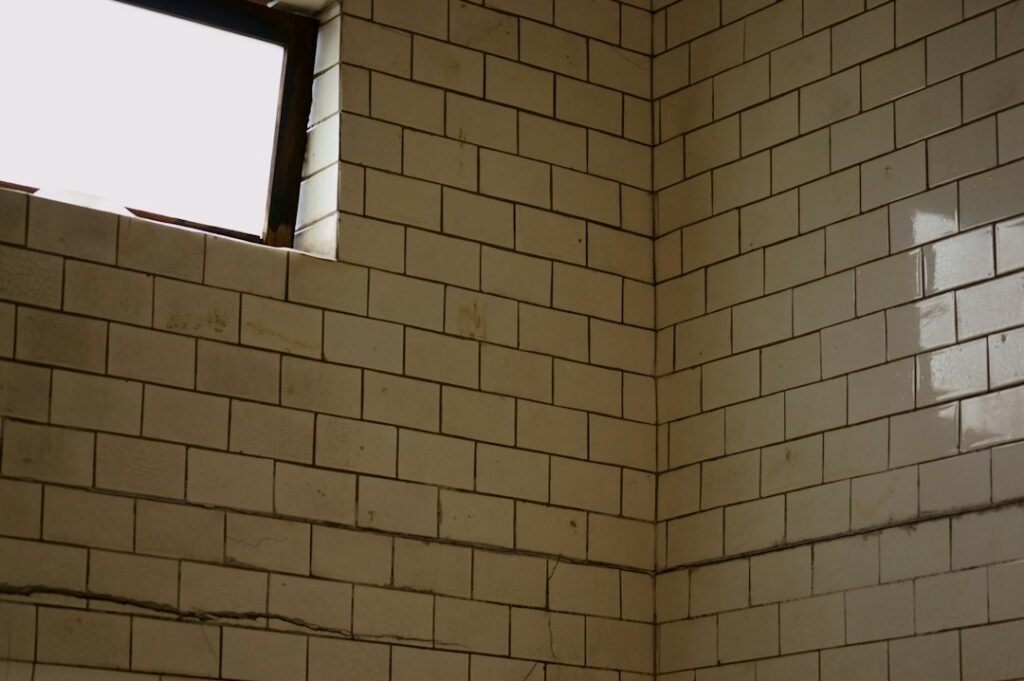
A single cracked tile or a line of crumbling grout doesn’t mean your whole shower is done. Shower tile repair handles the most common failures, loose tiles, hairline cracks, missing grout, and failed caulk, for a fraction of the cost of a full retile. The trick is knowing which problems are cosmetic and which are warning signs of water already behind the wall. Catch the small stuff early and you protect the backer board and framing that a $5 tile sits on top of.
Part of our Bathroom Remodeling & Flooring guide — explore the full guide →
Diagnose Before You Demo
Tap each tile lightly with a knuckle or the handle of a screwdriver. A solid tile rings; a loose one sounds hollow or dull. Hollow tiles mean the bond to the substrate has failed, often because water got behind them. Press around the grout lines, soft or spongy spots in the wall signal rotted backer board, which is a repair that goes deeper than the tile itself.
If the wall feels firm and only the surface is damaged, you’re in straightforward repair territory. If it flexes or smells musty, plan to open it up and inspect.
Replacing a Single Cracked Tile
Swapping one tile is the most satisfying shower repair you can do in an afternoon.
- Rake out the grout around the damaged tile with a grout saw or oscillating tool.
- Score the tile in an X with a carbide bit, then chip it out from the center with a chisel, working toward the edges to protect neighbors.
- Scrape the old thinset off the substrate until it’s flat. Any high spot will rock the new tile.
- Butter the back of the replacement with thinset, set it flush, and use spacers to hold the grout lines even.
- Let it cure 24 hours, then grout, and caulk any corner or change-of-plane joints.
Match the grout color by taking a chip of the old grout to the store, or accept that a slightly off match in a corner is invisible once the shower is wet and in use.
Regrouting a Tired Shower
Grout that’s cracked, stained, or missing in spots is the number-one water entry point. Full regrouting refreshes the look and reseals the surface. Remove the old grout to at least 2/3 of its depth with a grout removal tool, vacuum the dust, then float new grout into the joints with a rubber float held at 45 degrees. Wipe the haze with a damp sponge after about 20 minutes, and again the next day.
One critical rule: grout belongs on flat field joints, not on corners or where the tile meets the tub or floor. Those changes of plane move and should be sealed with flexible caulk, not rigid grout. Grout there will crack within months.
Fixing Failed Caulk and Silicone
The bead where your wall tile meets the tub or shower pan takes the most stress and fails first. Peeling, blackened, or moldy caulk should be cut out completely with a utility knife and caulk-removal tool, never caulked over. Clean the joint with rubbing alcohol, let it dry, then run a continuous bead of 100% silicone, kitchen-and-bath grade. Tool it smooth with a wet finger and let it cure 24 hours before the next shower. Silicone outlasts and outflexes acrylic latex caulk in a wet environment.
When Repair Isn’t Enough
Some signs tell you to stop patching and plan a rebuild:
- Multiple hollow-sounding tiles across a wall, the substrate bond has broadly failed.
- Soft, spongy areas behind the tile indicating rotted backer board or framing.
- Recurring leaks staining the ceiling below.
- Tiles set over old drywall or moisture-prone board instead of cement board.
In these cases the waterproofing system itself has failed, and surface repairs only buy a little time. A proper rebuild with cement board or a foam waterproofing panel and a fresh membrane is the durable fix.
What Shower Tile Repair Costs
Replacing a single tile yourself costs only the price of the tile and a small bag of thinset, often under $20. A pro tile setter might charge $150 to $300 for a small repair due to minimum service fees. Full regrouting a standard shower runs roughly $300 to $600 with a professional, or a weekend and $40 in materials if you do it yourself. A complete tile shower rebuild, by contrast, commonly lands in the $3,000 to $8,000 range, which is exactly why timely repairs pay off.
Matching Tile and Grout on an Older Shower
The hardest part of a single-tile repair on an aging shower often isn’t the work, it’s finding a replacement that blends in. If you kept leftover tile from the original installation, you’re set. If not, start by checking whether the line is still produced; bring a removed tile or a clear photo with measurements to a tile supplier. When an exact match is impossible, two strategies help. First, source a close-but-not-identical tile and use it in a low-visibility spot, swapping an original tile from a hidden corner into the conspicuous location. Second, treat the repair as an opportunity for a deliberate accent, a contrasting tile or a small decorative insert reads as intentional rather than as a patch. For grout, dry samples shift color, so let a test patch cure fully before judging the match, and remember that wet grout in a working shower looks different from a dry chip on the showroom floor.
Keep Repairs From Coming Back
After any shower tile repair, reseal the grout if it’s a cement-based product, sealers shed water and resist staining for a year or two. Run the bathroom fan during and after every shower to drop humidity, and squeegee glass and tile to cut down on mineral buildup. Small habits keep the next repair years away.
Shower tile repair rewards homeowners who pay attention. A cracked tile is just a tile; the same crack ignored for two years becomes a wall full of rot. Tap, inspect, and fix the small failures while they’re still small. At D and G Floors we’d always rather coach a homeowner through a single-tile swap than quote them a full rebuild that early action would have prevented.
Prefer to explore on your own?
See how new flooring looks in your actual room in seconds — free, no signup.
Try the free Floor Studio →