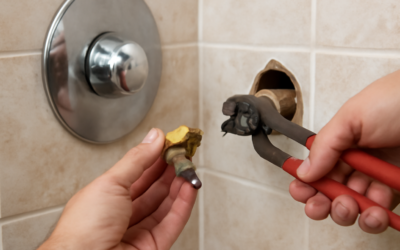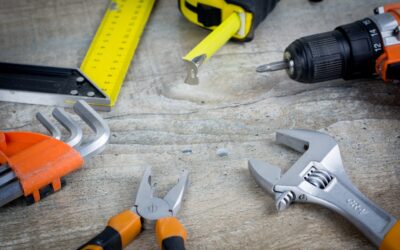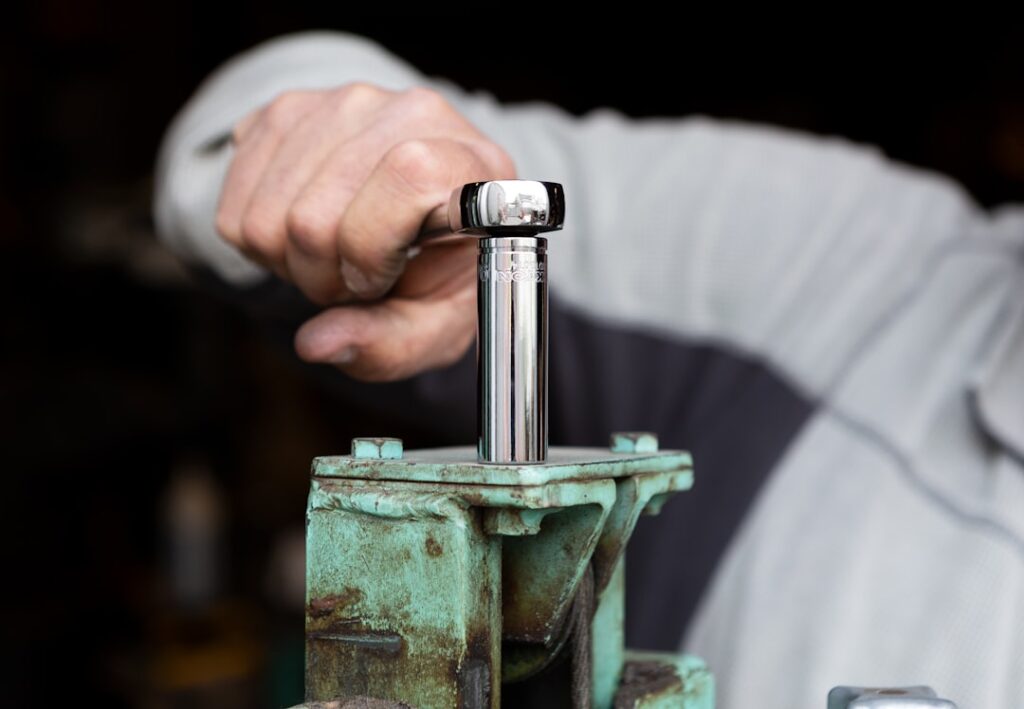
Two-handle and three-handle tub valves hide their stem nuts deep in the wall, recessed 2 to 4 inches behind the trim, where no ordinary socket or wrench can reach. A shower valve socket wrench set exists for exactly this job: thin-walled, extra-deep stamped-steel sockets, usually 5 to 6 inches long, double-ended with a different size at each end, turned by a steel rod slipped through cross-holes. A 5-piece set costs $15 to $30 and is the difference between a 20-minute stem swap and a chewed-up bonnet nut that forces open-wall surgery.
Part of our Bathroom Remodeling & Flooring guide — explore the full guide →
Regular deep sockets fail at this task for two reasons, and understanding them explains the tool. First, the stem sticks out through the middle of the nut, so the socket must be hollow far deeper than a ratchet socket. Second, the nut sits inside a hole in the tile barely bigger than itself, so the shower valve socket wrench has walls only about 1/16 inch thick — thin enough to slide into the escutcheon opening where a chrome ratchet socket physically cannot fit.
The Sizes and What They Fit
Sets are sized in 32nds of an inch across the hex flats, a legacy of old brass valve manufacture. A standard 5-socket, 10-size set covers:
- 21/32 and 27/32 inch: the small end of the range — packing nuts and stems on older Central Brass, Union Brass, and many stem cartridges.
- 29/32 and 31/32: the two most-used sizes in my kit; countless American Standard, Sayco, and Gerber bonnet nuts land here.
- 1-1/32 and 1-3/32: Price Pfister and Kohler trim-era bonnets.
- 1-5/32 and 1-7/32: larger Crane and Speakman bodies.
- 1-1/8 and 1-1/4 (in 6-piece sets): big commercial Speakman and Union bonnets.
Because sizes step in 32nds, “close” is not good enough — a socket one size over rounds a brass nut in a single hard pull. Test-fit until one slides on with light friction and zero rock. Brands to look for: Superior Tool, Cobra, Plumb Pak, and the General Tools 186 set; quality differences are minor since all are stamped steel, but check that the cross-holes are drilled at both socket depths so the turning rod works at either end.
Anatomy of the Job: Getting to the Nut
A stem replacement on a two-handle shower runs through the same sequence every time:
- Kill the water. Tub valves rarely have integral stops, so that means the house main. Open a downstairs faucet to drain pressure, and open the tub spout too.
- Pull handles: pry the index cap (the H/C button), back out the handle screw, and pull the handle. Corroded handles come off with a $12 handle puller, not a pry bar — levered handles snap old stems flush with the nut, converting a repair into an extraction.
- Remove trim: unscrew the escutcheon or its sleeve. Deep sleeves on shower-only valves often thread onto the stem housing; turn counterclockwise by hand or with a strap wrench.
- Clear the opening: you should now see the hex bonnet nut recessed in the wall hole. Chip away any grout or caulk bridging the nut to tile with a flat screwdriver — hidden mortar contact is why half of these nuts feel “seized.”
- Socket on, rod in, turn counterclockwise. Steady pressure, not jerks. The nut and stem assembly comes out as a unit, often with a startled quantity of black water.
Take the whole stem to the supply house; matching the broach pattern and length by eye across 400 stem SKUs is a fool’s errand, and counter staff match physical stems in seconds.
Stuck-Nut Tricks, in Escalating Order
Fifty-year-old brass against steel in a damp wall seizes. Work this ladder and you will free 95 percent without collateral damage:
- Shock it: with the socket seated and rod inserted, rap the rod end sharply with a hammer a few times — impact breaks corrosion bonds that steady torque cannot.
- Penetrant and patience: soak the nut with PB Blaster or Liquid Wrench, wait 15 minutes, repeat once. Kroil overnight for the truly welded.
- Heat, carefully: a heat gun on high for 2-3 minutes expands the brass nut against the body threads and cooks out mineral bonding. No open flame inside a wall cavity, ever — I have seen the vapor-barrier fire that causes.
- Tighten first: a degree or two clockwise before counterclockwise cracks the corrosion ring. Counterintuitive, works constantly.
- Better leverage: swap the supplied rod for a longer 3/8-inch extension or slide a pipe over it. Keep the socket dead square — cocked sockets round corners.
- Last resort: a nut splitter will not fit in the wall, so the end of the line is cutting the wall open behind (closets are your friend) and replacing the valve body. Know when you are there: visible rounding on two corners means stop wrenching.
Using It on Packing Nuts and Cartridge Valves
The same sockets service the smaller packing nut that rides the stem itself — the fix for a handle that leaks around its base when the water runs. Snug the packing nut an eighth turn clockwise; if the leak persists, back it off, slide out the stem, and re-wrap the stem under the nut with graphite packing string ($4). That five-minute service has rescued more Saturday afternoons than any other trick in this article.
Modern single-handle cartridge valves mostly do not need these sockets — Moen 1225 cartridges pull with a plastic tool or puller, Delta balls disassemble with the supplied wrench flat. The exceptions: Mixet valves and several Price Pfister single-handles retain the cartridge with a deep bonnet nut that only a stem socket reaches. If you see a hex nut down a hole, this is still the tool.
Once the Stem Is Out: Washers, Seats, and Reassembly
Extraction is half the repair; the parts work on the bench is the other half. A dripping spout traces to the flat rubber washer at the stem’s tip, held by a single brass bibb screw. Back the screw out (soak it if frozen — they shear easily), match the washer at the hardware store by physical size (00, 1/4L, 1/2R and friends; a $6 assortment box covers the house), and use the beveled style for beveled seats. Replace the bibb screw itself with a new brass one from the same assortment; reused screws are the reason “I just fixed that” faucets drip again in a month.
Now look down the valve body with a flashlight at the brass seat the washer presses against. A scarred or pitted seat chews up new washers in weeks. Two fixes: a seat dressing tool ($8-$12) grinds the sealing face flat in a few rotations, or — better where the seat is removable — a seat wrench ($10) unscrews the old seat entirely so a matched new one ($3-$5) goes in. Removable seats show a square or hex broach in their center bore; smooth-bore seats are fixed and get dressed instead.
Reassembly rewards two small habits: coat the stem threads and packing with silicone plumber’s grease so the handle turns like new and the next removal takes half the effort, and thread the bonnet nut in by hand fully before the socket touches it. Snug is the target torque — the washer does the sealing, not the nut, and over-cranking a fresh rebuild is how 50-year-old bodies finally crack.
Buying Advice and Kit Notes
- Buy the 6-piece (12-size) set over the 5-piece; the extra $8 buys the 1-1/8 and 1-1/4 sizes that stop the second store run.
- Add a handle puller ($10-$15) and a tube of graphite packing to the same order — the three tools together handle nearly any stem-valve service call.
- Metric-hex stem nuts exist on some imported valves; a thin-wall 17mm or 19mm plumbing socket covers most.
- Store the set dry. Stamped-steel sockets rust fast, and a rust-scaled socket grips poorly exactly when you need precision.
- Mark the sizes with paint pen after the first use; the stamped markings go unreadable with grime by year two.
For under $30, a stem socket set turns the most intimidating-looking valve repair in the house into routine maintenance. The first bonnet nut that spins loose without drama — instead of rounding into a wall-demolition estimate — pays for the kit about forty times over.