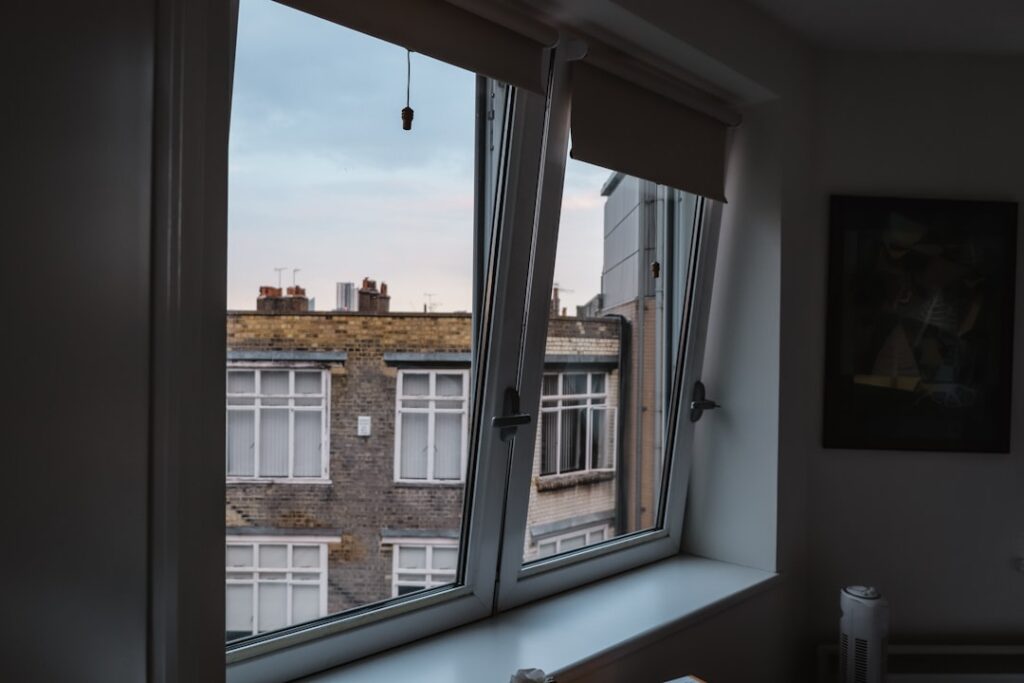
More windows in American housing stock are single hung than any other style, so it’s no surprise that single hung window replacement is the bread-and-butter job of the window trade — and one of the most DIY-able. In a single hung, only the bottom sash moves while the top sash stays fixed, which means fewer moving parts, lower prices, and better air-seal numbers than comparable double hungs. A single hung window replacement runs $250–$600 installed per opening for mid-grade vinyl, or $150–$350 in materials if you install yourself. Having swapped hundreds of these, here’s the complete decision path: insert versus full-frame, measuring, brand tiers, and the install itself.
- Single Hung vs. Double Hung: Settle This First
- Insert vs. Full-Frame Replacement
- Measuring for an Insert: The Three-by-Three Rule
- What to Buy: Tiers and Numbers That Matter
- Insert Installation, Step by Step
- Balance and Hardware Upkeep on the New Units
- Cost Summary and Payback Reality
- DIY or Hire It Out? An Honest Split
- Mistakes That Sink This Job
Single Hung vs. Double Hung: Settle This First
Replacing like-for-like isn’t mandatory, so weigh the trade once. Single hung advantages: 10–20% cheaper per window ($150–$400 vs. $200–$500 for equivalent vinyl double hungs), a fixed top sash that can’t leak air around a second set of jamb liners (marginally better infiltration ratings, typically ≤0.3 CFM/ft²), and less hardware to fail over 30 years. Double hung advantages: the top sash tilts in for cleaning — decisive on second stories — and dual-sash ventilation lets hot air out the top. My rule: ground-floor and easily reached windows, single hung and save the money; upper floors where you’ll clean from inside, pay for double hung. Egress note for bedrooms: the openable half must still yield 5.7 sq ft clear (5.0 at grade), 24″ min height, 20″ min width — check before downsizing any bedroom window.
Insert vs. Full-Frame Replacement
- Insert (pocket) replacement: the old sashes and hardware come out, the original frame stays, and a new smaller-framed window slips into the pocket. Cheaper ($250–$600 installed), faster (60–90 minutes a window), no disturbance to siding, trim, or stucco. Cost: you lose roughly 1–1.5″ of glass in each dimension, and it’s only as good as the old frame — inserts into rot are money buried in a wall.
- Full-frame replacement: everything comes out to the rough opening — frame, exterior trim, sometimes siding courses — and a new-construction window with nailing flange goes in with fresh flashing. $450–$1,100 installed per opening, but it’s the only correct answer when frames are rotted, out of square beyond 1/2″, or the house has active water intrusion at the openings.
Probe the existing sill and jambs with a screwdriver: soft wood anywhere means full-frame, no debate. Sound frames on a 1980s+ house usually mean inserts are fine.
Measuring for an Insert: The Three-by-Three Rule
Order windows to the opening, never to the old window’s label size.
- Width: measure jamb-to-jamb (the side channels the sash rides in, not the trim) at top, middle, and bottom. Record the smallest.
- Height: from the high point of the sloped sill to the head jamb, at left, center, right. Record the smallest.
- Deduct: order 1/4″ less than the smallest width and height (most manufacturers apply this deduction for you if you supply raw opening numbers — know which convention your dealer uses, because a window 1/4″ too big is a returned window).
- Square check: diagonals within 1/4″ of each other are fine; 1/4″–1/2″ is shimmable; beyond that, plan full-frame.
Also note sill angle (many inserts include an adjustable sill dam or beveled bottom expander) and depth — you need about 3-1/4″ of frame depth for most vinyl inserts.
What to Buy: Tiers and Numbers That Matter
- Builder-grade vinyl ($150–$250): Ply Gem 1500-series class, big-box house brands. Fine for rentals and garages; expect U-factor around 0.30 with double-pane low-E and argon.
- Mid-grade vinyl ($250–$400): Simonton 5500/DaylightMax, Milgard Trinsic/Style Line, Pella 250 Series singles where offered. Welded frames, better balances, U-factor 0.27–0.29, SHGC options per climate. The value sweet spot for most owner-occupied homes.
- Premium vinyl/composite/fiberglass ($400–$800+): Andersen 100 Fibrex, Marvin Elevate class. Slimmer frames, more glass, dark exterior colors that don’t warp.
Spec triple checkpoints on the NFRC sticker: U-factor ≤0.30 anywhere with real winter (≤0.27 in the northern tier), SHGC ≤0.25 in cooling climates or 0.30+ where you want winter solar gain, and air leakage ≤0.3. ENERGY STAR certification maps these to your zone automatically, and utility rebates of $30–$100 per window frequently apply.
Insert Installation, Step by Step
Per-window time: 60–120 minutes. Tools: pry bar, utility knife, drill, 4′ level, shims, low-expansion foam, exterior sealant.
- Score paint lines and remove interior stops (the thin strips holding the bottom sash) — save them; they reinstall. Pull the bottom sash, cut the balance cords or unclip the vinyl balances, and remove parting beads and the fixed top sash.
- Scrape the frame clean, treat any minor punky spots with wood hardener, and dry-fit the new unit — it should slip in with 1/8″–1/4″ play all around.
- Run two beads of sealant along the outside blind stop and the sill. Set the window bottom-first, tip it upright into the sealant.
- Shim at the sill’s ends and center, then at lock-rail height on the jambs. Check plumb, level, and square; test that the operable sash travels smoothly and locks before fastening anything.
- Screw through the pre-drilled jamb holes into the old frame — snug, not sucked in, or you’ll bow the vinyl and the sash will bind.
- Fill the perimeter gap with low-expansion window foam (never standard gap-filler, which bows frames), reinstall interior stops, and caulk inside and out. Install the exterior sill expander/dam and seal it.
Balance and Hardware Upkeep on the New Units
Vinyl single hungs are nearly maintenance-free, but “nearly” has a checklist. Once a year, vacuum the sill track, wash the weep holes clear (blocked weeps are the source of most “my new window leaks” calls — they’re drains, not defects), and hit the jamb liners with a dry silicone spray so the sash glides instead of chattering. The block-and-tackle or constant-force balances that hold the sash up are replaceable wear items: if a sash starts sliding shut on its own around year 10–15, matching balance cartridges cost $10–$25 a pair and swap in without removing the window. Keep the order paperwork with the house file — sash, balance, and lock replacements all key off the manufacturer’s line and size codes, and a two-minute part number lookup beats measuring a moving target.
Cost Summary and Payback Reality
A typical 10-window vinyl insert project: $1,500–$3,500 DIY, $2,500–$6,000 hired. Full-frame with new trim: $4,500–$11,000 for the same count. Energy payback on windows alone is honestly slow — figure $150–$400 a year in savings replacing leaky single-pane units, less when upgrading from intact double-pane — so let comfort, operation, and rot drive the decision, with efficiency as the bonus. Draft elimination and sashes that actually stay open are what owners notice by the first weekend.
DIY or Hire It Out? An Honest Split
Insert replacements on the ground floor of a reasonably square house are legitimate intermediate DIY — the skills are measuring, leveling, and caulking, and the first window takes three hours while the fifth takes one. Hire a pro when any of these apply: second-story work without proper staging (a 40-pound window on an extension ladder is how people get hurt), openings more than 1/2″ out of square, any sign of rot or water staining that suggests full-frame surgery, stucco or masonry exteriors where full-frame flashing gets technical, or a whole-house count where a two-person crew’s five-day job would eat your weekends for two months. Installer pricing typically runs $100–$300 labor per insert window; get the scope in writing with the deduction convention, foam type, and exterior sealant brand named, because those three details separate a 30-year install from a 10-year one.
Timing matters more than most people think: window crews discount 10–20% in late fall and winter in most markets, replacement is done one opening at a time so the house is never actually open to the weather, and manufacturer lead times stretch from 2–3 weeks in winter to 6–8 weeks at spring peak. Order in February, install in March, and you beat both the rush and the price.
Mistakes That Sink This Job
Ordering to the old label size instead of measured openings tops the list. Close behind: skipping the sill sealant beads (the number-one leak path on inserts), overdriving jamb screws until the frame bows and the sash drags, using high-expansion foam, and inserting a beautiful new window into a rotten frame that needed full-frame surgery. Measure in threes, deduct the quarter inch, shim honestly, and a single hung replacement is a genuinely satisfying weekend trade — one opening at a time, house stays weathertight every night.