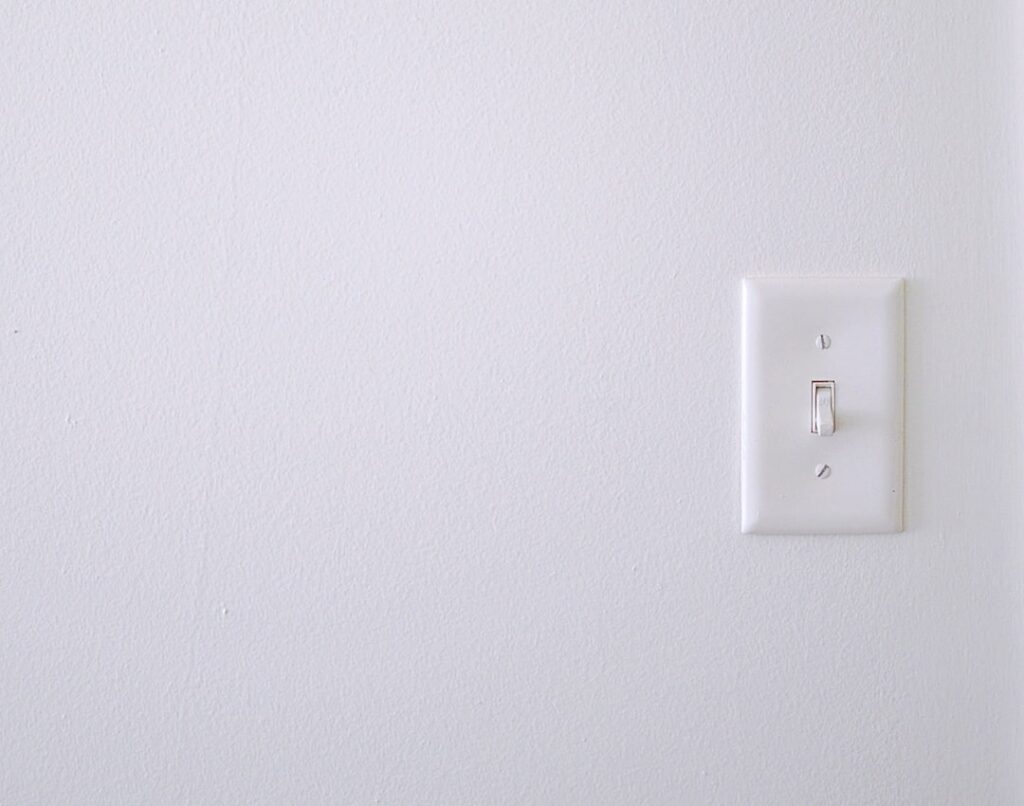
The single light switch, known in the trade as a single-pole switch, is the most common electrical control in any home, operating a light or outlet from one location. Understanding how it works, how to replace one safely, and how to troubleshoot problems is a foundational home skill that saves money and demystifies your electrical system. This guide explains the wiring, walks through replacement step by step, and covers the switch varieties and issues you are most likely to encounter.
- What a Single-Pole Switch Does
- How a Single Light Switch Is Wired
- Tools and Materials for Replacement
- How to Replace a Single Light Switch
- Types of Single-Pole Switches
- Common Problems and Fixes
- Choosing the Right Replacement
- Safety Considerations
- When to Call an Electrician
- Understanding the Switch Loop Wiring Variation
- Upgrading From a Standard Switch to Smart or Dimmer
- Final Thoughts
What a Single-Pole Switch Does
A single-pole switch controls a light or receptacle from exactly one spot. It has two brass terminal screws plus a green ground screw, and it works by making or breaking the hot wire that feeds the fixture. When you flip it on, the switch closes the circuit and current flows to the light; flip it off and the circuit opens, cutting power. The switch is marked ON and OFF because it works in only one orientation, unlike a three-way switch, which controls a light from two locations and has no ON/OFF markings.
How a Single Light Switch Is Wired
Understanding the wiring makes both replacement and troubleshooting far easier. In a standard installation:
- The hot wire (usually black) from the power source connects to one brass terminal.
- A second black wire, the switch leg, runs from the other brass terminal to the light fixture.
- The ground wire (bare copper or green) connects to the green screw on the switch.
- Neutral (white) wires are typically joined together in the box and pass through without connecting to a standard switch.
Some switch boxes are wired as a “switch loop,” where the wiring differs slightly, and modern code often requires a neutral present in the switch box for smart switches. Always identify your specific wiring before assuming.
Tools and Materials for Replacement
- A replacement single-pole switch rated for your circuit (15 or 20 amp).
- A flathead and Phillips screwdriver.
- A non-contact voltage tester to confirm the power is off.
- Needle-nose pliers and wire strippers.
- A new cover plate if you are upgrading the look.
How to Replace a Single Light Switch
Replacing a worn or noisy switch is a beginner-friendly project. Follow these steps carefully:
- Turn off the power at the breaker controlling that circuit, then verify with a non-contact voltage tester that the switch is dead.
- Remove the cover plate and unscrew the switch from the box, then pull it out gently.
- Note the wiring — take a photo before disconnecting anything so you can replicate it exactly.
- Disconnect the wires from the old switch, loosening the terminal screws.
- Connect the new switch — attach the two hot wires to the brass terminals (either brass screw works on a single-pole) and the ground to the green screw.
- Secure and test — tuck the wires in, screw the switch to the box, install the plate, restore power, and test.
Terminal connections should be tight and, where possible, wrapped clockwise around the screw so tightening pulls the wire in.
Types of Single-Pole Switches
The basic function is the same, but single-pole switches come in many varieties:
- Toggle switch — the traditional flip lever, inexpensive and reliable.
- Rocker (decora) switch — a flat, wide paddle with a modern look, increasingly the default.
- Dimmer switch — adjusts brightness; must be rated for your bulb type, especially LED.
- Smart switch — Wi-Fi or Zigbee controlled, often requiring a neutral wire in the box.
- Motion-sensor and timer switches — automate lights for closets, bathrooms, and garages.
Common Problems and Fixes
Single light switches are simple, so most problems have simple causes:
- Switch does nothing — check the breaker first, then look for a loose wire or a failed switch.
- Switch buzzes or crackles — a worn switch or loose connection; replace the switch and tighten terminals.
- Switch is warm to the touch — mild warmth can be normal on dimmers, but a hot switch signals an overload or loose connection and needs attention.
- Light flickers — often a loose connection at the switch or fixture, or an incompatible dimmer and LED bulb.
- Switch feels loose in the wall — the mounting screws or box have worked loose; retighten or add a box extender.
Choosing the Right Replacement
When buying a new switch, match a few specifications. Confirm the amperage rating matches your circuit, use a 15-amp switch for standard lighting circuits and a 20-amp switch where required. If upgrading to a dimmer, verify it is rated for LED, CFL, or incandescent bulbs to match what you use, since an incompatible dimmer causes flicker and buzz. For a smart switch, confirm your box has a neutral wire and enough depth, since smart switches are bulkier. Choosing a switch with back-wire or push-in options can also make installation easier.
Safety Considerations
Electrical work is safe when you respect a few rules. Always shut off the circuit at the breaker and verify with a tester before touching wires, never rely on the switch being off. Work with dry hands in a dry area, use insulated tools, and never overload a circuit. If you open the box and find aluminum wiring, scorched insulation, a rat’s nest of connections, or anything you do not understand, stop and call a licensed electrician. A single switch replacement is beginner-friendly, but there is no shame in getting help when something looks wrong.
When to Call an Electrician
While swapping a like-for-like switch is a common DIY task, certain situations call for a professional: adding a switch where none existed, converting a single-pole to a three-way, dealing with a box that lacks a neutral for a smart switch, or troubleshooting a circuit that trips repeatedly. These involve running new wire or diagnosing deeper issues that benefit from an electrician’s training and, often, a permit. Knowing your limits keeps the project safe and up to code.
Understanding the Switch Loop Wiring Variation
Not every single-pole switch is wired the same way, and the switch loop is a common variation that surprises DIYers. In a switch loop, power arrives at the light fixture first rather than the switch, and a two-wire cable runs down to the switch and back. In older installations, the white wire in this loop was used as a hot conductor, which is why you sometimes find a white wire connected to a switch terminal, ideally marked with black tape or paint to signal it is hot. Modern code, however, requires a neutral conductor in the switch box in most new work, largely to support smart switches that need constant power. Before replacing a switch, identify whether you have a standard feed or a switch loop, and never assume a white wire is neutral until you have confirmed it, since a mislabeled hot can cause a dangerous surprise.
Upgrading From a Standard Switch to Smart or Dimmer
Many homeowners use a simple switch replacement as an opportunity to upgrade functionality, and the process is similar with a few added checks. To install a dimmer, confirm it is rated for your bulb type, LED dimmers are essential for LED bulbs to avoid flicker and buzz, and verify the total wattage of the fixtures stays within the dimmer’s rating. To install a smart switch, you almost always need a neutral wire present in the box, adequate box depth for the bulkier device, and sometimes a compatible hub or Wi-Fi network. Read the smart switch instructions carefully, since some use a different wiring arrangement with line, load, neutral, and ground terminals clearly labeled. These upgrades bring convenience and energy savings, but confirming compatibility before you buy saves a frustrating return trip.
Final Thoughts
The single light switch is the workhorse of home electrical systems, and understanding it gives you real confidence around your home. With two brass terminals, a ground screw, and a simple make-or-break function, it is one of the most approachable electrical components to replace and troubleshoot. Always cut and verify the power first, photograph the wiring before you disconnect anything, and match your replacement switch to the circuit and bulb type. Master this basic skill and you can swap toggles for sleek rockers, add dimmers, and even upgrade to smart switches, all while keeping your home safe and up to code.