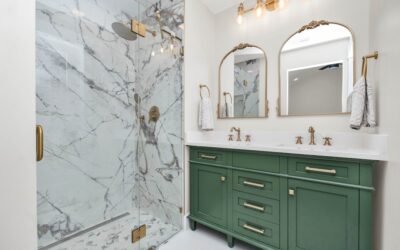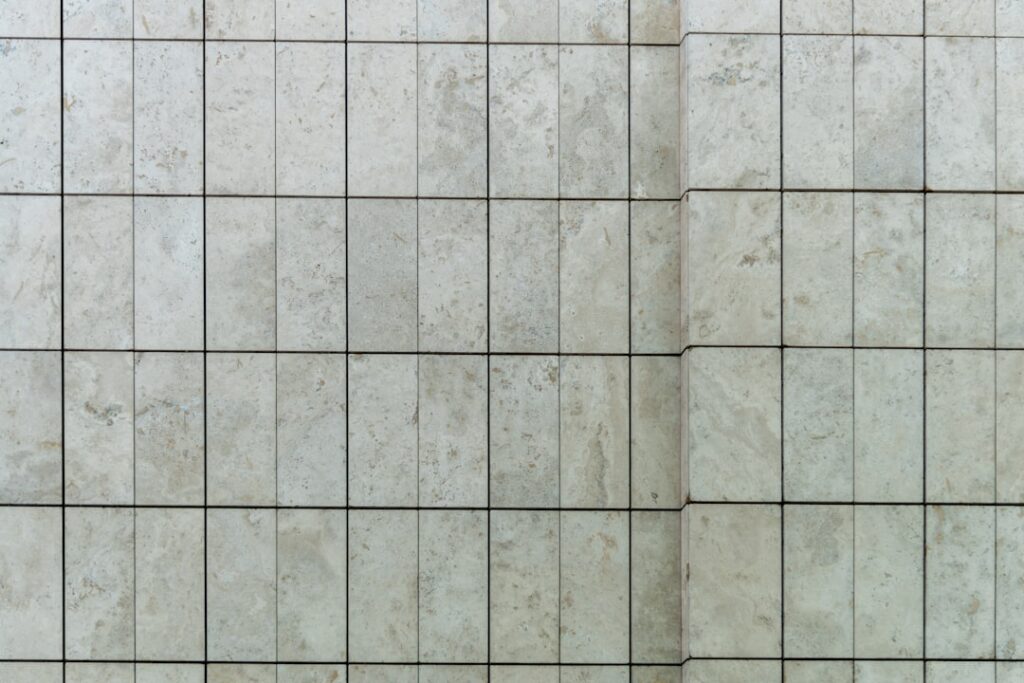
Clean lines, timeless geometry, and endless size options make the square tile shower a favorite alternative to the ubiquitous subway look. Whether you picture tiny mosaic squares on the floor or bold 12-inch tiles wrapping the walls, this guide covers the sizes, layouts, waterproofing, slip resistance, and costs that turn a good-looking design into a shower that stays watertight for decades.
Part of our Bathroom Remodeling & Flooring guide — explore the full guide →
Why Choose Square Tile for a Shower
Squares offer a balance that rectangles cannot always match. The symmetrical grid reads as orderly and calm, works in both traditional and modern homes, and adapts to nearly any color scheme. Unlike the horizontal drive of subway tile, a square layout feels grounded and versatile, giving you a neutral canvas that ages well.
The format also solves practical problems. Smaller squares flex around curves, niches, and shower-floor slopes, while larger squares cover walls quickly with fewer grout lines. That range lets you mix sizes, small on the floor for grip, large on the walls for a clean field, within a single cohesive design.
Cost predictability is another quiet advantage. Because squares tile a rectangular wall with minimal odd cuts, waste tends to be lower than with hexagons, herringbone, or other fussy patterns that leave slivers at every edge. That efficiency shows up in both the tile order and the labor bill, since a setter spends less time trimming and fitting. For homeowners on a defined budget, the square grid delivers a high-end, custom appearance without the overage and offcuts that drive up the total on more complex layouts, making it one of the most forgiving choices for a first-time renovation.
Square Tile Sizes and Where Each Works
Size is the first decision, and it shapes both looks and function. Each range has a natural home in the shower.
- 1×1 mosaics: Tiny squares on mesh sheets; ideal for shower floors because the many grout lines add traction and conform to the drain slope.
- 2×2 tiles: A popular floor and accent size, still grippy but with less grout to clean than 1×1.
- 4×4 tiles: Classic wall squares with a retro-friendly grid, forgiving on older, out-of-square walls.
- 6×6 to 8×8 tiles: Mid-size walls that balance coverage and detail.
- 12×12 tiles: Large-format squares for walls, covering fast with minimal grout for a modern, seamless field.
A common winning combination uses 1×1 or 2×2 mosaics on the floor and 12×12 or larger squares on the walls.
Waterproofing Comes First
No amount of beautiful tile matters if the shower leaks, and waterproofing is the foundation everything else sits on. Tile and grout are not waterproof on their own; water passes through grout joints and must be stopped by the system behind the tile. Skipping or shortcutting this step is the leading cause of rot, mold, and costly tear-outs.
Modern showers use one of two proven approaches. A sheet or liquid waterproofing membrane applied over cement backer board creates a continuous barrier, while foam board systems come pre-waterproofed and bond directly. Either way, the shower pan, curb, and any niches must be fully sealed, seams and corners reinforced, and the whole assembly flood-tested before tiling. Insist on this in any contractor bid; a watertight substrate is non-negotiable.
Slip Resistance on the Shower Floor
Safety underfoot is where tile choice becomes critical. A wet shower floor is slippery, so the surface texture and grout density matter more than on any wall. Smaller squares are the standard floor solution precisely because their abundant grout lines break up the surface and give bare feet traction.
Look for tiles with a higher coefficient of friction, often listed as a DCOF rating; a DCOF of 0.42 or greater is the common benchmark for wet floors. Matte, textured, or honed finishes beat glossy every time on the floor, while glossy tiles are fine on walls where no one stands. When in doubt, choose a mosaic floor with plenty of grout and save the sleek polished squares for vertical surfaces.
Layout Ideas That Elevate the Look
The pattern you choose gives the shower its personality. A straight stacked grid, squares aligned in perfect columns and rows, is the cleanest, most contemporary option and makes a small shower feel taller and more organized. It is unforgiving of crooked walls, though, so it demands careful layout.
Offsetting the squares in a brick or running-bond pattern softens the grid and hides minor wall imperfections. A diagonal layout turns the squares into diamonds for a more dynamic, traditional feel, though it generates more cut pieces and waste. Adding a horizontal band of contrasting mosaic or a full accent wall of smaller squares creates a focal point without redesigning the whole space. Keep the drama to one feature so the shower reads intentional rather than cluttered.
What a Square Tile Shower Costs
Budget depends heavily on tile choice and shower size. Material costs range widely: basic ceramic squares run $2 to $6 per square foot, porcelain lands around $3 to $10, and glass or natural stone mosaics can climb to $15 to $30 or more per square foot for the floor and accents.
Labor is the larger figure because shower tiling is detailed, waterproofing-intensive work. Professional installation commonly runs $10 to $25 per square foot, and mosaic floors cost more to set because of the many small pieces and grout. A standard shower with roughly 100 square feet of tiled surface can realistically total $2,500 to $6,000 installed, more with premium mosaics or custom niches and benches. Order 10 to 15 percent extra tile to cover cuts and future repairs from the same shade lot.
Niches, Benches, and Curbless Details
The features built into a shower often matter as much as the tile covering it. A recessed niche gives shampoo and soap a home without a dangling caddy, and square tile handles niches gracefully because the grid lines can be planned to align cleanly with the surrounding wall. Pros typically size a niche to full tiles where possible, reducing awkward slivers, and slope the niche floor slightly so water drains rather than pooling.
Built-in benches add comfort and accessibility but demand extra waterproofing, since the horizontal top is a prime spot for leaks; the bench should slope a hair toward the floor and be fully sealed like the pan. Curbless, or zero-threshold, showers are increasingly popular for a modern, accessible look, and they rely on a linear drain and a precisely sloped floor. Small square mosaics excel here because they flex to the slope and provide the traction a wet, level-entry floor needs. Discuss these details up front, since they affect both the tile order and the labor estimate significantly.
Grout, Sealing, and Maintenance
Grout choice determines how much time you spend cleaning. Because a shower tiled in squares, especially with small floor mosaics, has many joints, upgrading to a stain-resistant grout pays off. Epoxy grout resists water, mold, and discoloration far better than standard cement grout and rarely needs sealing, making it a smart choice for wet zones despite the higher cost.
If you use cement grout, seal it after curing and reseal periodically to keep water out and mildew down. Clean with pH-neutral products, squeegee walls after use to cut soap scum, and ventilate the bathroom to prevent moisture buildup. With sealed or epoxy grout and simple habits, a well-built square tile shower stays fresh for many years. Confirm your floor tile’s slip rating and your installer’s waterproofing method before work begins, and you will have a shower that is as durable as it is handsome.
Prefer to explore on your own?
See how new flooring looks in your actual room in seconds — free, no signup.
Try the free Floor Studio →