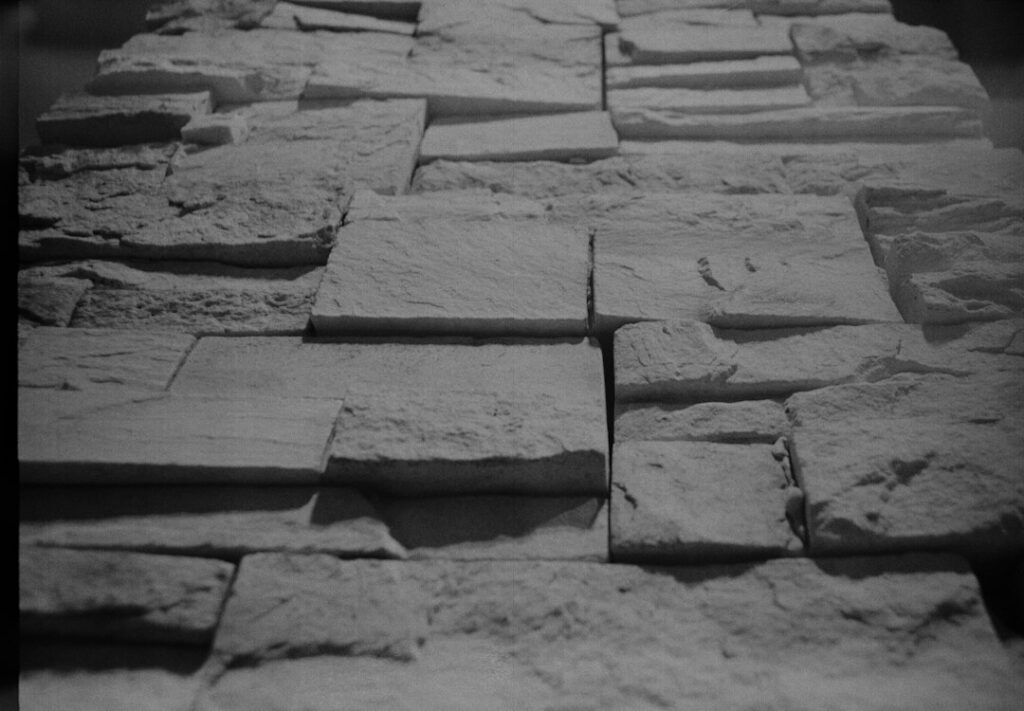
Nothing anchors a house to its site quite like stone at the porch columns. Stone pillars for a porch come in two very different forms: full masonry piers built from solid stone or block that carry real weight, and thin stone veneer applied over a wrapped wood post or framed box. Veneer is lighter, cheaper and often DIY friendly; full stone is permanent and structural but needs a proper footing and usually a mason.
Most front porch pillars with stone today are actually a combination: a stone base about one third of the column height, with a tapered wood or PVC column above. That craftsman style look gives the heft of stone where the eye lands without loading tons of masonry onto a deck or slab that was never designed for it.
- Choosing Stone Pillars for a Porch: Full Stone vs Veneer
- Proportions and Styles for Exterior Porch Pillars
- Footings and Load: What the Porch Can Carry
- Tools and Materials for a Veneer Column Base
- Step by Step: Adding Stone Veneer to Porch Columns
- Silica Dust and Masonry Safety
- Troubleshooting
- Cost Ranges
- When to Call a Licensed Professional
- Frequently Asked Questions
Choosing Stone Pillars for a Porch: Full Stone vs Veneer
The first question is what is holding up the roof. If your porch already has sound wood posts, a veneer base is a cosmetic upgrade wrapped around them. If you want the stone itself to carry the beam, that is a structural masonry pier and a much bigger project.
Full masonry piers
A full masonry pier is built from concrete block, brick or stone laid in mortar, often with a concrete core and steel reinforcement. It sits on its own footing below the frost line. These piers can carry the porch roof directly and will outlast the house. They are heavy, commonly several thousand pounds each, and they need a footing sized for that weight plus the roof load. They typically require a permit and are best built by a mason.
Thin stone veneer
Thin veneer, natural stone cut to about 3/4 to 1 1/2 inches thick or manufactured stone cast from lightweight concrete, is applied over a substrate of sheathing, weather barrier, metal lath and a mortar scratch coat. It weighs roughly 10 to 15 pounds per square foot, light enough that a standard concrete porch slab can usually support a column base without special footings. The wood post inside still carries the roof.
Stone veneer panels
Interlocking stone veneer panels are a newer option. These are larger, pre-assembled sections that fasten to a framed box with screws or adhesive and a few trim pieces, speeding installation considerably. They work well for half height column bases and are popular for DIY projects. Check that the product is rated for exterior use in your climate.
Proportions and Styles for Exterior Porch Pillars
Good proportions matter more than the stone itself. A few guidelines:
- Half height bases: stone covering the bottom 30 to 42 inches, often about one third of total column height, with a tapered column above. This is the classic craftsman look.
- Full height stone: works on large, rustic or lodge style homes with deep porches and heavy beams. Full height stone porch columns look heavy on smaller cottages.
- Width: a stone base of 16 to 24 inches square is typical for a single story porch. The upper column should be noticeably narrower, often 8 to 12 inches.
- Cap: finish the top of the stone base with a stone or precast cap that overhangs by 1 to 2 inches and slopes slightly to shed water.
Match the stone to the house. Stacked ledgestone reads modern and rustic; rounded fieldstone feels farmhouse; cut limestone looks formal. If the house already has stone on its foundation or chimney, use the same type and color so the porch looks original.
Footings and Load: What the Porch Can Carry
Before you price out stone pillars for a porch, work out the weight. Weight is the issue that separates a successful stone column from a cracked slab.
- A thin veneer base 20 inches square and 36 inches tall has roughly 20 square feet of surface, which at around 12 pounds per square foot is a couple hundred pounds plus framing. Most sound concrete slabs handle that well.
- A full stone pier of the same size can weigh well over a ton. That load should sit on a dedicated reinforced footing, not on a thin porch slab or a wood deck.
- On a wood porch or deck, full stone is generally not an option without new footings under the framing. Even veneer adds concentrated weight; have a contractor check the joists and posts first.
In cold climates, footings must extend below the local frost depth so freeze and thaw do not heave the pier. Call 811 before digging so buried gas, water and electric lines are marked. Structural piers, new footings and any change to how the roof is supported usually require a permit, and your HOA may have rules on materials and appearance.
Tools and Materials for a Veneer Column Base
- Pressure treated lumber or exterior sheathing to frame a box around the post
- Weather resistive barrier (two layers are common behind masonry veneer)
- Galvanized expanded metal lath and corrosion resistant fasteners
- Type S mortar for the scratch coat, and a mortar or adhesive specified by the veneer maker
- Thin stone veneer, flats and corner pieces (or stone veneer panels and matching corners)
- A weep screed or drainage edge at the bottom
- Stone or precast cap
- Angle grinder with a diamond blade or a wet saw, masonry trowels, grout bag, level and mixing paddle
- N95 or P100 respirator, safety glasses, hearing protection and gloves
Step by Step: Adding Stone Veneer to Porch Columns
- Confirm the post is sound. Check for rot at the bottom and solid connections at the beam and slab. The veneer box will hide the post for decades, so replace or repair it now.
- Frame the base box. Build a box around the post to the finished stone base size, minus the thickness of the stone. Use pressure treated lumber and leave the bottom slightly above the slab or set it on a treated sill.
- Sheath and wrap. Cover the frame with exterior sheathing, then apply the weather barrier, lapping upper layers over lower ones like shingles.
- Install the weep screed and lath. Fasten a weep screed at the bottom, then staple or screw galvanized lath over the entire box with the cups facing up.
- Apply the scratch coat. Trowel on about 1/2 inch of Type S mortar, let it firm up slightly, then scratch horizontal grooves with a notched tool. Let it cure per the bag directions.
- Set the corners first. Back butter each corner piece with mortar and press it on with a slight wiggle until mortar squeezes out. Alternate long and short legs up each corner.
- Fill in the flats. Work from the bottom up, keeping joints consistent. Cut stones with the grinder or wet saw to fit.
- Grout and tool the joints. If the style calls for visible joints, fill them with a grout bag and tool them once they are thumbprint firm.
- Set the cap. Bed the cap stone in mortar with a slight slope away from the column so water runs off. Seal the joint where the upper column meets the cap with exterior caulk.
- Finish the upper column. Wrap the remaining wood post in cedar or PVC, often tapered, and paint or stain to match the trim.
If you use stone veneer panels, the process is simpler: frame and sheath, add a weather barrier, then screw or glue the panels and corners per the maker’s instructions. Many panel systems skip the scratch coat entirely.
Silica Dust and Masonry Safety
Cutting natural stone, manufactured stone and mortar releases crystalline silica dust, which can cause serious lung disease. Cut outdoors, use a wet saw or a grinder with water feed or a vacuum shroud whenever possible, and wear a properly fitted N95 or P100 respirator. Clean up with a HEPA vacuum or wet methods rather than dry sweeping. Mortar is caustic, so wear gloves and eye protection when mixing and applying it.
Stone is heavy. Lift with your legs, get help with cap stones, and keep a clear, stable work surface. When working at the top of tall columns, use a stable stepladder or scaffold rather than leaning a ladder against the column.
Troubleshooting
- White haze on stone (efflorescence): water is moving through the mortar and leaving salts. Improve drainage at the base and cap, then clean with a stiff brush and a masonry cleaner.
- Stones loosening: often caused by a poor bond to the scratch coat or water trapped behind the veneer. Make sure the weather barrier and weep screed are in place.
- Cracks in the slab around a pier: the load is too heavy for the slab. A structural engineer or mason should evaluate it.
- Rot in the post inside the base: missing drainage or flashing at the cap. Water must be shed outward at the cap and allowed to drain at the bottom.
- Stone looks fake: mix stones from several boxes at a time to blend color, and vary sizes rather than repeating patterns.
Cost Ranges
Budgets for stone pillars for a porch vary mostly by construction type. Thin veneer and panel systems are the most affordable route. DIY materials for a half height veneer base often run a few hundred dollars per column. Professionally installed veneer bases typically cost several hundred to a couple thousand dollars per column depending on stone type and size. Full masonry piers with new footings are the most expensive option, frequently a few thousand dollars or more per pier, especially if the porch roof must be shored while the new piers are built.
When to Call a Licensed Professional
Hire a mason or licensed contractor for full stone piers, new footings, any column that carries the roof directly, porches on wood framing, and any situation where posts must be removed or replaced. These jobs involve structural loads and usually need permits and inspections. A veneer base around sound posts on a concrete slab is a reasonable DIY project for someone comfortable with mortar and basic framing.
Frequently Asked Questions
Can I put stone veneer on existing porch posts?
Yes. Frame a box around the post, add sheathing, a weather barrier and lath, then apply the veneer. The original post keeps supporting the roof.
Do stone porch columns need a footing?
Full stone or masonry piers need their own footing below the frost line. Thin veneer bases on a sound concrete slab usually do not, but check the slab condition first.
How tall should a stone column base be?
Most stone bases cover about one third of the column height, often 30 to 42 inches, with a narrower column above.
Is manufactured stone as durable as natural stone?
Quality manufactured stone lasts for decades when installed with proper drainage and flashing. Natural stone is more durable and colorfast but heavier and more expensive.
Can I add stone pillars to a wood porch?
Thin veneer may be possible if the framing can carry the extra weight. Full stone piers on a wood porch require new footings and should be designed by a professional.