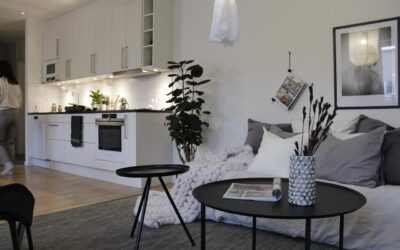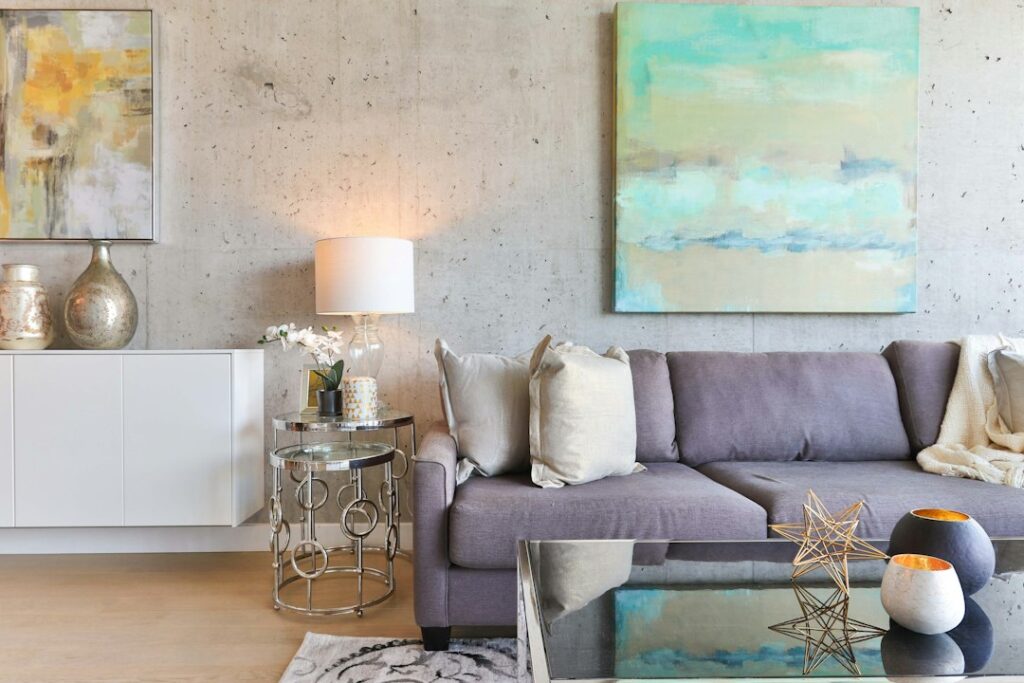
Most studios feel cramped not because they are small, but because every piece of furniture is pushed against a wall and the middle of the room becomes a dead zone. A good studio apartment layout does the opposite: it pulls furniture into clusters that each do one job, so a single 400 to 550 sq ft room behaves like a bedroom, a living room and an office. The trick is to decide where you sleep first, then build the living and work areas around that choice, using rugs, lighting and flooring changes to signal where one zone ends and the next begins.
You do not need to renovate to get there. Furniture placement, two or three well-sized rugs and a tall open shelf can change how a studio functions in a single weekend. If you own the unit or have permission to update finishes, a continuous hard floor with a defined tile entry or kitchen area makes the zones read even more clearly.
- How a Studio Apartment Layout Divides One Room Into Three Zones
- Start With the Bed: Placement Options Compared
- Using Dividers Without Blocking Light
- Rugs and Flooring Tricks That Define Zones
- Step-by-Step: Planning Your Layout on Paper
- Multi-Use Furniture That Earns Its Space
- Lighting Each Zone Separately
- Common Layout Problems and How to Fix Them
- What It Costs to Set Up a Zoned Studio
- When to Bring in a Pro
- Frequently Asked Questions
How a Studio Apartment Layout Divides One Room Into Three Zones
Every standard studio needs three core zones: sleep, live and work or eat. In a typical rectangular unit of about 20 by 25 feet, the kitchen usually runs along one short wall near the entry, the bathroom sits beside it, and the window wall sits at the far end. That fixed geometry tells you a lot about where each zone should go.
- Sleep zone: the most private spot, usually the corner farthest from the front door and out of the direct sightline from the entry.
- Living zone: the center of the room or the window wall, where natural light and the best view make the space feel open to guests.
- Work or dining zone: close to the kitchen for eating, or near a window for a desk, ideally with its own task light.
Think of the zones as a gradient from public to private. Visitors walk in, pass the kitchen, settle into the living area, and never need to walk past the bed. When you plan a small studio apartment layout this way, the room feels intentional instead of improvised.
Start With the Bed: Placement Options Compared
The bed is the largest object in the room and the hardest to hide, so its location drives everything else. A full-size bed takes up roughly 54 by 75 inches, and a queen is 60 by 80 inches. In a 450 sq ft studio, a queen uses about 7 percent of the floor before you add clearance around it.
Bed in the far corner
Tucking the bed into the corner opposite the entry, with its long side against a wall, saves floor space and gives the most privacy. You lose access from one side, which matters for couples, but you gain a clear path through the room.
Bed headboard against the long wall
Centering the headboard on a long wall feels more like a hotel room and allows access from both sides. It also eats more floor space and makes the bed the visual focal point, so it works best when you pair it with a divider.
Sofa bed or wall bed
For studios under 400 sq ft, a sleeper sofa or a fold-down wall bed frees up the floor during the day. The tradeoff is the daily routine of converting it. Many people abandon that routine after a few months, so be honest about your habits before you commit.
Using Dividers Without Blocking Light
Solid walls cut daylight in half, which is why open-backed shelving is the most useful divider for a studio. A room divider bookshelf, roughly 5 to 6 feet tall with open cubbies, separates the bed from the living area while letting light pass through from the window. It also adds storage, which every studio lacks.
Other options work too. Ceiling-mounted curtain track lets you close off the sleep zone at night and open it in the morning. Folding screens are cheap and portable. A low console or a sofa with its back to the bed creates a softer edge without blocking anything above waist height.
Anchor any tall shelving unit to wall studs or to the floor with the hardware supplied by the maker, especially if it stands freely in the room. A loaded bookcase can tip if someone pulls on an upper shelf. If you rent, ask about anchoring before drilling, or choose a wide, low-center-of-gravity piece instead.
Rugs and Flooring Tricks That Define Zones
Flooring does more zoning work than most people realize. Your eye reads a change in material or a rug edge as a boundary, even without a wall. That is why designers often treat the floor as the first layer of any small-space plan.
Rug sizing for each zone
- Living zone: a 5 by 8 or 6 by 9 rug with at least the front legs of the sofa and chairs resting on it.
- Sleep zone: a 5 by 8 rug placed crosswise under the lower two-thirds of a full or queen bed, or two runners on each side.
- Dining or work zone: a round 5 to 6 foot rug under a small table, sized so chairs stay on the rug when pulled out.
Use rug pads cut slightly smaller than the rug so edges lie flat. Curled corners are a common trip hazard in tight rooms where walking paths are narrow.
Flooring changes for owners
If you can change the floor, a single continuous plank floor through the main room makes a studio look bigger. Luxury vinyl plank and laminate both handle the kitchen-adjacent traffic of a studio well, and running planks parallel to the longest wall stretches the space visually. A tile or patterned vinyl section at the entry and kitchen creates a hard-wearing landing zone that also reads as a separate area.
Keep transitions flush where possible. A raised threshold in the middle of a small room interrupts flow and catches toes. Most plank floors can meet tile with a low-profile T-molding or a flush reducer.
Step-by-Step: Planning Your Layout on Paper
A tape measure and a sheet of graph paper prevent most furniture mistakes. Free online room planner tools do the same job digitally, and a studio apartment layout planner lets you drag pieces around before you lift anything heavy.
- Measure the room. Record wall lengths, window and door positions, radiator or baseboard heater locations, and outlet positions.
- Draw it to scale. Use a quarter inch per foot on graph paper. Mark door swings, since a door swing can claim 9 sq ft of floor.
- Place the bed first. Try two or three positions and check the sightline from the entry.
- Add the sofa and living pieces. Allow 16 to 18 inches between the sofa and a coffee table.
- Locate the desk or table. Put it near an outlet and natural light if possible.
- Check walkways. Keep main paths at least 30 to 36 inches wide and the space in front of the kitchen counter clear.
- Mark rug footprints. Outline each zone’s rug to confirm the boundaries make sense.
- Tape it on the floor. Painter’s tape outlines on the actual floor show problems a drawing can miss.
Multi-Use Furniture That Earns Its Space
In a studio, every piece should do at least two jobs. A storage bed with drawers replaces a dresser. An ottoman with a lift-off top hides blankets and doubles as extra seating. A drop-leaf table seats two for dinner and folds flat against the wall between meals.
Look for furniture with visible legs. Pieces that sit off the floor show more flooring underneath, which makes the room look larger. Glass or acrylic coffee tables do the same trick. Avoid oversized sectionals: a compact apartment sofa around 72 to 80 inches long fits most studios better than a full 90-inch model.
Vertical storage is the other big win. Wall-mounted shelves above the desk, a tall wardrobe in the sleep zone and hooks by the door keep surfaces clear. Floor space is the scarcest resource in the room, so treat it as precious.
Lighting Each Zone Separately
Lighting is how a studio shifts mood between day and night. A single overhead fixture flattens the whole room into one zone. Instead, give each area its own source:
- A floor lamp or arc lamp over the living area.
- Wall-mounted plug-in sconces or a bedside lamp in the sleep zone.
- A desk lamp or pendant over the work or dining table.
- Under-cabinet lighting in the kitchen to separate it from the living space at night.
Plug-in fixtures avoid any electrical work, which matters for renters. If you own the unit and want hardwired sconces or a new ceiling box, hire a licensed electrician. Keep cords out of walkways or secure them with flat cord covers so they do not become trip hazards across a rug edge.
Common Layout Problems and How to Fix Them
The bed is visible from the door
Add a divider shelf or a curtain on a ceiling track at the foot of the bed. Even a tall plant can break the sightline.
The room feels like a hallway
Long, narrow studios benefit from furniture floated perpendicular to the long walls. A sofa set across the room creates a distinct living area and stops the bowling-alley effect.
No place for a desk
A wall-mounted fold-down desk or a narrow console behind the sofa gives you a work surface without stealing a whole corner. A 12 to 16 inch deep console is enough for a laptop.
Too much clutter on the floor
Clutter on the floor erases the zone boundaries your rugs create. Add closed storage under the bed and baskets on open shelves so the floor stays visible.
What It Costs to Set Up a Zoned Studio
Budgets vary widely, but general ranges help with planning. Rugs for three zones typically run a few hundred dollars for budget options and over a thousand for wool. A sturdy open-back divider shelf ranges from roughly 100 to 500 dollars. Plug-in lighting for each zone can stay under a few hundred dollars total.
For owners replacing flooring, luxury vinyl plank installed in a 450 sq ft studio commonly lands in the low to mid thousands, depending on the product grade, subfloor prep and local labor rates. Laminate falls in a similar range. Tile at the entry or kitchen adds cost per square foot but covers a small area.
When to Bring in a Pro
Most zoning work is DIY. Bring in help when you want to move or add walls, install built-ins, change flooring across the whole unit, or add hardwired lighting. Condo owners should check association rules for flooring underlayment requirements, since many buildings require sound-rated underlayment to limit noise for neighbors below. A designer can also map out a custom studio apartment layout in a few hours if you feel stuck.
Frequently Asked Questions
What is the best way to arrange a 400 sq ft studio?
Place the bed in the corner farthest from the entry, float the sofa to create a living area, and use a rug under each zone. Keep walkways around 30 inches wide and choose furniture with visible legs to keep the floor open.
How do you separate the bed from the living area in a studio?
An open-back bookshelf, a ceiling-mounted curtain or a sofa with its back to the bed all work. Open shelving is the most popular because it adds storage without blocking natural light.
What flooring makes a small studio look bigger?
One continuous plank floor in a light to mid tone, run parallel to the longest wall, makes the room look larger. A small tile or patterned area at the entry or kitchen can define that zone without breaking up the main space.
How many rugs should a studio apartment have?
Two or three rugs usually work: one for the living area, one for the sleep zone and optionally one round rug under a dining table. More than that tends to look busy in a small room.
Is a sofa bed a good idea for a studio?
It works well in studios under 400 sq ft if you are willing to convert it daily. If you are not, a full-size bed with a divider is usually more comfortable and easier to live with.