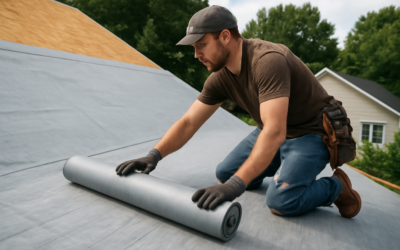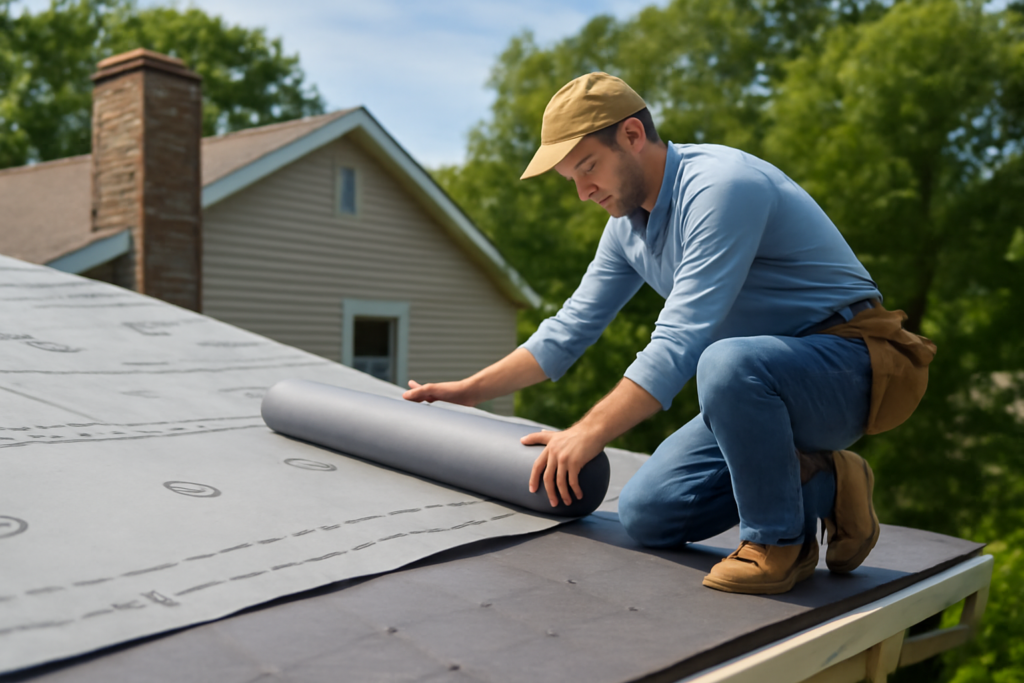
The layer most homeowners never see is one of the most important parts of a roof. Synthetic underlayment is the modern moisture barrier that goes between your roof deck and the shingles, and it has largely replaced the traditional asphalt-saturated felt that roofers used for generations. Made from woven or spun polypropylene and polyethylene, synthetic underlayment is lighter, stronger, and more water-resistant than felt, and it has become the standard on quality roofing jobs. This guide explains what it is, how it compares to felt, and what to know if you are reroofing.
- What Roofing Underlayment Does
- Synthetic Underlayment vs. Felt
- Types of Synthetic Underlayment
- Key Features to Look For
- Installation Basics
- Cost Expectations
- Where Waterproof Membrane Is Critical
- Underlayment and Roof Ventilation
- Estimating How Much Underlayment You Need
- Mistakes to Avoid With Synthetic Underlayment
- Should You Use Synthetic Underlayment?
What Roofing Underlayment Does
Underlayment is a secondary line of defense beneath the shingles. Shingles shed most of the water, but wind-driven rain, ice dams, and the occasional shingle failure can let moisture reach the roof deck. The underlayment provides a backup barrier that keeps that water off the wood sheathing, helping prevent rot, leaks, and interior damage. It also protects the deck during installation, before the shingles go on, and adds a layer of weather protection if shingles are ever damaged or blown off.
Synthetic Underlayment vs. Felt
For decades, the default was felt, sold in 15-pound and 30-pound rolls. Synthetic underlayment improves on felt in several measurable ways:
- Tear strength: Synthetics are far more resistant to tearing, especially around fasteners and in wind.
- Water resistance: Synthetics shed water better and do not absorb moisture the way felt can.
- Weight: A roll of synthetic covers much more area than felt at a fraction of the weight, making it easier to carry and install.
- UV exposure: Many synthetics tolerate longer exposure before shingles go on, which felt does not.
- Wrinkling: Felt can wrinkle and buckle when it gets damp, while synthetics lie flatter.
Felt is still cheaper per roll and is sometimes used on budget jobs, but synthetic has become the preferred choice for performance and durability.
Types of Synthetic Underlayment
Not all synthetic products are identical. The main categories:
- Standard synthetic underlayment: A mechanically fastened, water-resistant sheet for the main roof field.
- Self-adhered (peel-and-stick) membranes: A waterproofing layer used in vulnerable areas like eaves, valleys, and around penetrations, often called ice-and-water shield.
- Premium synthetics: Heavier products with enhanced traction surfaces and longer warranties.
A typical roof uses standard synthetic across the main field and a self-adhered membrane at the eaves and valleys where leaks are most likely.
Key Features to Look For
When comparing products, a few features matter:
- Walkability and traction: A slip-resistant surface is safer for installers, especially on steep pitches.
- UV exposure rating: How long it can be left exposed before shingles must be installed.
- Tear and tensile strength: Higher numbers mean better fastener and wind resistance.
- Warranty: Length and coverage vary by product and manufacturer.
- Printed lap lines: Marked overlap and fastener guides speed up installation and keep it consistent.
Installation Basics
Synthetic underlayment installs in horizontal courses up the roof, following the manufacturer’s instructions. The general approach:
- Install any self-adhered ice-and-water membrane first at the eaves, valleys, and around penetrations as required by code and climate.
- Roll out the synthetic underlayment starting at the lower edge and working up, overlapping each course over the one below per the marked lap lines.
- Fasten with the manufacturer-specified cap nails or staples at the recommended spacing, since fastener type and spacing affect performance and warranty.
- Lap the underlayment correctly at ridges, hips, and valleys to keep water shedding downhill.
- Install the shingles within the underlayment’s allowed exposure window.
Local building codes and climate zones, especially areas prone to ice dams, dictate where waterproof membrane is required, so follow code in your area.
Cost Expectations
Synthetic underlayment costs more than felt per roll but covers far more area, narrowing the real-world gap. General guidance:
- Synthetic underlayment: roughly $0.10 to $0.30 per square foot in material, varying by grade.
- Self-adhered membrane: more per square foot, used selectively in critical areas.
- Felt: cheaper material but heavier, slower to install, and less durable.
Because labor is a large share of any roofing job, many contractors find the modest material upgrade to synthetic well worth it for the added protection and faster installation.
Where Waterproof Membrane Is Critical
Standard synthetic underlayment is water-resistant, but the most leak-prone areas of a roof call for a fully waterproof self-adhered membrane. The eaves are the first priority, especially in cold climates where ice dams can force water backward up under the shingles. Valleys, where two roof planes meet and channel large volumes of runoff, are another must. So are the areas around penetrations like chimneys, skylights, vent pipes, and dormers, where the roof geometry creates vulnerable seams. Many building codes require ice-and-water membrane at the eaves in regions that get freezing weather, so check your local requirements before deciding where to apply it.
Underlayment and Roof Ventilation
Underlayment works alongside the rest of the roof system, including ventilation. A properly vented roof allows moisture from inside the home to escape and helps keep the deck dry, which extends the life of both the underlayment and the shingles. Synthetic underlayment is vapor-permeable in some products and not in others, so on certain assemblies the choice interacts with how the attic breathes. This is one more reason to follow the manufacturer’s guidance and to have a knowledgeable roofer evaluate the whole system rather than treating the underlayment as an isolated layer.
Estimating How Much Underlayment You Need
Buying the right quantity keeps a reroof on schedule and on budget. Start with the roof’s square footage, which is larger than the home’s footprint because of pitch; roofers measure in squares, where one square equals 100 square feet of roof surface. A single roll of synthetic underlayment commonly covers around 1,000 square feet, or ten squares, though coverage varies by product and the required overlap. Account for the lap: most synthetics overlap about 4 to 6 inches on the sides and more at the ends, so the effective coverage is a little less than the roll’s stated area. Add roughly 10 to 15 percent for waste, valleys, hips, and trimming around penetrations. Self-adhered ice-and-water membrane is figured separately, since it only runs along the eaves, valleys, and around chimneys and vents rather than across the whole field. On a steep or complex roof with many planes and penetrations, round up, because running short midway through a tear-off can leave the deck exposed to weather.
Mistakes to Avoid With Synthetic Underlayment
Even a strong product fails if it is installed carelessly. The most common error is leaving it exposed past its rated UV window: synthetics tolerate sun far longer than felt, but every product has a limit, often measured in weeks to a few months, after which the material degrades and the warranty is void, so get the shingles on in time. Using the wrong fastener is another frequent problem; many manufacturers require plastic-cap nails or cap staples rather than smooth roofing nails or bare staples, because the wide cap resists pull-through and tearing in wind, and the wrong fastener can void coverage. Skimping on overlap or ignoring the printed lap lines invites wind-driven water under the courses. Installers also sometimes forget that synthetic is slicker than felt, especially when wet or frosty, so walking it without slip-resistant footwear on a steep pitch is genuinely dangerous. Finally, never substitute standard synthetic for a waterproof self-adhered membrane in the eaves and valleys, where code and climate may require true ice-and-water protection that a water-resistant field sheet cannot provide.
Should You Use Synthetic Underlayment?
For nearly any new roof or reroof, synthetic underlayment is the better choice. It outperforms felt on tear strength, water resistance, weight, and durability, and it lays flatter for a cleaner result under the shingles. Combine standard synthetic in the field with a self-adhered membrane in valleys and at the eaves for the best protection. Roofing is steep, dangerous work, so for anything beyond a small, low-slope structure, hire a licensed roofing contractor who will install the underlayment to code and to the manufacturer’s specifications.