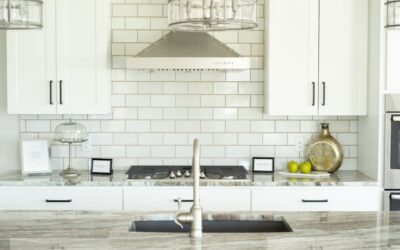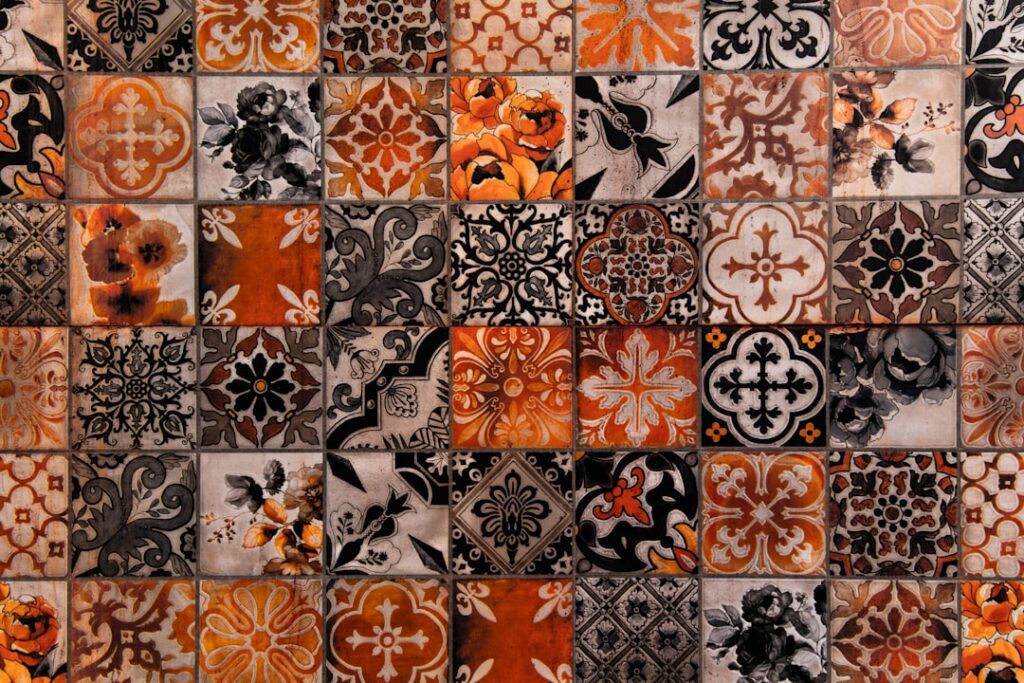
Few upgrades transform a kitchen or bathroom as quickly as the area between your counter and cabinets. A temporary backsplash lets you add color, pattern, and protection to that wall without grout, mortar, or a contractor. For renters and anyone who likes to change their decor often, it is one of the smartest budget projects available.
Choosing the right temporary backsplash depends on your wall surface, your budget, and how long you plan to keep it. This guide covers the main material options, how to install them cleanly, and how to remove them later without leaving a mark.
Why Choose a Temporary Backsplash
Permanent tile is beautiful but commits you to a single look for years, costs hundreds to thousands of dollars installed, and is nearly impossible to remove without damaging the wall. A removable option flips every one of those drawbacks. You get a fresh wall surface for a fraction of the price, the installation takes an afternoon, and you can peel it away when your lease ends or your taste changes.
These products also protect the wall behind a stove or sink from grease, water, and splatter. A wipeable surface is far easier to keep clean than painted drywall, which absorbs stains and grows tired-looking over time.
Main Types of Temporary Backsplash
Not every product behaves the same way, so it helps to know your choices before you shop:
- Peel-and-stick tile: Thin vinyl or gel tiles with adhesive backing that mimic ceramic, subway, or mosaic looks. Easy to cut with scissors or a utility knife.
- Vinyl wallpaper: Removable adhesive rolls with printed tile, marble, or geometric patterns. Best for areas that stay relatively dry.
- 3D gel tiles: Slightly raised, flexible tiles that add dimension and a more realistic grout-line appearance.
- Acrylic or PVC panels: Rigid sheets that cover a large area at once and hold up well near heat and moisture.
- Tin-look metal tiles: Lightweight aluminum or plastic tiles with a pressed pattern for a vintage feel.
Matching the Material to Your Space
Heat and moisture should drive your decision. Directly behind a gas range, surfaces get hot, so check that any product is rated as heat resistant and keep flammable vinyl a safe distance from open flames. Behind a sink, prioritize a waterproof material with seams you can seal so water does not creep behind the panel.
Wall texture matters too. Peel-and-stick products bond best to smooth, clean, glossy-free surfaces. Heavily textured walls with a knockdown or orange-peel finish reduce adhesion, and you may see the texture telegraph through thin vinyl. For rough walls, rigid panels attached with removable mounting strips are a more reliable choice.
How to Install Peel-and-Stick Tile
- Clean the wall thoroughly with a degreaser, then wipe with rubbing alcohol and let it dry completely.
- Measure the area and dry-lay tiles on the counter to plan your layout and minimize awkward cuts.
- Find your center point or start from a clean edge, using a level to keep the first row straight.
- Peel the backing and press each tile firmly from the center outward to push out air bubbles.
- Cut tiles to fit around outlets and edges using a sharp utility knife and a straightedge.
- Run a smoothing tool or a credit card over the surface to ensure full contact.
The first tile sets the line for everything else, so take your time getting it level. A crooked start compounds across the whole wall.
Keeping It Looking Good
Wipe the surface with a soft, damp cloth and mild dish soap. Avoid abrasive scrubbers and harsh solvents, which can dull the finish or lift the edges. Pay attention to seams and corners, where grease and steam tend to work their way underneath over time.
If an edge starts to peel, a dab of clear, removable adhesive or a strip of double-sided mounting tape usually fixes it. Address lifting early, before dust gets under the tile and prevents it from sticking back down.
Planning Your Layout
A little planning before you peel any backing makes the difference between a professional-looking result and a crooked, patchy one. Measure the full area you want to cover, including the height from counter to cabinets, and sketch out how full tiles and cut pieces will fall. Aim to keep cut tiles at the ends rather than the center, where they draw the eye.
Pay special attention to outlets, switches, and window edges. These spots require careful cutting, so plan them in advance and turn off the power before working around electrical fixtures. Many homeowners loosen the outlet cover plates, tuck the material slightly behind them, and reattach the plates for a clean, finished edge.
Think about the focal points too. Behind a range or sink, the backsplash is most visible, so position your best full tiles and most symmetrical layout there. Lower-visibility areas behind a coffee maker or in a corner can absorb the awkward cuts.
Common Mistakes to Avoid
The most common error is rushing the wall prep. Any grease, dust, or moisture left behind sabotages the adhesive, and a backsplash that looks great on day one starts curling at the edges within weeks. Spend the extra ten minutes degreasing and wiping with alcohol; it is the single best predictor of how long your backsplash lasts.
Other pitfalls include starting without a level line, stretching vinyl too tightly so it shrinks back and leaves gaps, and trapping air bubbles under the surface. Smooth each piece firmly from the center outward, and pop any stubborn bubbles with a pin and press them flat. Applying to a cold wall can also weaken adhesion, so work at room temperature when you can.
Removing It Without Damage
This is where a temporary backsplash proves its value. Warm the edge of a tile with a hair dryer on low to soften the adhesive, then slowly peel it back at a shallow angle. Pulling straight out can tear paint or paper off the wall, while a low, steady angle releases cleanly.
Any leftover residue usually comes off with a little rubbing alcohol or an adhesive remover and a soft cloth. Test in a hidden spot first to confirm the cleaner will not harm your paint. Done carefully, removal leaves the wall ready for the next look or move-out inspection.
Cost and Final Thoughts
Budget-friendly is the headline here. Peel-and-stick tiles often run about $5 to $15 per sheet, vinyl rolls cost roughly $20 to $40, and rigid panels fall in a similar range depending on size and finish. A typical kitchen backsplash project lands somewhere between $50 and $200 in materials, a fraction of professional tile installation.
For style on a budget, a temporary backsplash is hard to beat. Choose a material suited to the heat and moisture in your space, prep the wall well, and you will get a polished result you can change whenever inspiration strikes.