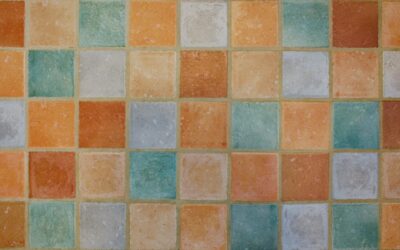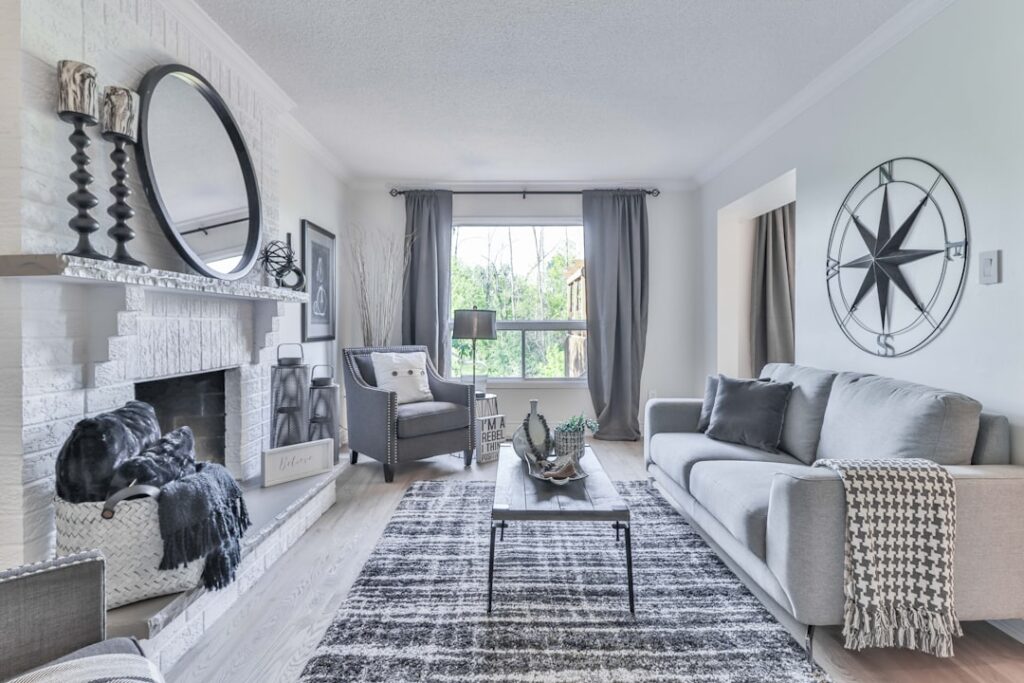
Paint fades into the background, but tile stops people in their tracks. A tile accent wall in the living room adds real texture, depth, and permanence that no color swatch can match, whether you wrap it around a fireplace, behind a media console, or across a single feature wall. Done well, it becomes the architectural anchor the whole room organizes around.
Part of our Tile & Grout guide — explore the full guide →
The trick is matching the material and scale to the room so the wall reads as intentional, not overdone. Here’s how to design, budget, and build one that looks like it came with the house.
Why Tile Beats Paint or Wallpaper
Tile brings three things flat finishes can’t. First, texture: a stacked-stone or fluted tile throws shadow that shifts with the light all day. Second, durability, since tile won’t scuff, peel, or fade behind a sofa the way paint and paper do. Third, it reads as a permanent design choice, which is exactly why it registers as high-end. In an open-concept space, a tiled wall also quietly zones the living area apart from the kitchen or dining room without adding a single partition.
There’s a practical durability angle too. Living rooms take abuse you don’t always notice, chair backs bumping the wall, kids’ hands, furniture scuffs, sunlight bleaching one section over years. Paint shows all of it and needs touch-ups; tile shrugs it off and wipes clean. In a home with pets or young children, a tiled lower accent wall or a full feature wall behind the sofa can be the most damage-resistant surface in the room. That combination of visual drama and real-world toughness is why designers keep specifying tile feature walls even in formal spaces where wallpaper once ruled.
Best Spots for a Living Room Accent Wall
Not every wall wants tile. The strongest candidates share one trait: they’re already a focal point.
- The fireplace surround and chimney breast: The single most popular choice, and the most impactful.
- Behind the TV or media console: Tile hides cords visually and gives the screen a deliberate backdrop.
- A single feature wall: Usually the first wall you see when entering the room.
- A niche or alcove: Tiling just a recessed section adds depth without committing the whole wall.
Avoid tiling walls broken up by lots of windows and doors. Too many cut edges chop the pattern and multiply the labor.
Scale the wall to the room, too. In a compact living room, tiling a single full wall can make the space feel intimate and intentional, but tiling a large two-story great-room wall demands careful proportion so it reads as a design feature rather than a warehouse. As a rule of thumb, the accent wall should be the one the room naturally organizes around, where the sofa faces, where the fireplace sits, or the first wall visible from the entry. If no wall qualifies, a smaller tiled niche or a media-console backdrop often delivers more impact than forcing tile onto a wall the eye doesn’t already favor.
Material and Style Ideas
The material sets the mood more than the color does. Match it to the room’s overall style:
- Stacked stone or ledger panels: Rugged, dimensional, ideal for modern rustic and mountain-style rooms.
- Fluted or 3D geometric tile: Clean shadow lines for contemporary and minimalist spaces.
- Large-format porcelain slabs: A seamless marble-look wall with almost no grout lines, dramatic behind a fireplace.
- Zellige or handmade ceramic: Subtle color variation and a glossy, artisanal glow for character-rich rooms.
- Wood-look or terracotta: Warmth for traditional and Mediterranean interiors.
Choosing Color and Scale
For a wall you’ll live with for years, lean toward neutrals with texture rather than bold color, warm whites, greiges, charcoals, and natural stone tones. Let the format, not a loud hue, create the drama. Large-format tiles (24×48 inches and up) make a small living room feel calmer and more expansive, while small mosaics and zellige add intricate detail to a bigger wall that can carry it.
Run the tile floor to ceiling whenever you can. Stopping partway up almost always looks unfinished, like a backsplash that lost its nerve. If you have a fireplace, carrying tile all the way to the ceiling makes an 8-foot wall feel like 10.
How to Install a Tile Accent Wall
This is a doable weekend project for a confident DIYer, though a fireplace surround with heat clearances is worth a pro. The core steps:
Preparation
- Confirm the wall is sound. Standard drywall works for lightweight tile; heavy stone needs cement backer board screwed to the studs.
- Find and mark the studs, then locate the wall’s true center with a level and a chalk line.
- Dry-lay a column of tile on the floor to plan your cuts so slivers don’t land at eye level.
Setting the Tile
- Spread a thin, even coat of tile mastic or thin-set with a notched trowel, working in 3-square-foot sections.
- Start from a ledger board screwed level near the bottom so the first row can’t sag while it sets.
- Press each tile with a slight twist, using spacers to keep grout lines consistent.
- Check for lippage every few tiles; a flat wall telegraphs every high corner.
- Let it cure 24 hours, then grout, wipe, and seal any natural stone.
For panel systems like stacked stone, the panels interlock and go up faster, but they’re heavy, so backer board and construction adhesive are non-negotiable.
What It Costs
A typical living room accent wall runs 40 to 100 square feet. Expect:
- Ceramic or porcelain tile: $3 to $10 per square foot for material.
- Stacked stone or ledger panels: $6 to $15 per square foot.
- Large-format slab or natural stone: $10 to $30 per square foot.
- Professional installation: $8 to $20 per square foot, more for heavy stone or fireplace clearances.
A DIY ceramic feature wall can land under $500 in materials; a professionally installed stone fireplace surround can reach $2,500 or more. Either way, it’s one of the highest-impact upgrades per dollar you can make in a living room.
Fireplace Surrounds: Special Considerations
Tiling around a working fireplace adds a layer of complexity you can’t ignore. Building codes require noncombustible materials within a certain clearance of the firebox, and the tile must be rated for the heat. Porcelain, ceramic, and natural stone all handle fireplace heat well, but the adhesive matters just as much, use a heat-rated thin-set rather than standard mastic near the firebox, since organic mastics can fail or off-gas at high temperatures.
For a floor-to-ceiling fireplace feature, plan the layout so full tiles land at eye level and at the mantel line, where the eye naturally rests. Cut pieces belong at the floor and ceiling, not in the middle of the wall. If you’re wrapping a mantel or hearth, order 15 percent extra tile, the extra cuts and inside corners eat material fast.
Do You Need a Pro?
Be honest about the scope. A flat feature wall behind a console with lightweight ceramic tile is a legitimate DIY weekend project for anyone comfortable with a level and a notched trowel. But a few situations call for a professional: heavy natural stone that needs precise structural support, a fireplace surround with heat clearances and code requirements, large-format slabs that are awkward and unforgiving, or any wall where lippage between big tiles would be glaringly obvious. Paying $8 to $20 per square foot for flawless installation on a focal wall is often money well spent, since mistakes on an accent wall are the first thing everyone sees.
Final Design Tips
Light the wall to show off the texture, an adjustable recessed fixture or a slim picture light grazing the surface at an angle turns a nice wall into a striking one. Keep the surrounding walls quiet so the accent stays the star. And resist the urge to tile more than one wall; the power of an accent comes from restraint. Get the focal point, the material, and the lighting right, and a single tiled wall will define your living room for the next decade.
Prefer to explore on your own?
See how new flooring looks in your actual room in seconds — free, no signup.
Try the free Floor Studio →